Printable Turkey Template for Bulletin Boards – Makes it easy to turn a plain classroom display into a colorful November project. These four original black-and-white sheets give you a large turkey centerpiece, separate pieces to assemble, a gratitude activity, and small turkey accents. Print the pages students need, let them color or write, then arrange their work on a board, hallway wall, or classroom door.
Printable Turkey Template for Bulletin Boards
Choose the turkey sheet that fits your display
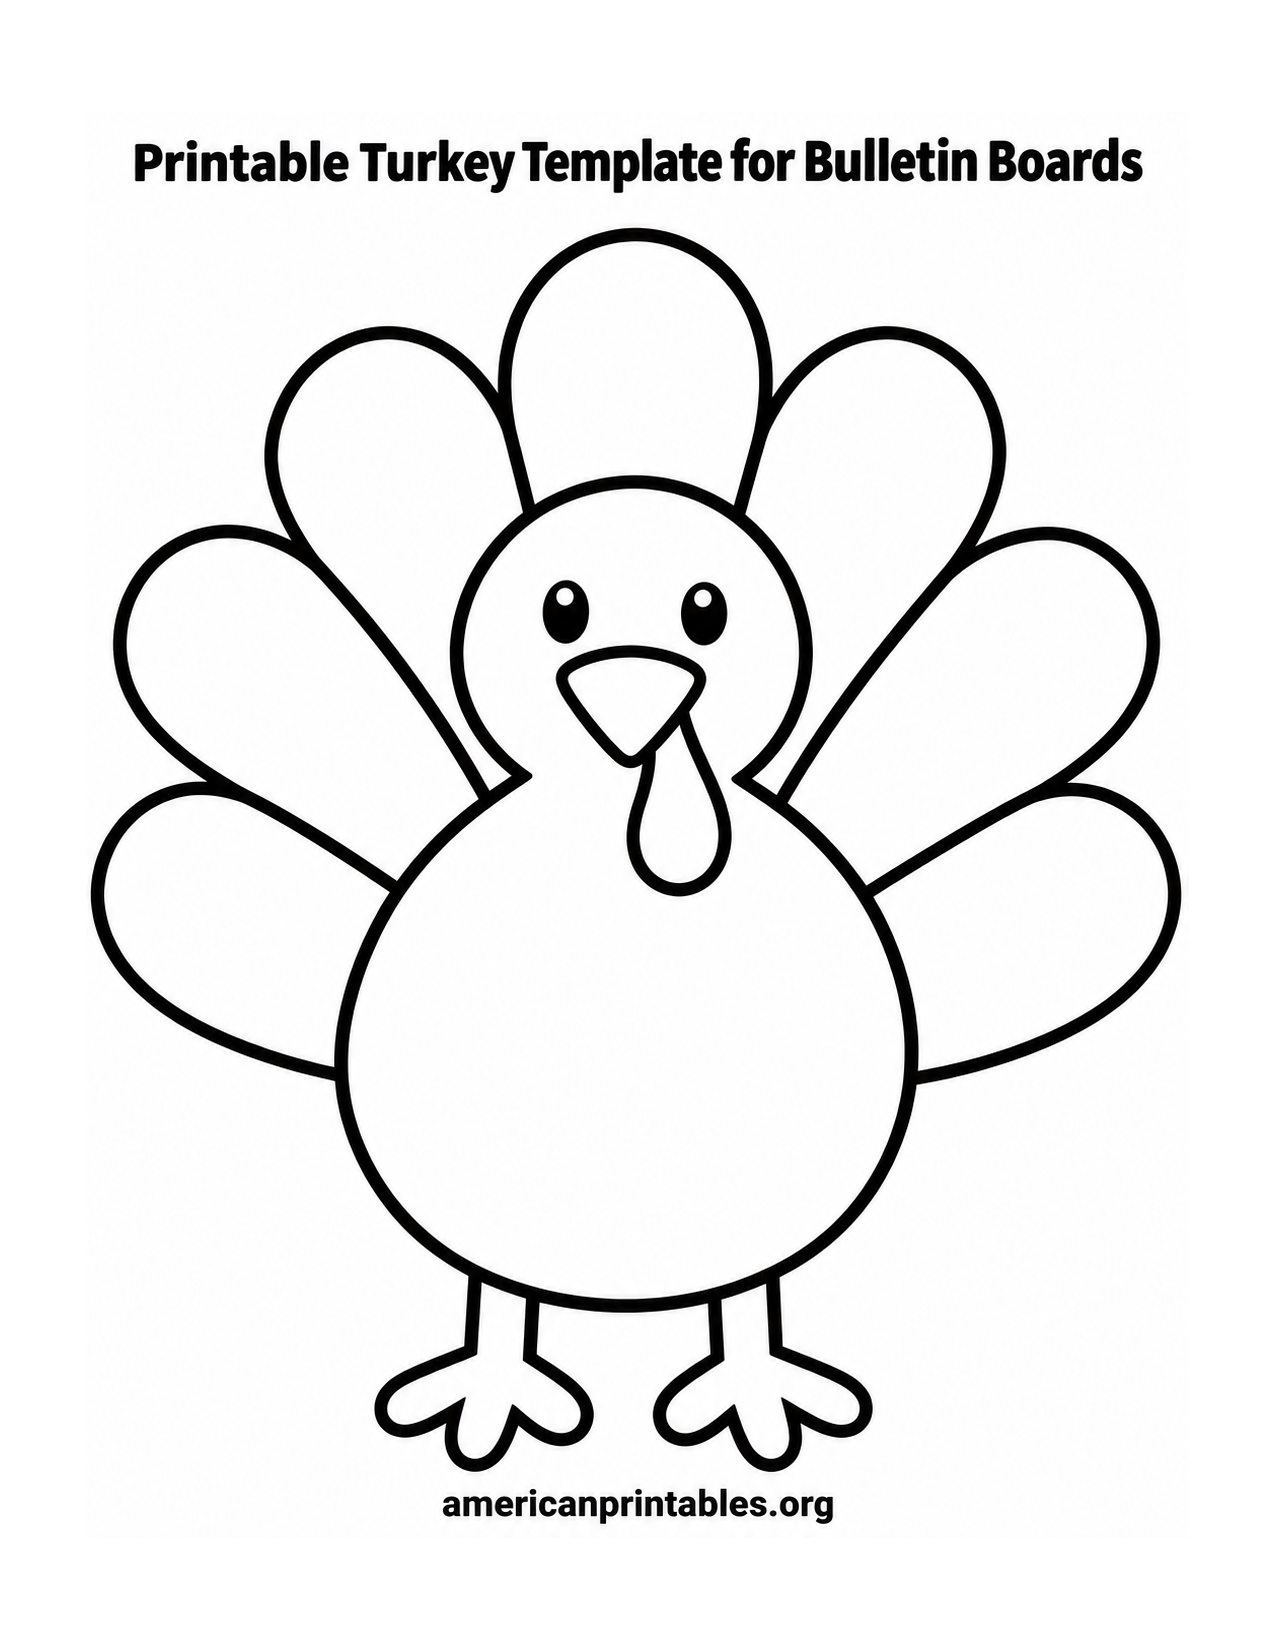
The large centerpiece is a complete, front-facing turkey with seven rounded fan feathers. Its open shapes leave plenty of room for crayons, markers, or colored pencils. Print one copy for a shared board, or give each student a copy and let the class create a flock of different colors. The broad body is also a good place for a class name, a short November greeting, or a drawing.
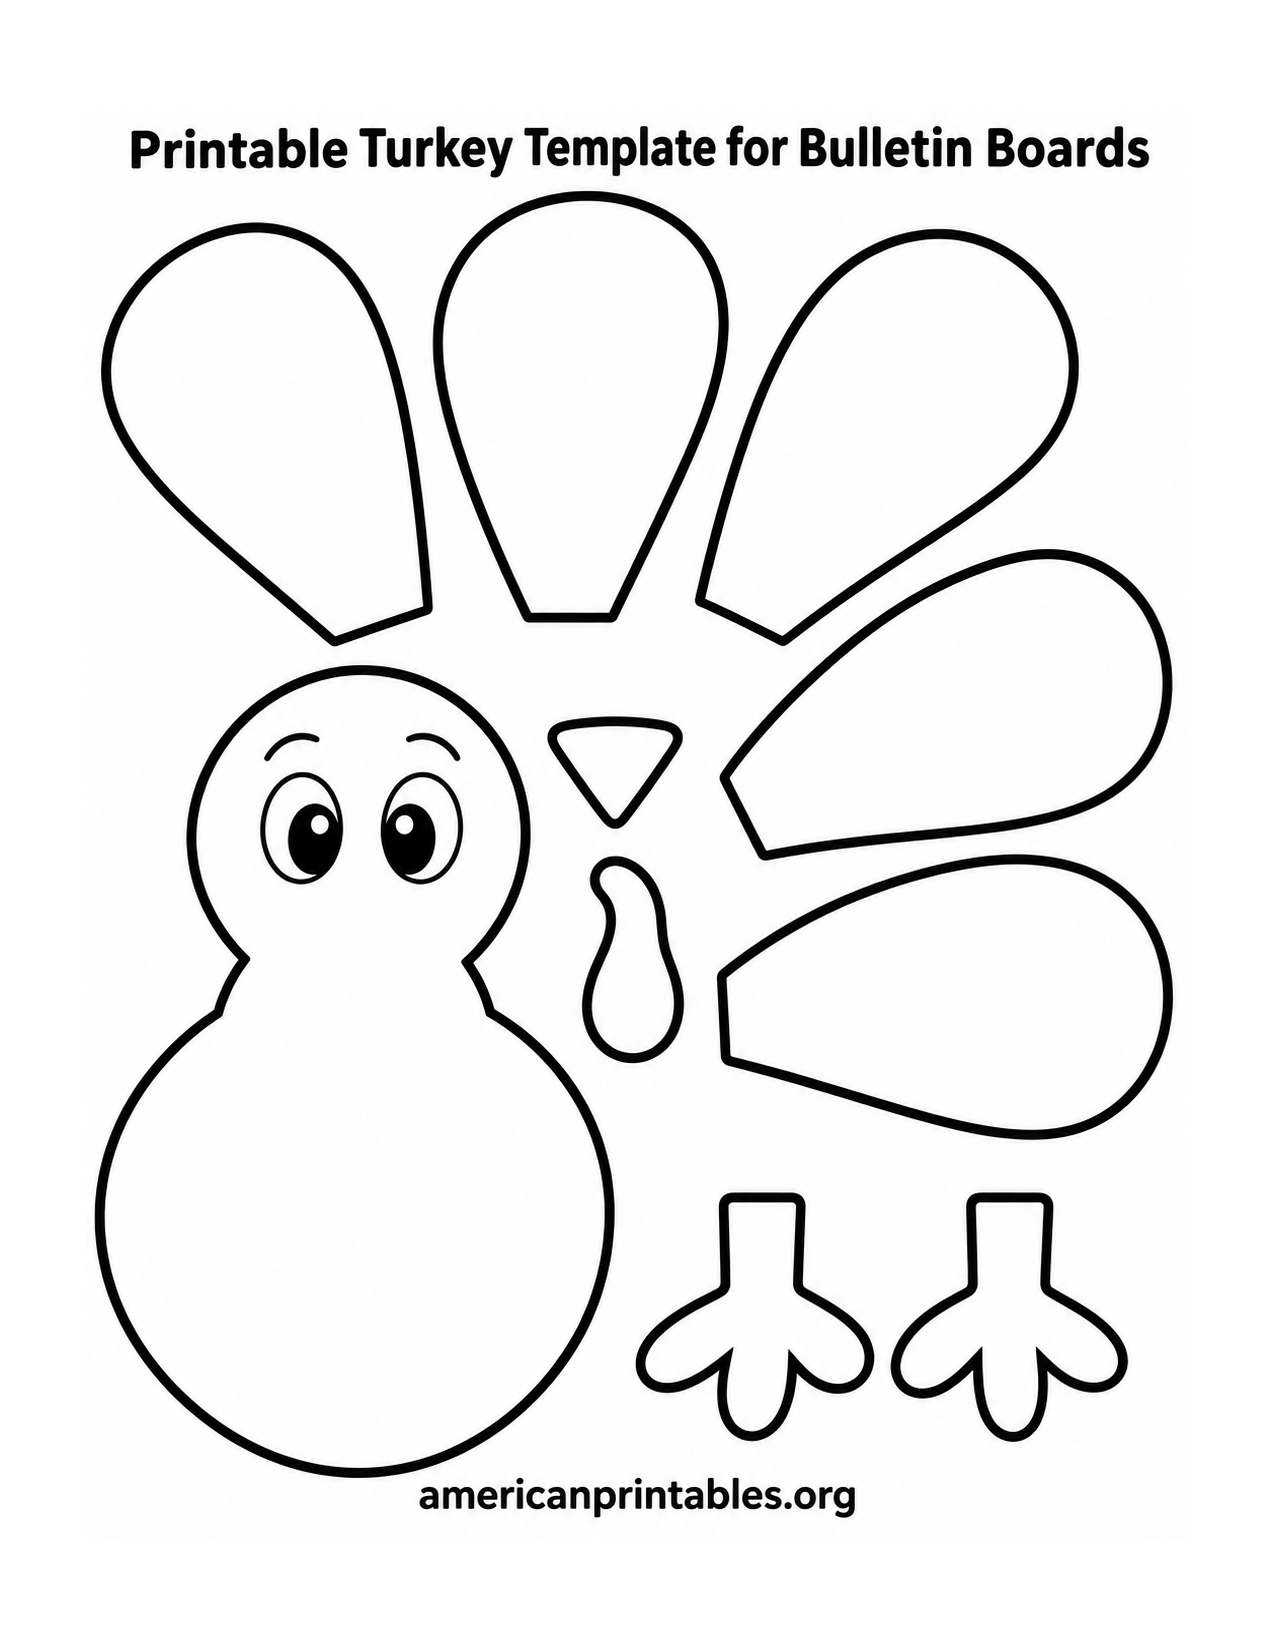
The cut-and-assemble page offers a separate turkey body and head, five large feather pieces, a beak, a wattle, and two feet. Color the pieces before cutting, then lay them out on the table to decide how widely the feather fan should spread. Tape the feathers behind the body and add the smaller features on top. This sheet works especially well when children want to make a display together and practice positioning shapes.
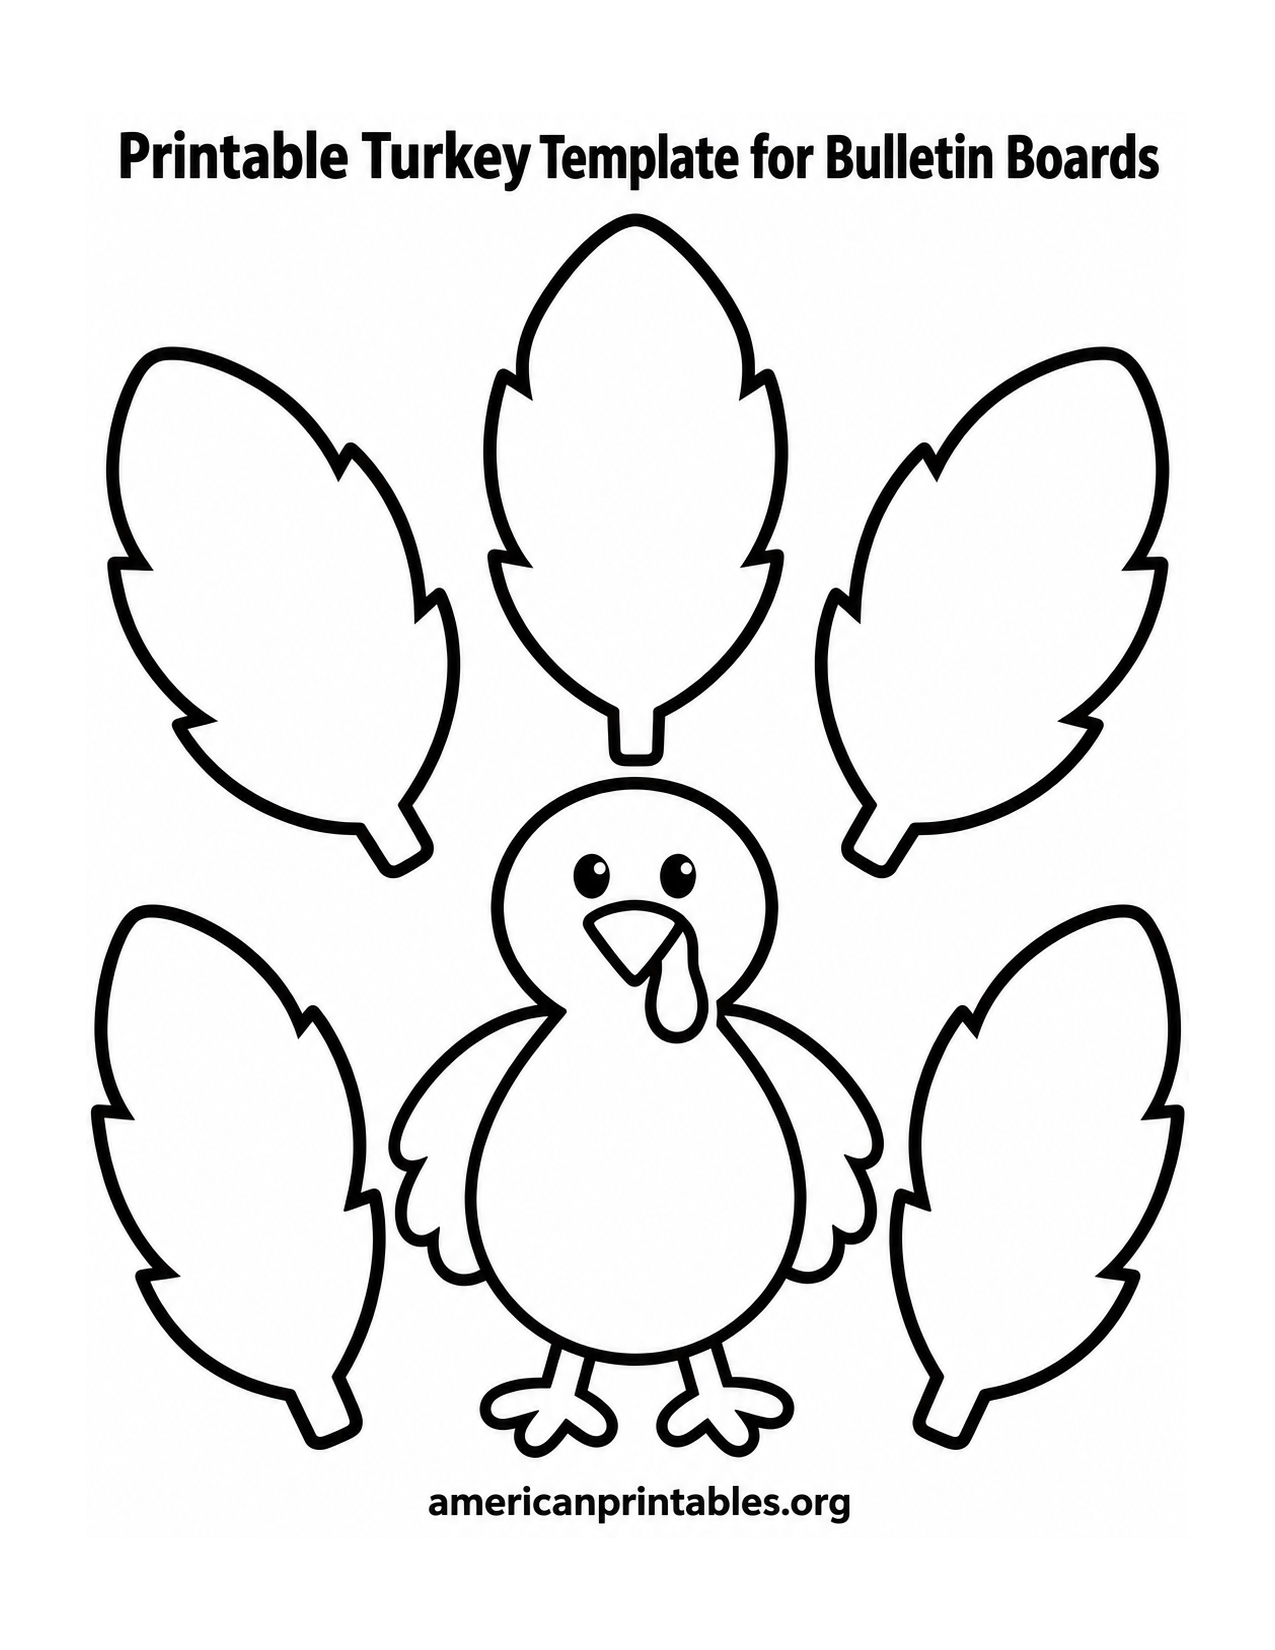
For a display that grows during the month, use the gratitude page. A small turkey sits in the center of the sheet, with five separate blank feather shapes around it. Ask children to write or draw one thing they appreciate inside each feather. You can print several copies of the page, collect the feathers, and build a larger fan behind one turkey on the board. The template gives students room for short messages without forcing everyone to use the same words.
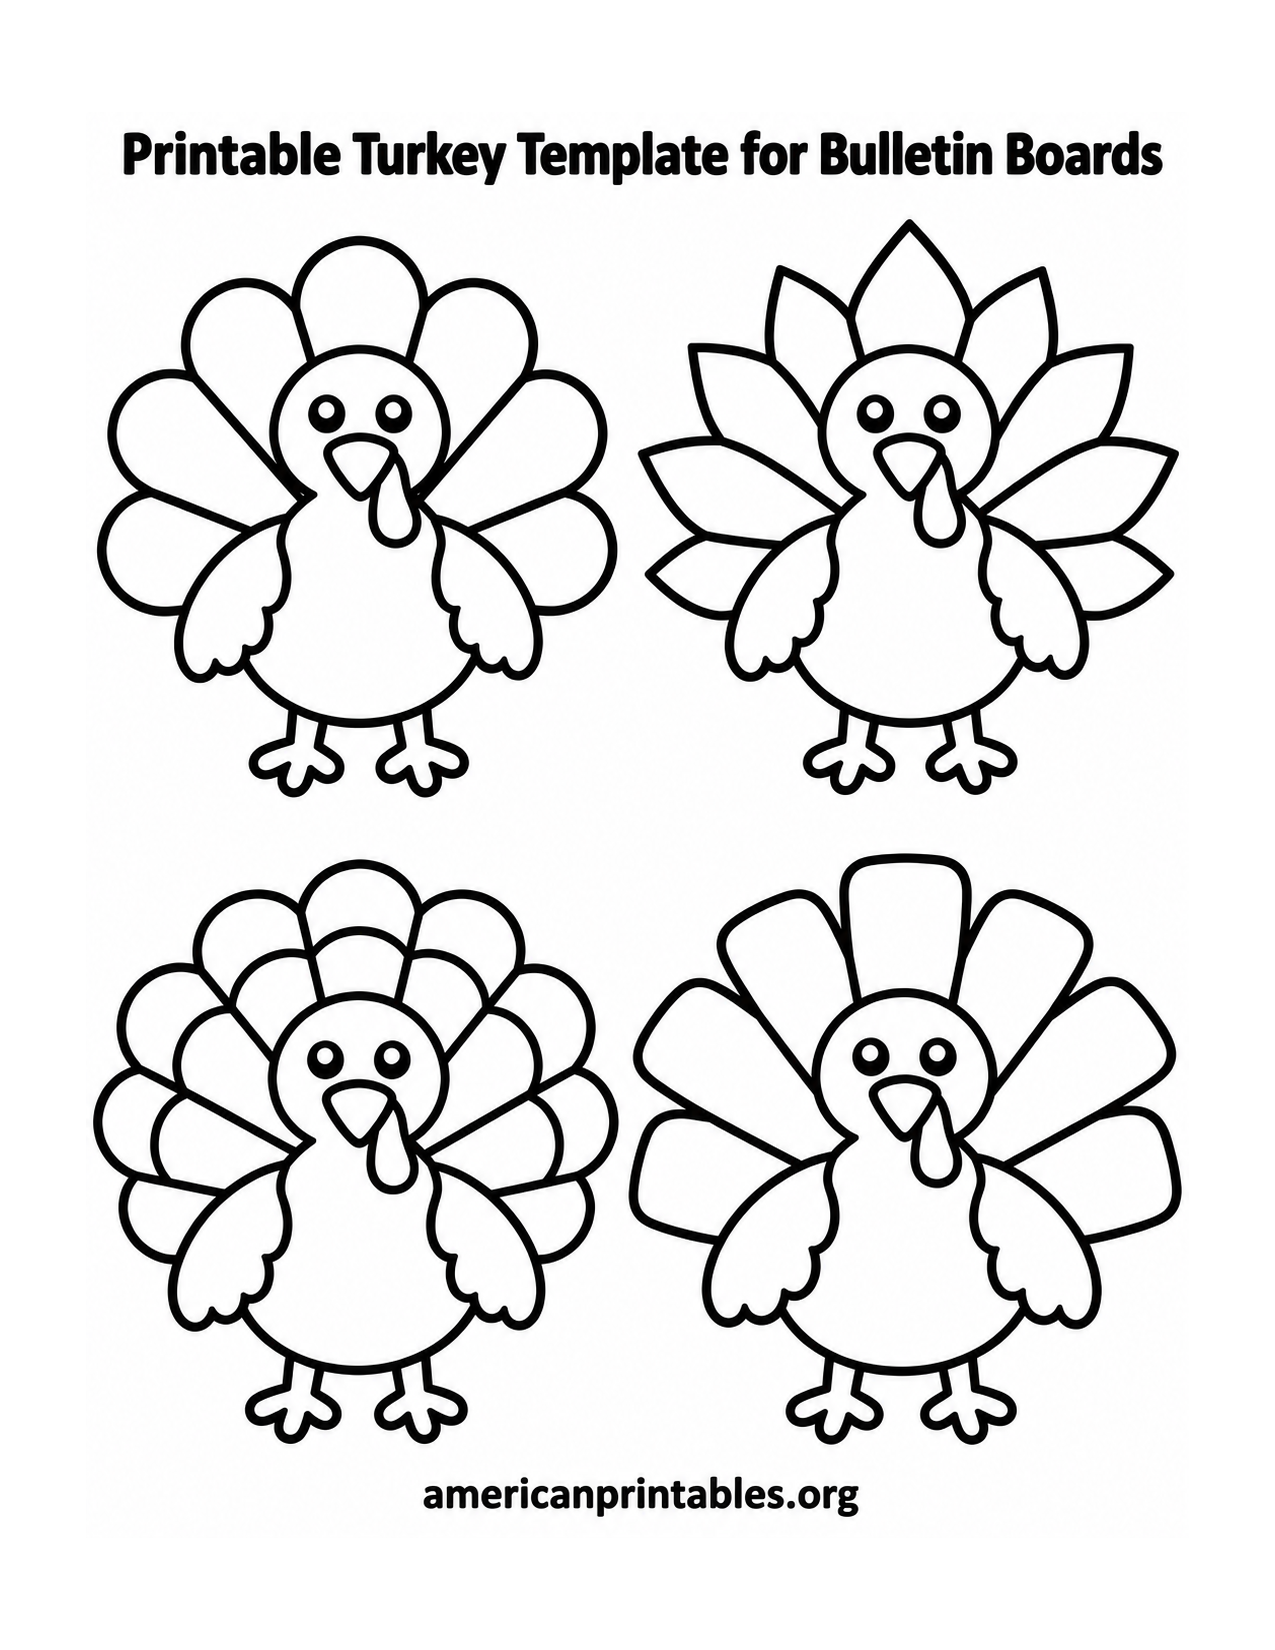
The mini accents page contains four complete little turkeys in a two-by-two arrangement. Their feather fans vary, so the cutouts look related without being identical. Use them around the edge of a bulletin board, beside student writing, or as labels for small groups. If you want names, write them on a separate strip of paper beneath each turkey; the turkey shapes themselves stay easy to color and cut.
How to print and prepare the pages?
Use the download link directly below the design you want. It opens the original lossless WebP file, rather than a smaller preview used by the page gallery. Save it, then open the image in a browser or image viewer and choose Print. Select US Letter paper, portrait orientation, and a scale that fits the whole page. A quick print preview should show the heading and the small americanprintables.org mark inside the paper edges.
Regular copy paper is fine for a short display. White cardstock gives cut pieces more structure, especially when students will move them around before mounting them. If the printer offers a draft or grayscale option, these black outlines are suitable for it. Print one sample before making a class set so you can check the page size, margins, and contrast on your own printer.
Give students time to decorate before cutting. Crayons are simple for younger children, while colored pencils help with the narrower spaces near the faces and feet. For the separate feather pages, writing first and coloring afterward can keep messages legible. Cut around the outside edges with child-safe scissors, and let an adult handle the smallest face pieces if needed.
Build a bulletin board students can add to
Start by choosing a background that gives the black outlines and colored feathers enough contrast. Kraft paper, deep blue, or a simple cream background all work. Place the large turkey roughly in the center, leaving space above it for a classroom heading and around it for student pieces. Use a few removable tape loops to test the arrangement before stapling anything down.
For a collaborative board, mount the assembled body first and invite students to add the separate feathers behind it. Overlap the narrow ends of the feathers so they look like a fan. A small piece of tape on the back of each one is usually enough. Add the feet last, letting them extend below the body for a playful effect. Keep any written names or gratitude messages clear of staples.
You can also make a “growing gratitude” board. Put one turkey in place at the beginning of November and leave a pocket or envelope nearby with spare blank feather cutouts. Students add a feather when they have a new thought to share. Some children may prefer to draw a person, place, or activity instead of writing a sentence. Both approaches make the display personal and easy to revisit.
For a smaller space, cut out the four mini turkeys and repeat the page as needed. A row of accents can frame a writing display without taking over the center. Pair each turkey with a fall poem, a favorite recipe memory, or a short piece of student writing. If the board will stay up beyond Thanksgiving, use general fall colors and a heading about kindness or appreciation.
More classroom turkey ideas
For another hands-on approach, Crayola has a build-your-own turkey coloring page with a color, cut, and assemble activity. California State University, Fullerton also offers a direct gratitude turkey activity PDF with ideas for adding thankful feathers over time. These can extend the classroom conversation while the four downloads above supply the board pieces shown here.
When the display is complete, take a photo before sending pieces home. If students want to keep their work, remove it carefully and slip flat cutouts into folders. Save one clean copy of each template for next year, and let a new group choose fresh colors, messages, and arrangements.