Free Turkey Stencil Templates to Print and Cut – Make it easy to get a Thanksgiving craft started without drawing your own pattern. These four black-and-white pages are designed for different projects: a large one-piece turkey, a sheet of separate pieces to assemble, a bold silhouette for painting, and six little turkeys for decorating smaller items. Each sheet is sized for US Letter paper and gives you a clear shape to trace, color, cut, or transfer onto another material. Pick the version that fits your project, then download the full-resolution WebP directly below its picture.
Free Turkey Stencil Templates to Print and Cut
What Makes Each Turkey Stencil Useful?
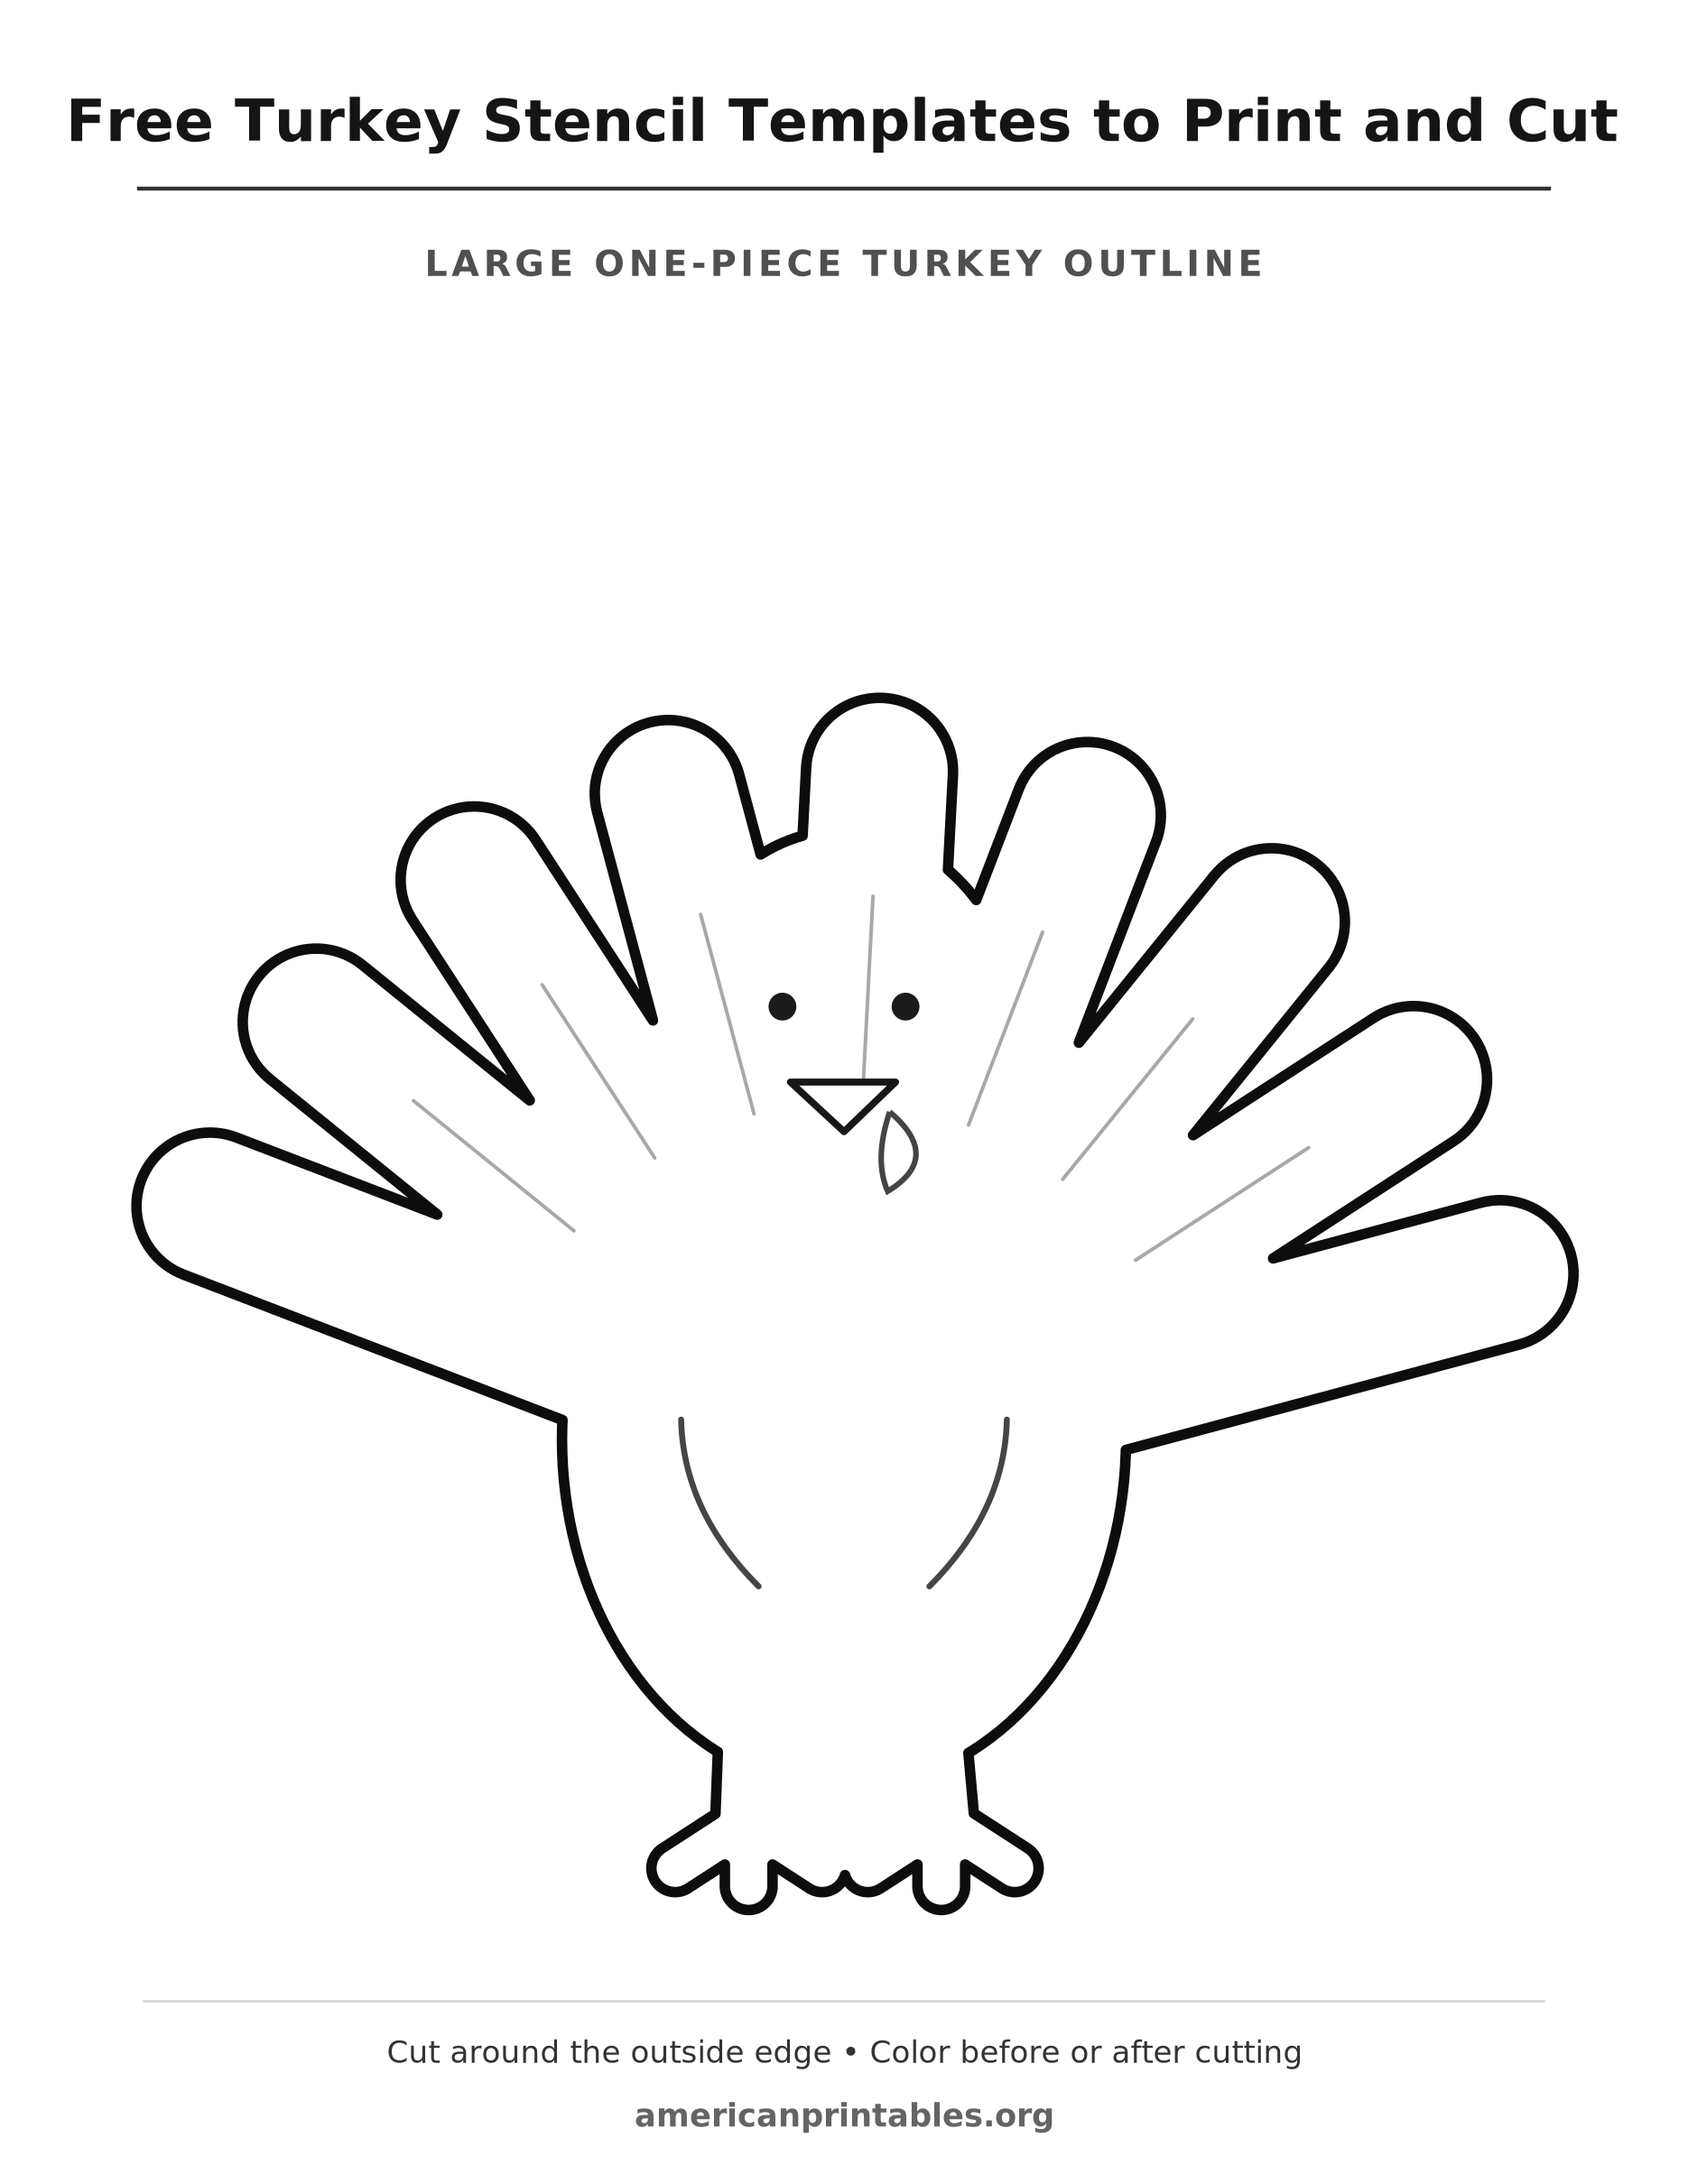
1. Large One-Piece Turkey Outline
This version features a big, rounded fan of tail feathers, a simple face, a plump body, and little feet joined into a single outer shape. The heavy outside line makes it a practical choice when you want one turkey to cut out and display. The thin feather and wing details add character without requiring you to cut every interior line. Try it as a construction-paper pattern, a bulletin board decoration, or the base for a homemade Thanksgiving card.
For younger children, ask them to color the bird first, then have an adult cut around the outer silhouette. Older children can practice following the curved feathers with child-safe scissors. The larger shape also works well when you want to trace the turkey onto poster board or felt.
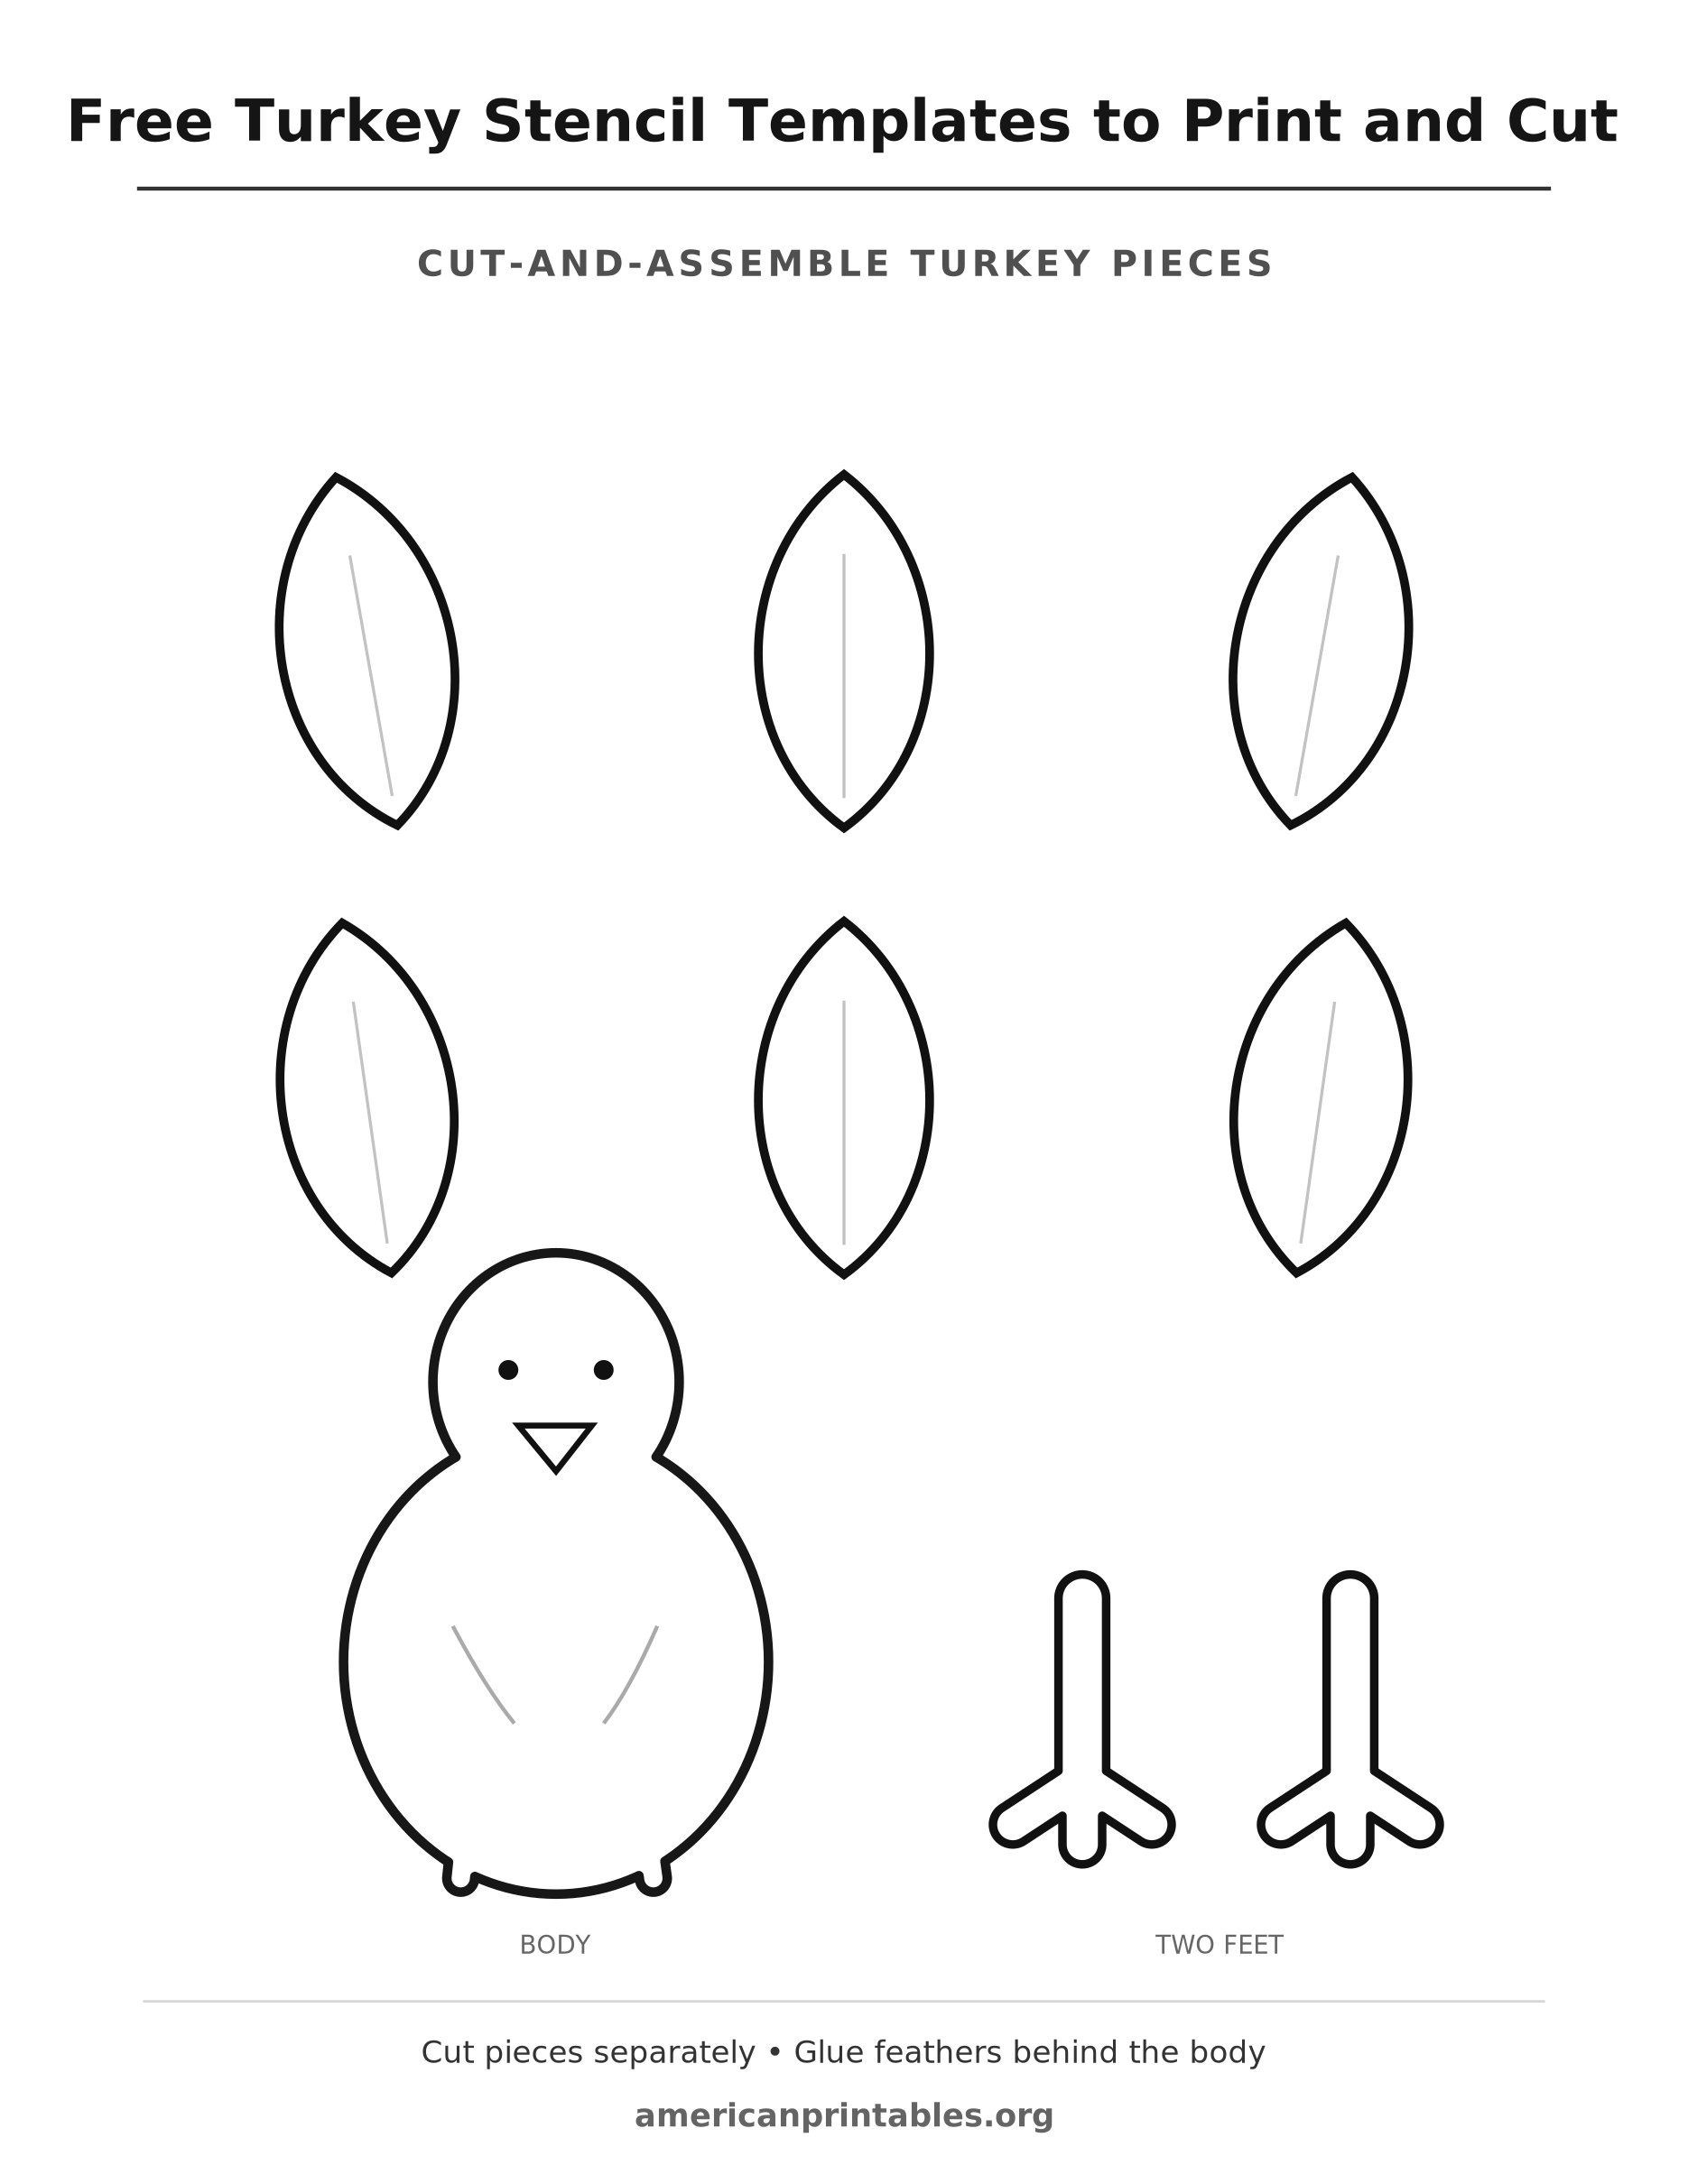
2. Cut-and-Assemble Turkey Pieces
The second sheet separates the project into six feather shapes, one turkey body with a face, and two feet. Unlike the one-piece outline, these sections are meant to be cut individually and assembled. Color the feathers in different fall shades, arrange them behind the body like a fan, and glue them in place. Add the two feet last so they peek out from underneath.
This layout is especially handy for a group activity because everyone can make a different combination of colors. You can also write a short thankful message on each feather before attaching it. The pieces are spread apart on the page to leave enough room for scissors, which helps make the cutting process less frustrating.
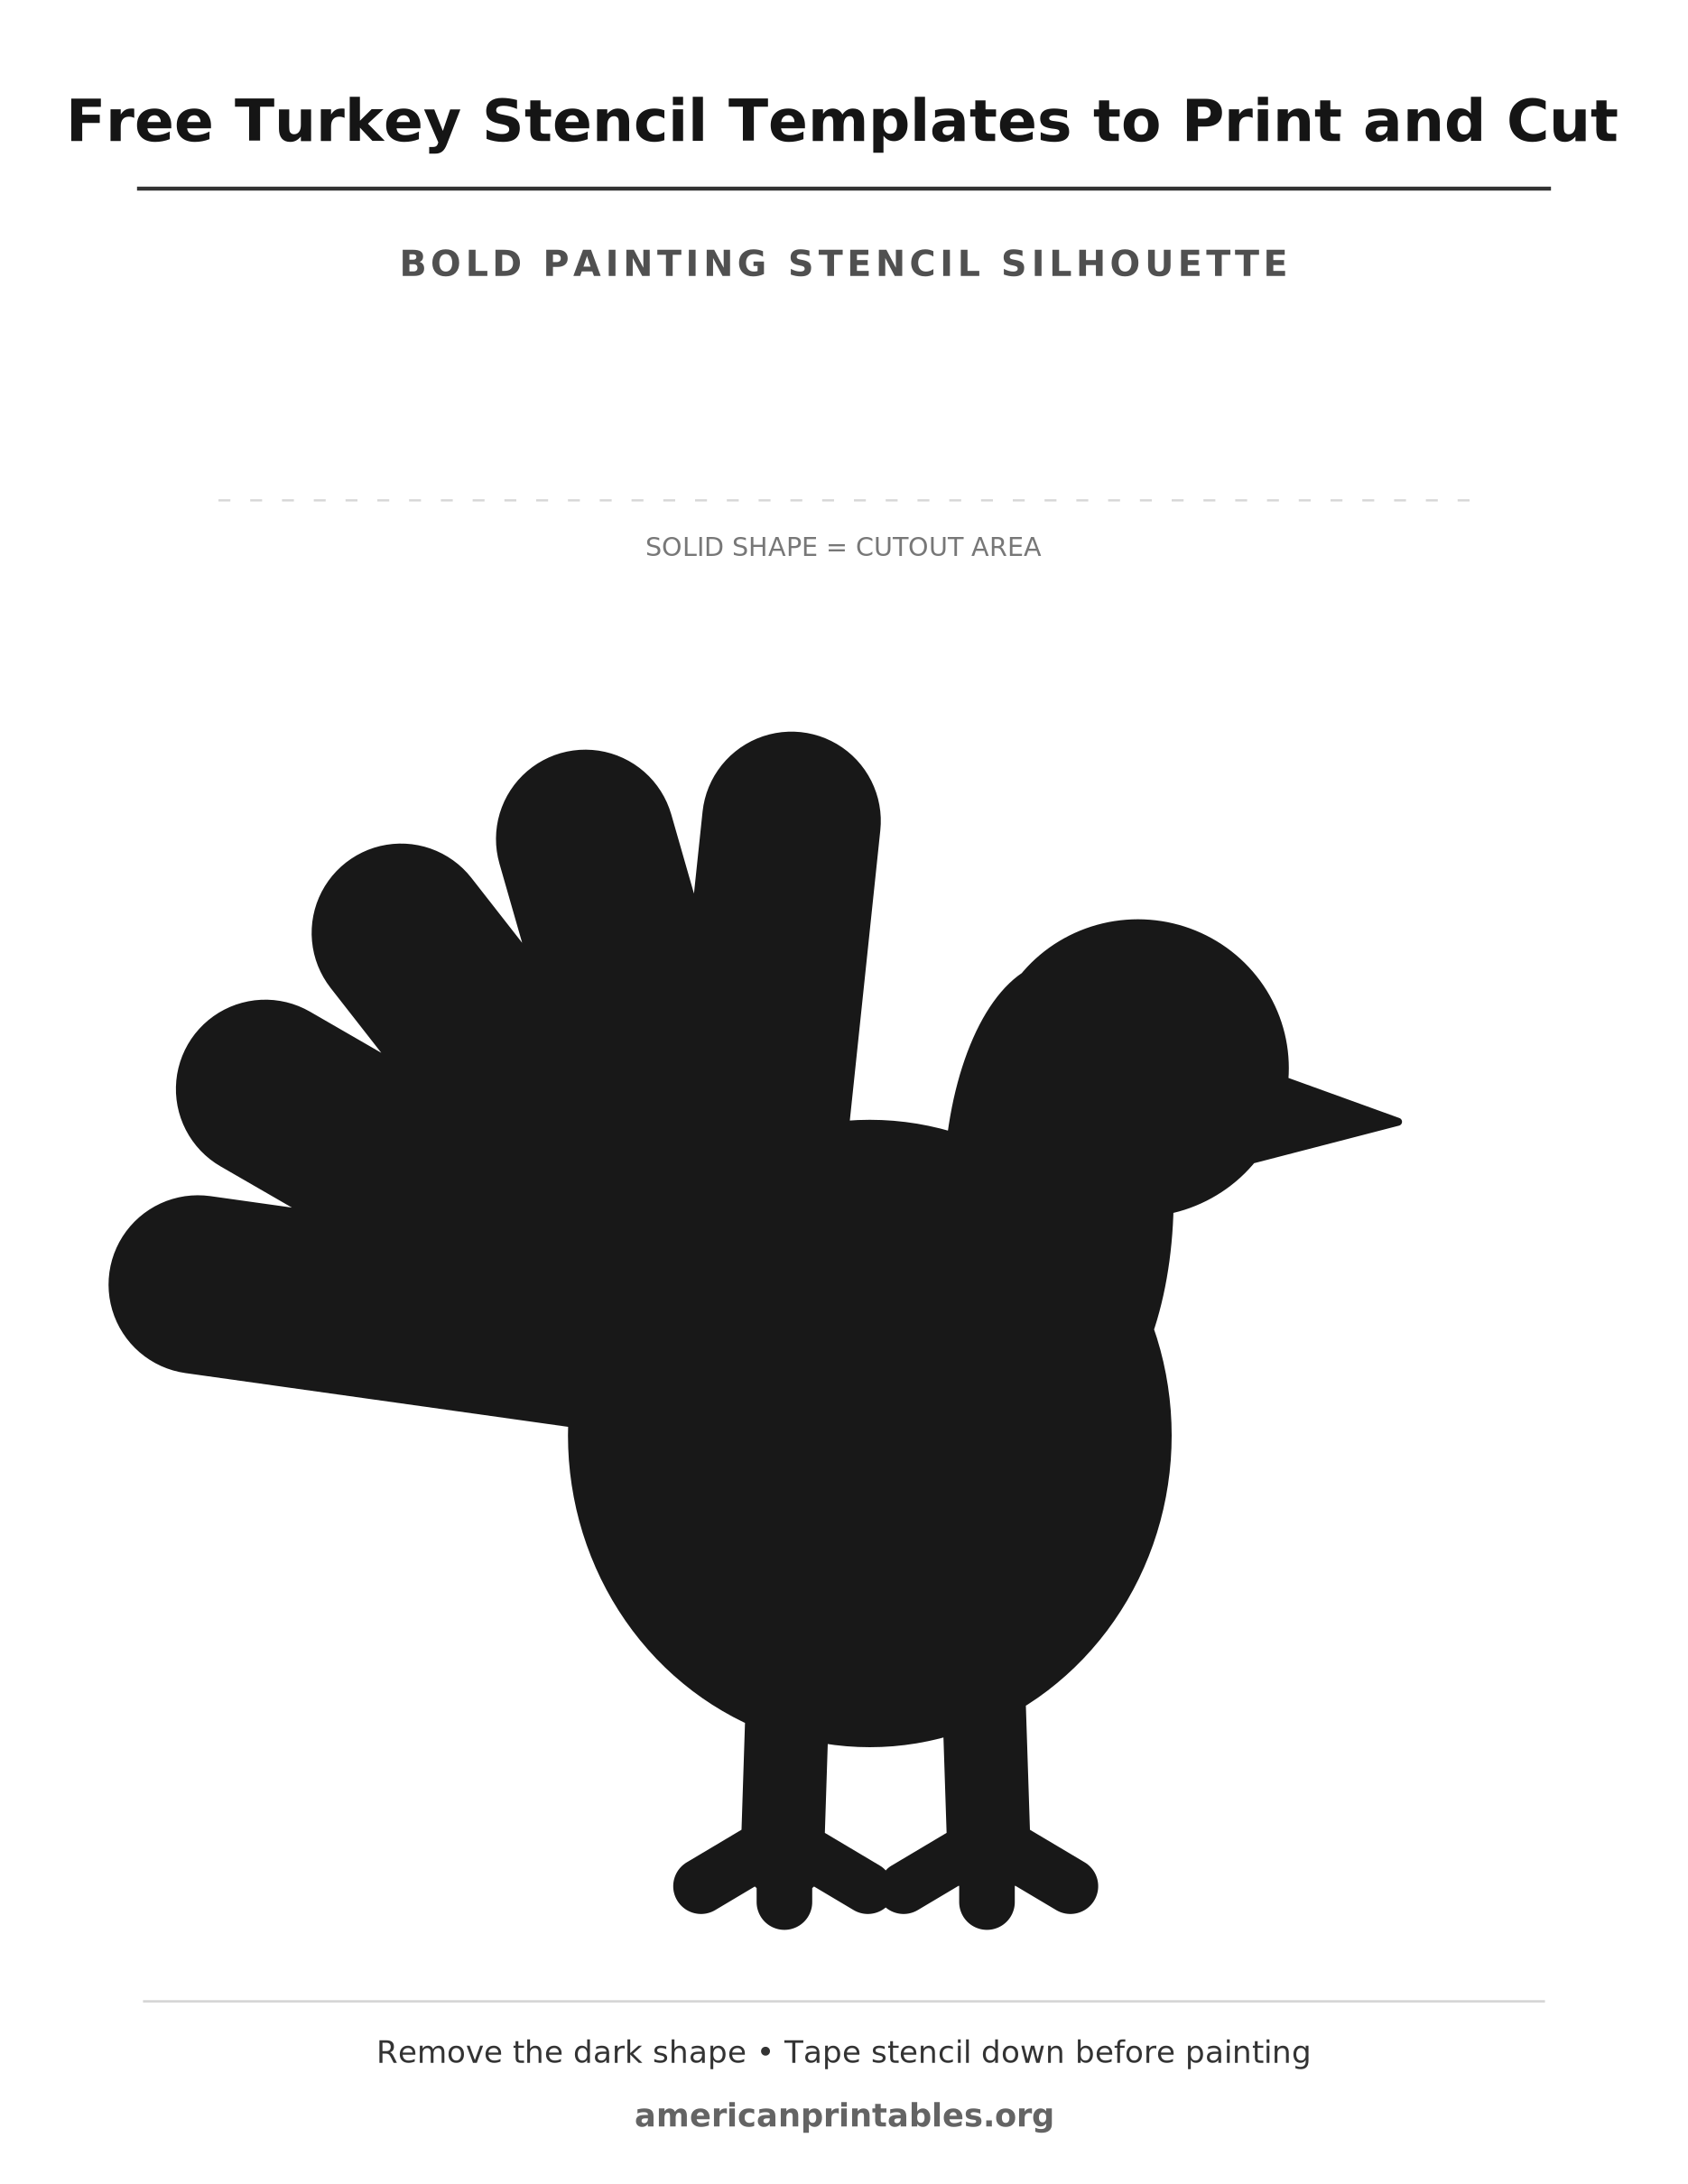
3. Solid Turkey Painting Silhouette
The third design is a bold, completely filled side-view turkey with a prominent beak, tail, body, and feet. It is intentionally different from a coloring outline. Use the dark shape as a guide for cutting a turkey-shaped opening from sturdy paper or stencil plastic. Once that opening is made, tape the stencil to your surface and dab paint inside it to leave a turkey silhouette.
Alternatively, cut around the filled bird and use the cutout itself as a mask. Paint around its outer edge, remove it after the paint dries enough to avoid smearing, and reveal the unpainted turkey shape beneath. This is a fun option for kraft-paper placemats, a classroom mural, or a simple seasonal sign.
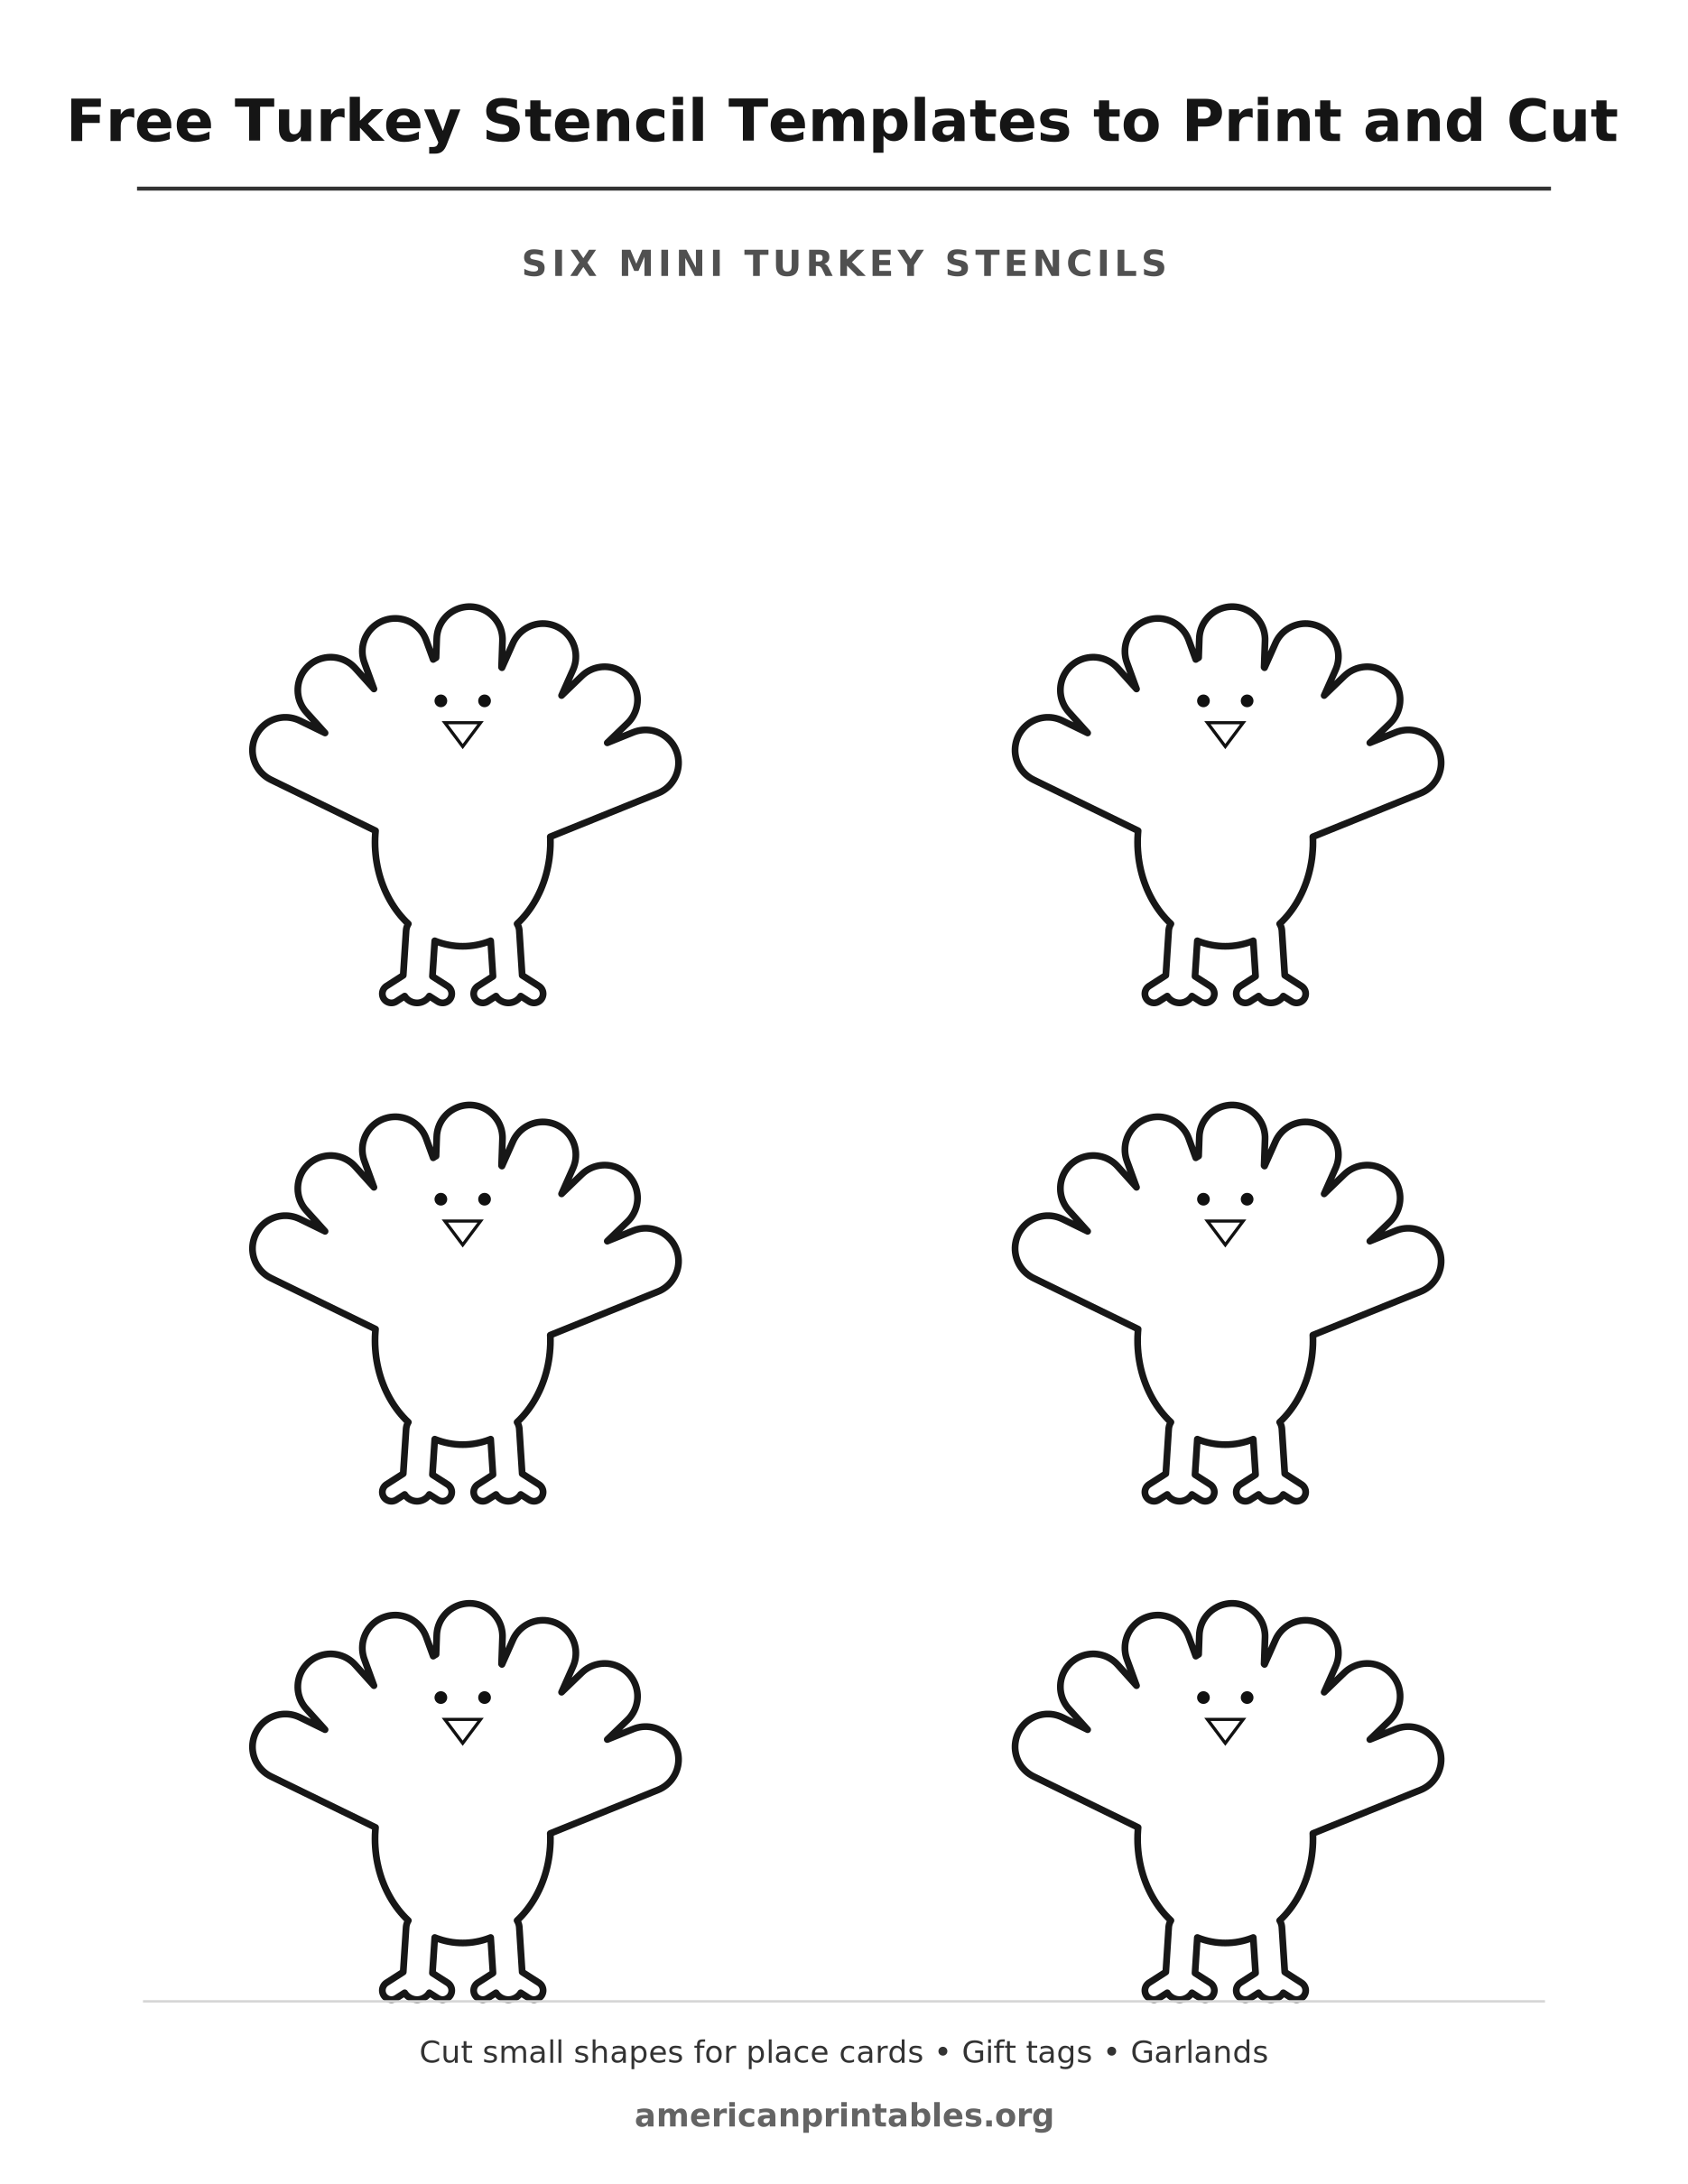
4. Six Mini Turkey Stencils
The fourth printable fits six matching little turkeys on one sheet in a tidy two-column arrangement. Each has a small scalloped tail, a face, a rounded body, and feet. The compact format makes it useful when a full-size turkey would be too big. Trace the shapes onto cardstock for gift tags, place cards, paper garlands, or small decorations for a Thanksgiving treat bag.
Because all six turkeys have the same style, your finished decorations will look coordinated even when you use different colors or materials. Print several copies if you’re setting a holiday table or preparing a craft station for a larger group.
How to Print Free Turkey Stencil Templates to Print and Cut?
Click the download link beneath the design you want and save the original WebP file. Open it with a photo viewer or print application, choose US Letter paper (8.5 by 11 inches), and select portrait orientation. The files measure 1870 by 2420 pixels, keeping the same proportions as Letter paper. Select 100% or Actual Size when your print program supports it. If your printer clips the edges, choose its fit-to-printable-area setting instead; the artwork has white margins, so the complete drawing should still remain visible.
Regular white copy paper is fine for coloring, tracing, or a one-time cutting activity. Choose lightweight cardstock when the stencil will be handled repeatedly or used as a hanging decoration. For painting, thicker cardstock or suitable stencil film is sturdier than ordinary printer paper. Black-and-white or grayscale printing is all you need; the pages are intentionally designed without colored backgrounds that would use extra ink.
If your print dialog shows a preview, check that the title, turkey artwork, instruction line, and small americanprintables.org watermark all fit on the page. Print one test copy before making a large classroom batch. Keep the original digital file for later, since you can print the same design again without downloading it a second time.
Easy Cutting and Stenciling Tips
For a paper turkey cutout, follow the outside black edge of the shape. You do not have to cut the lighter feather details on the large outline, and it is usually better to leave those lines intact. With the build-a-turkey page, cut each feather and body part as its own piece, then arrange everything before applying glue. A glue stick works well for paper-on-paper crafts, while thicker materials may need craft glue.
To turn the solid silhouette into a reusable stencil, tape the printed paper onto cardstock, trace the outer boundary, and remove the turkey-shaped center. Put a cutting mat underneath before using a craft knife, and have an adult handle sharp blades. A sponge dauber is often easier to control than a loaded paintbrush: use a small amount of paint and tap vertically rather than brushing under the stencil edge.
Let painted projects dry before peeling away masking tape or handling small cutout details. If you’re using fabric paint, test it on a scrap of similar fabric first and follow the paint maker’s drying and heat-setting instructions.
Thanksgiving Craft Ideas for Home and Classroom
Make a thankful turkey bulletin board by printing the assemble-your-own sheet for each student. Invite everyone to write one thing they appreciate on each feather. When the turkeys are complete, display them together with a simple heading such as “Our Thankful Flock.” Children can share their ideas aloud, but they can also draw pictures if writing is still difficult.
Create place cards by tracing a mini turkey onto folded cardstock. Write each guest’s name on the front and color the tail feathers in warm orange, yellow, red, or brown. For a matching table setting, cut more mini shapes from scrap paper and tie them to napkin rings with string.
Try a resist-paint art project using the solid silhouette. Cut out the turkey, attach it lightly to a sheet of heavy paper with removable tape, then sponge autumn colors around the outside. When the paint dries, lift away the cutout to reveal a crisp turkey-shaped blank area. You can write a greeting or a gratitude message inside the unpainted space.
For a low-prep family project, print the large one-piece turkey and let each child decorate it with crayons, colored pencils, paper scraps, or small pieces of tissue paper. Add a ribbon loop to the back and hang it on a door or in a window. If you plan to hang the turkey freely, cardstock will hold its shape better than thin paper.
More Free Turkey Pattern Resources
Need another outline size or a different assembly method? The ready-to-print turkey outline PDF from EveryPrintable offers a separate seven-inch pattern. The Made Good Designs turkey template maker lets you choose a craft set or outline and download a PDF or SVG. For another straightforward coloring-and-craft approach, see the turkey template and craft ideas from Crafts on Sea.
Frequently Asked Questions
Can I use these turkey templates for painting?
Yes. The solid black silhouette is the easiest place to start. Transfer its outline to thicker material, remove the center, and dab paint through the opening. The large outline can also be used as a tracing pattern when you only want the shape rather than a full stencil.
Which page is easiest for young children?
The large one-piece turkey is usually the simplest because it requires cutting only one connected outer shape. Children who enjoy gluing and arranging parts may prefer the separate-feather page with help from an adult.
Can I resize the templates?
Yes, but keep the image’s proportions locked so the turkey does not become stretched or squashed. For very small projects, use the six-mini-turkey page instead of shrinking a complicated design. Always review the print preview before cutting your final material.
What should I do with leftover cutouts?
Save larger scraps for a second craft session. Feather cutouts can become bookmarks, mini turkeys can be attached to greeting cards, and the leftover negative-space paper from a silhouette makes a ready-made window for painting or tracing. Store your best cardstock stencils flat in a folder so their edges stay clean for next Thanksgiving.