Printable Turkey Stencils for Thanksgiving Crafts – Give you four ready-to-print ways to trace, cut, color, and assemble a festive bird. Choose a large outline for a classroom display, individual pieces for a paper craft, a pair of side-view turkeys for decorations, or a sheet of small shapes for table projects. Each black-and-white page has a clear title, generous margins, and a small americanprintables.org watermark.
Printable Turkey Stencils for Thanksgiving Crafts
Choosing the right turkey stencil
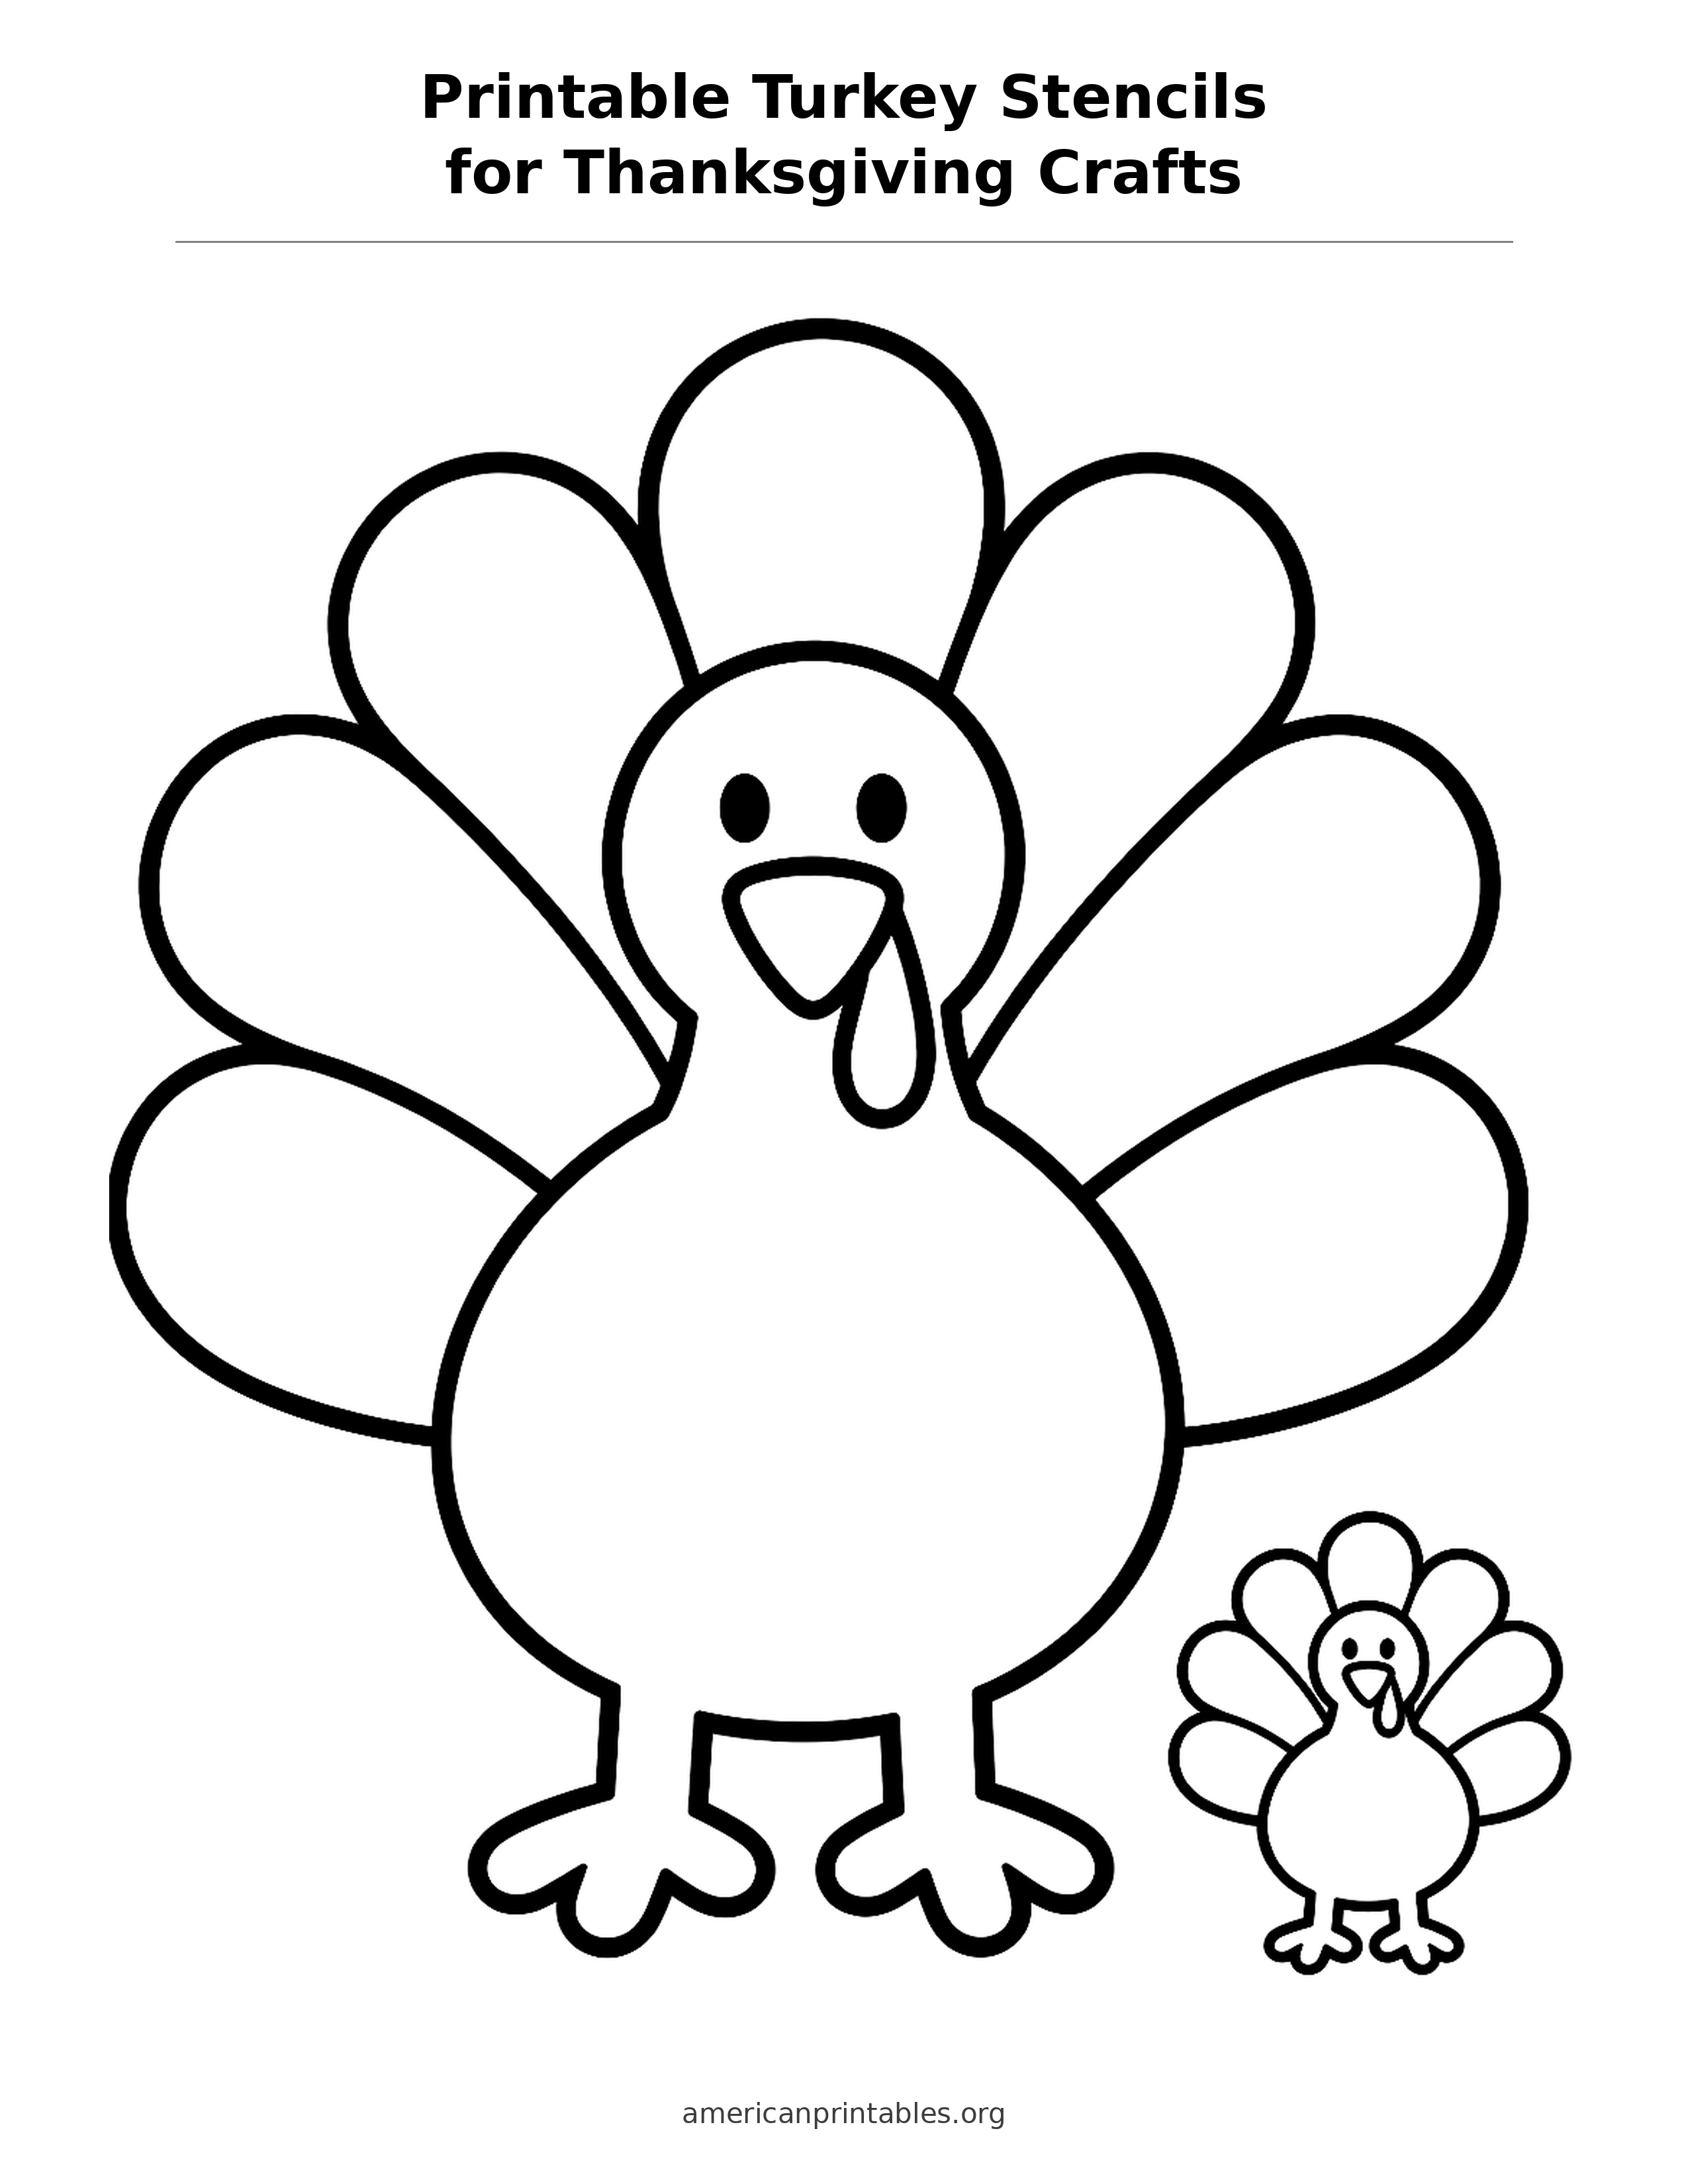
The large-outline sheet is the simplest place to begin. Its main front-facing turkey has an open body and a fan of broad tail feathers, so there is room for crayons, patterns, or a written Thanksgiving message. A smaller matching bird sits near its lower corner. Use the big version as a tracing master on cardstock, then let each child decorate a copy. The small one works nicely on a folded card or as a quick practice cutout.
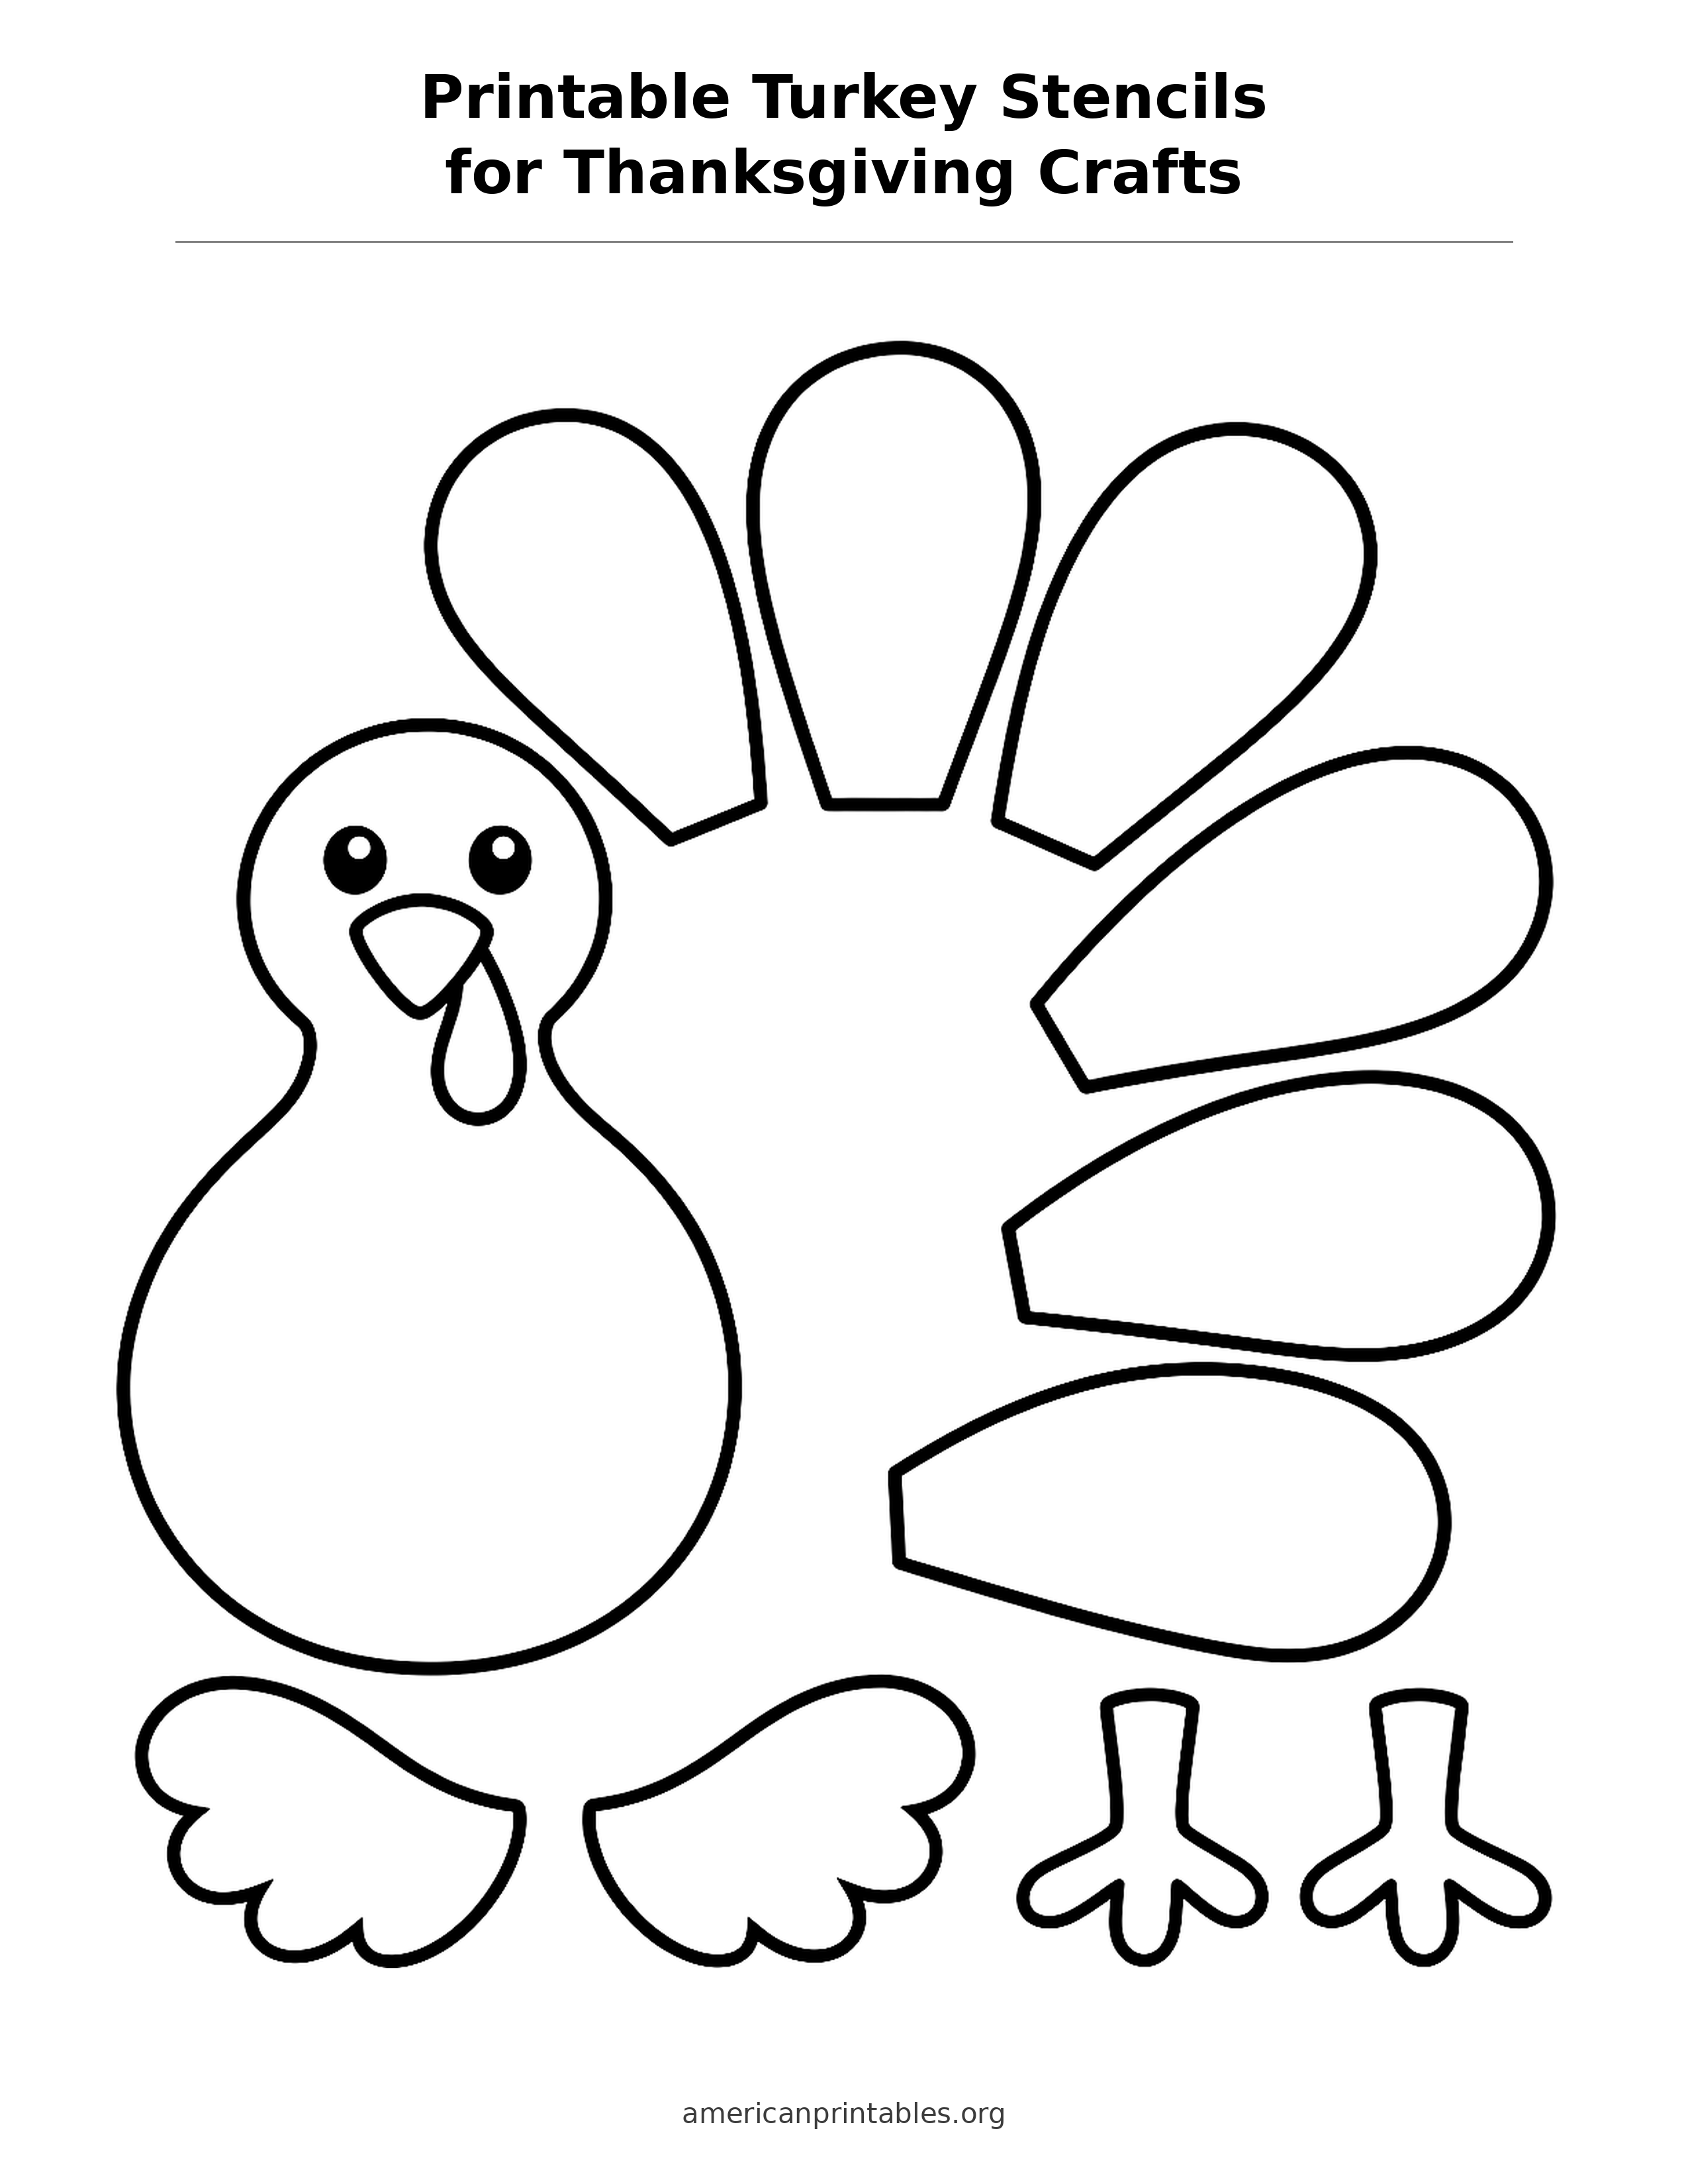
The cut-and-assemble sheet is for a more hands-on activity. It includes one turkey head and body, six separate tail feathers, two wings, and two feet. Color the parts first, then cut around the solid outer lines. Arrange the feathers in a fan behind the body and glue them down from the back. Add the wings to the front and attach the feet at the bottom. For a sturdier result, glue the printed pieces to construction paper before cutting.
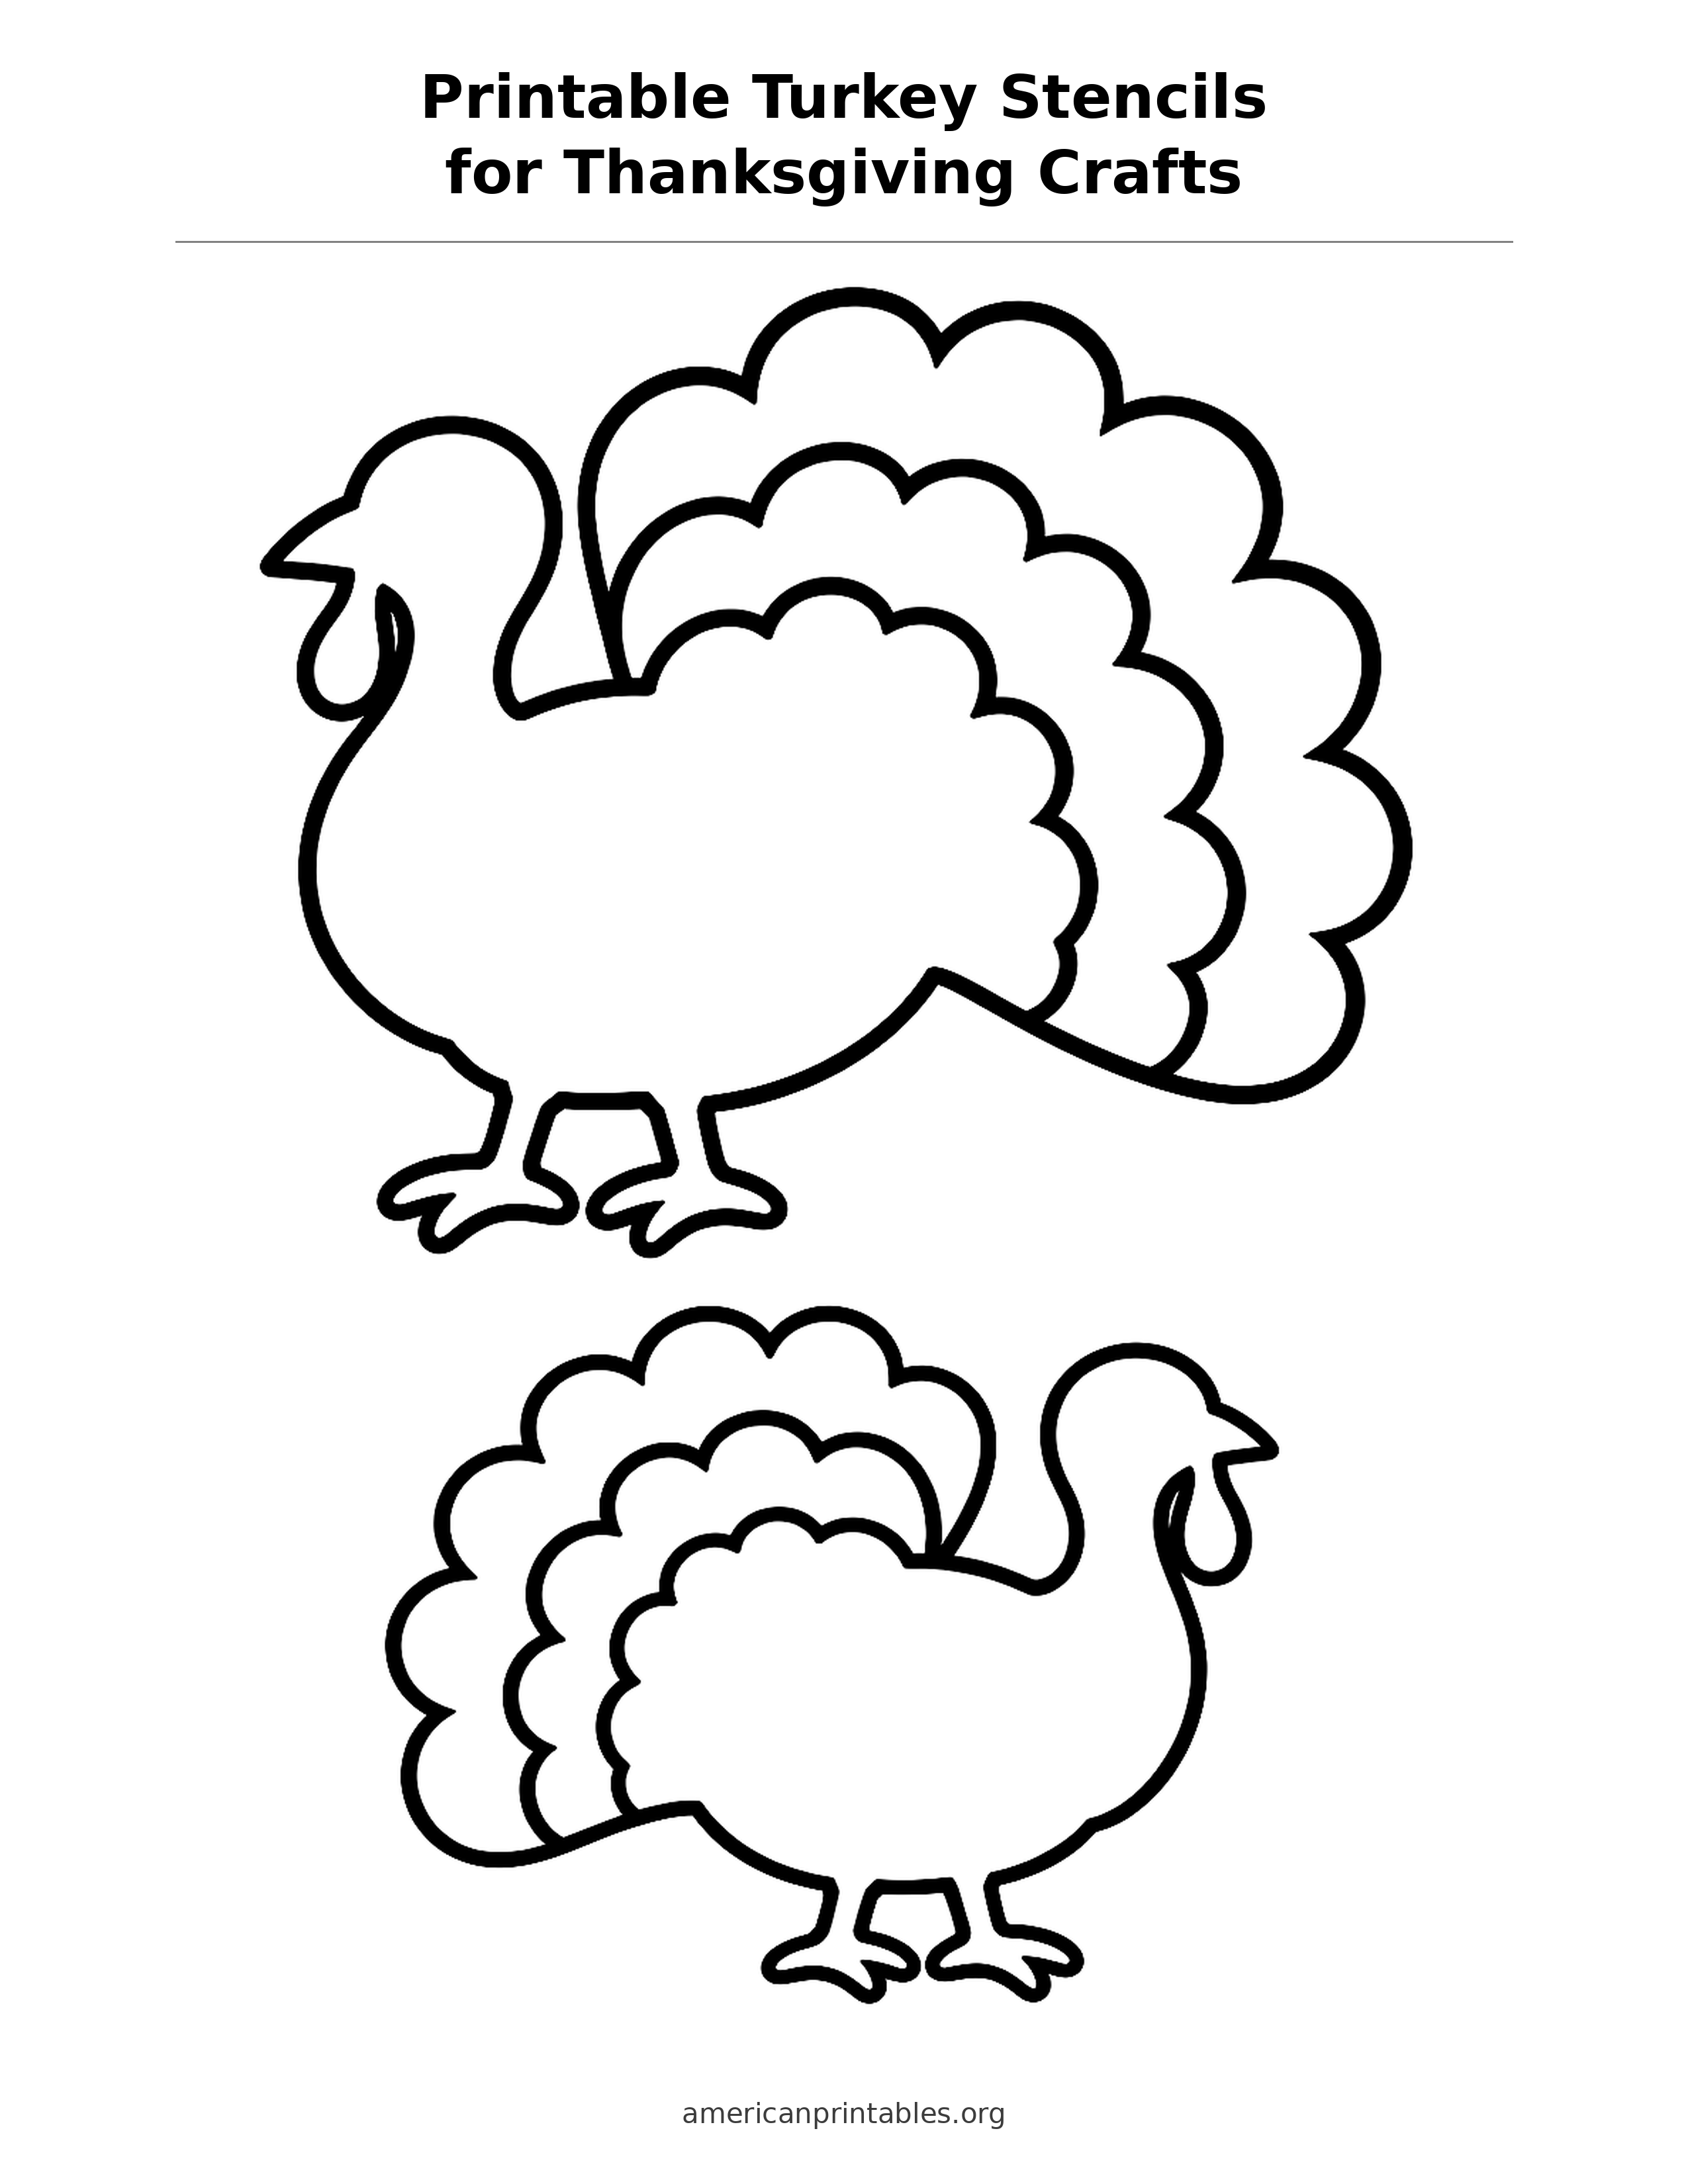
The side-profile pair offers two birds facing opposite directions, each with layered, scalloped tail shapes. Trace one onto brown paper and the other onto a different fall color, or cut out both and display them as a facing pair. Their open centers also invite a name, a short gratitude note, or a painted pattern. For a stencil-painting project, cut the outside silhouette from heavier paper and dab paint around its edge on a card or poster.
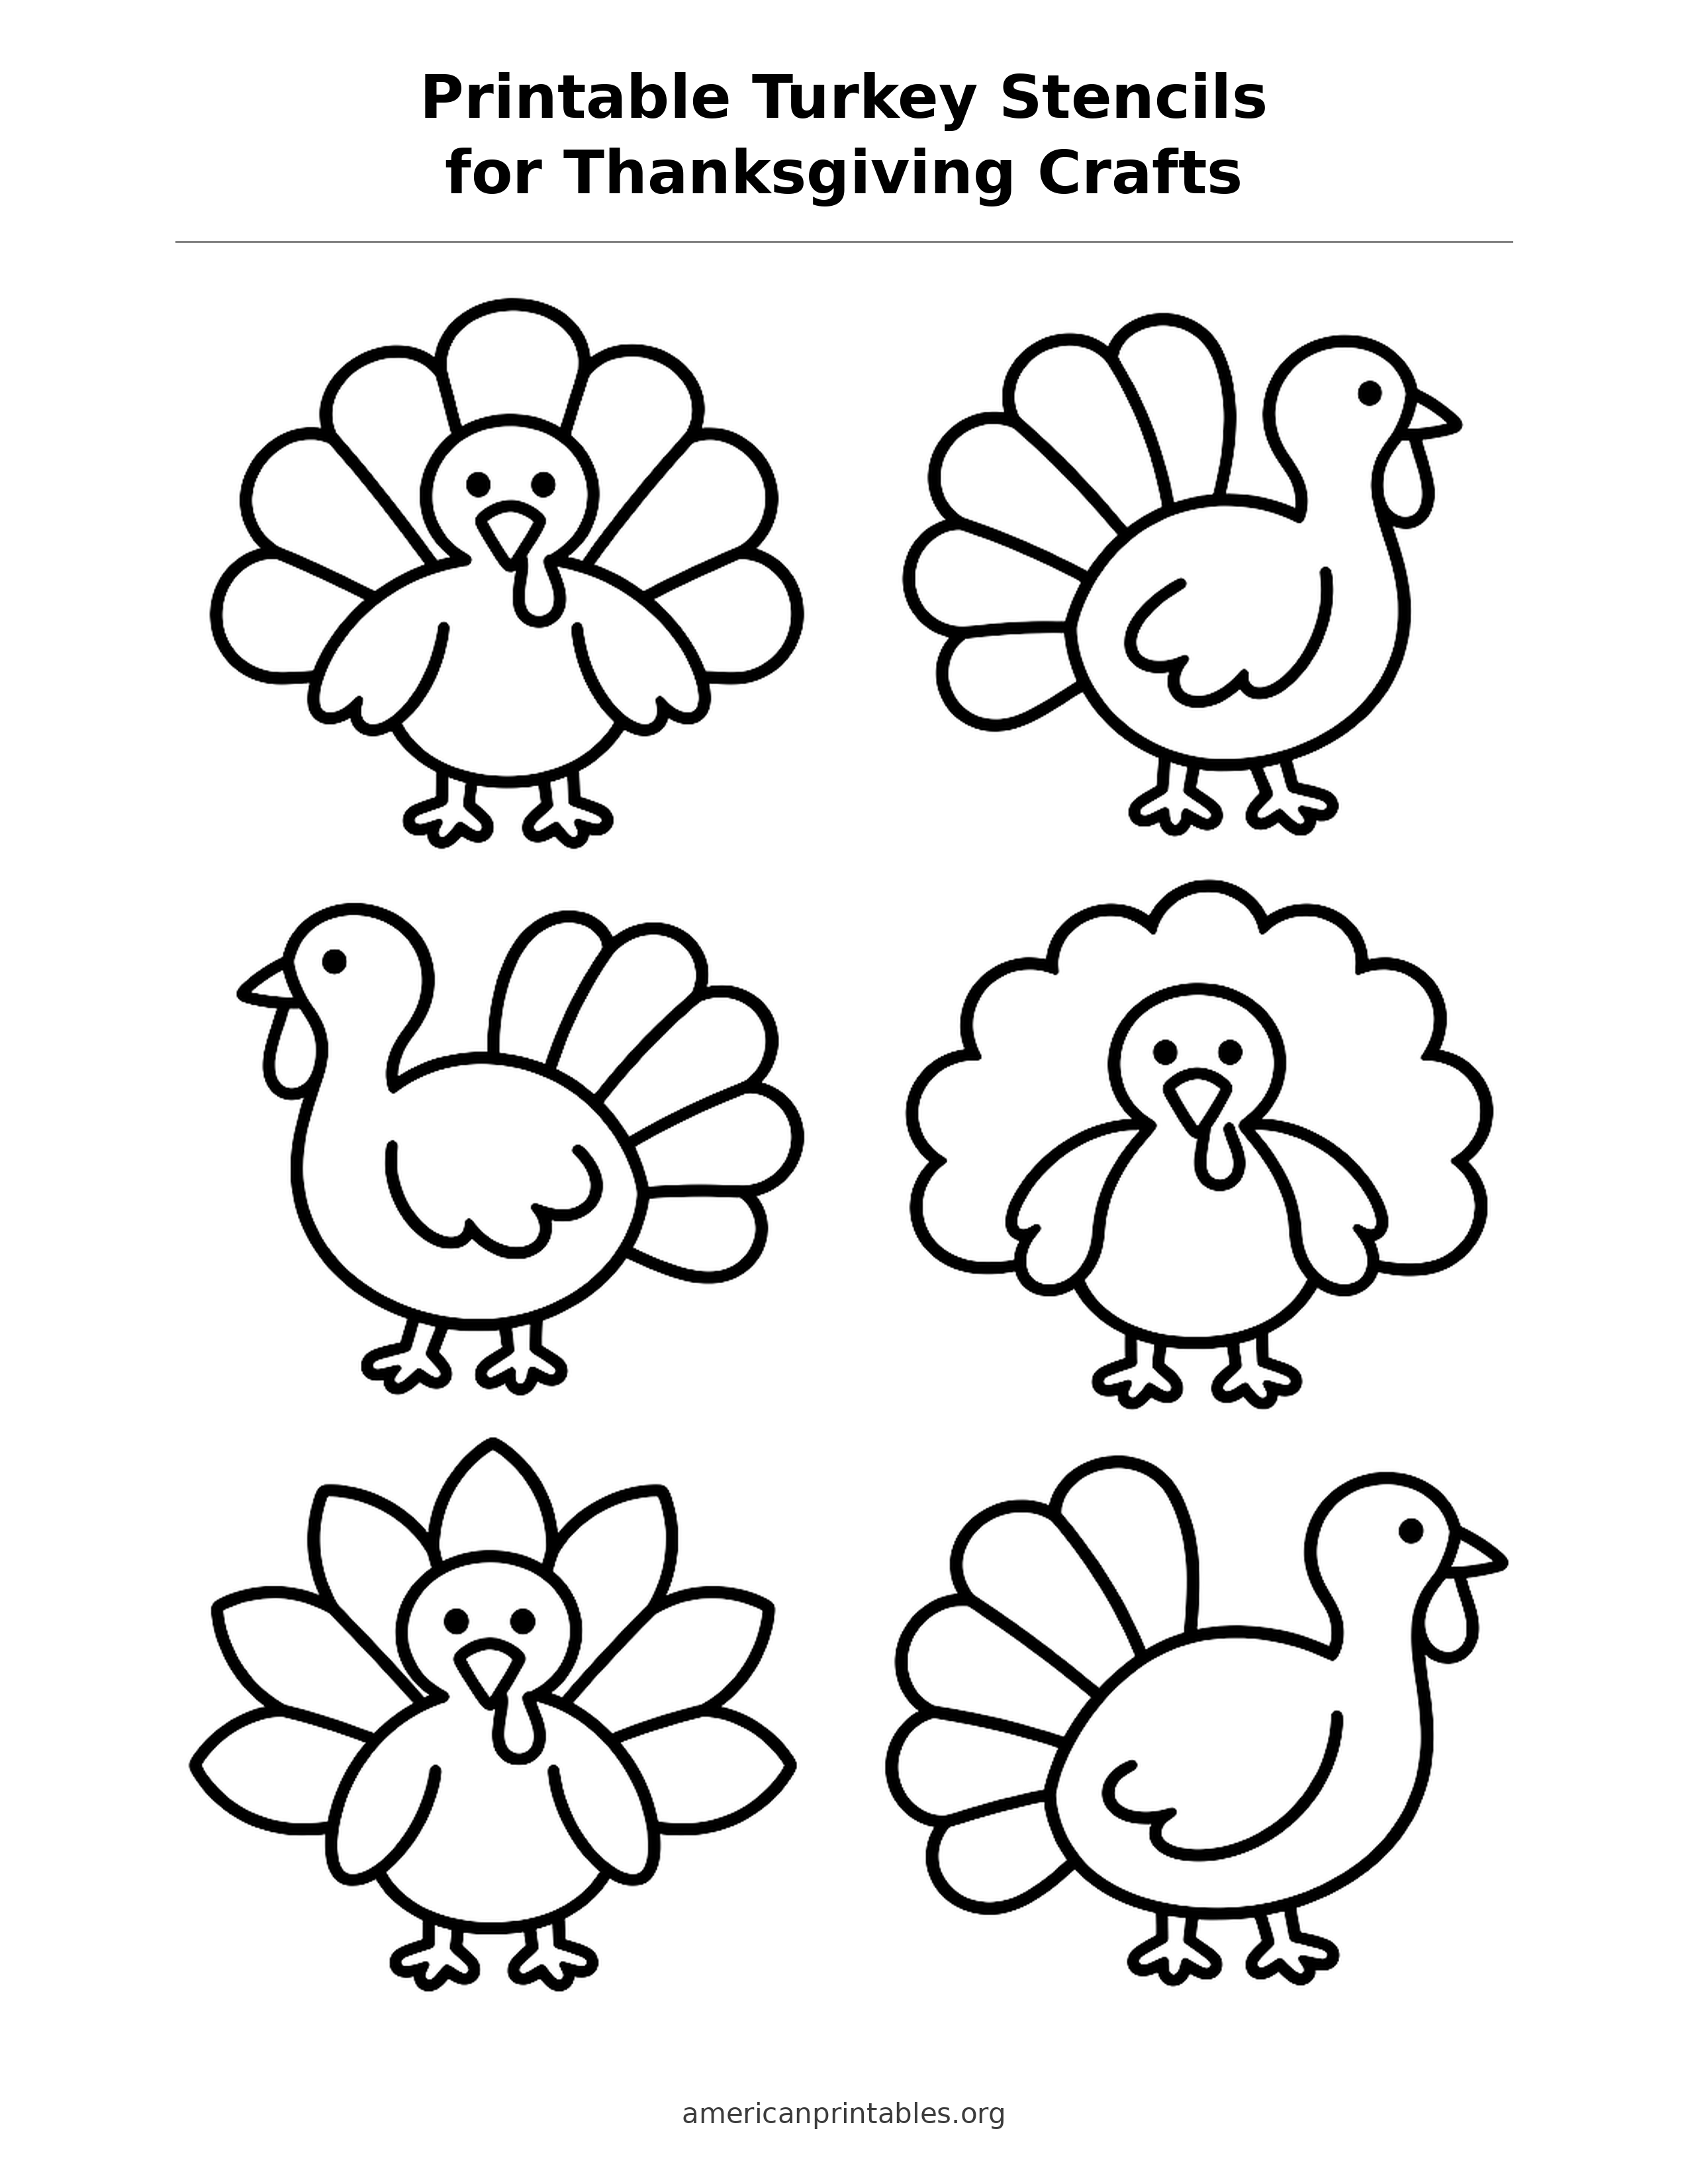
The six-mini-cutouts page mixes front-facing birds and side views in a neat two-column arrangement. These smaller turkeys are useful for Thanksgiving place cards, gift tags, a classroom garland, or a repeating border on a bulletin board. Cut them apart first if several people are working at once. Leave a little paper around delicate feet while children color, then trim more closely when the ink or paint is dry.
How to print Printable Turkey Stencils for Thanksgiving Crafts?
Open the download link directly below the design you want. It points to the full-size, lossless WebP image, not a smaller article preview. Save that file, open it in an image viewer or browser, and choose US Letter paper in portrait orientation. Print at actual size or 100% when your print dialog offers that setting. Avoid a “fill page” option that may crop the title, feet, or watermark; if your printer has wide nonprintable edges, choose “fit to printable area” instead.
Each source image is 2550 × 3300 pixels, the proportions of an 8.5 × 11-inch sheet at 300 pixels per inch. A black-and-white or grayscale setting is enough for the line art. Plain copy paper works for coloring and quick practice. Cardstock is better when you want a reusable tracing template, a sturdy place card, or a pattern that can handle repeated cutting.
Print one test page before making a class set. Check that the line work looks solid, that the whole design is inside the printer’s margins, and that the small footer stays visible. If the page comes out unexpectedly small, turn off any extra scaling in the app and printer dialog. If your printer adds a large margin automatically, use the print preview to compare the page with the original before printing more copies.
Easy Thanksgiving craft ideas
For a gratitude display, print the large turkey and invite children to write one thing they appreciate inside each tail feather. Color the feathers in autumn shades, cut out the bird, and mount it on a contrasting sheet of construction paper. A classroom can make one shared display, while a family can let each person create a separate turkey for the refrigerator or a November memory book.
For a layered paper turkey, use the assembly sheet as a pattern rather than coloring the original. Trace the feather pieces onto red, gold, orange, and brown paper. Lay them behind the body until you like the arrangement, then glue the feather bases down. The broad pieces are easy to rearrange, which makes this a good project for a mixed-age group. An adult can pre-cut the feet and smaller facial area for children still learning to use scissors.
For table decorations, print the mini sheet on cardstock. Color and cut out the six birds, then write one guest’s name on each body or on a small rectangle glued behind it. They can sit against a napkin ring or be taped to a folded place card. Punch a small hole in the top of each completed bird and thread them on string for a simple garland, leaving enough space between cutouts that the tails do not bend.
The paired side profiles can become a window or bulletin-board scene. Trace them onto two colors of paper, reverse one if needed, and arrange them facing a central “Give Thanks” message. They also make useful templates for felt shapes or craft foam; for thick material, hold a cardstock pattern in place and trace slowly with a pencil or washable marker.
Cutting, tracing, and painting tips
Use safety scissors with supervision for younger children. Turn the paper as you cut around curved feathers instead of twisting your wrist into awkward angles. For tight spots near the feet, make short snips and keep the main bird intact. If you want to use the sheet repeatedly, cut out one cardstock copy and store it flat in a folder marked “Thanksgiving.”
To make a paint stencil, choose a simple outline, cut out the shape from sturdy paper, and tape the surrounding sheet lightly to your project. Dab with a nearly dry sponge or stencil brush, lifting straight up at the edges to limit seepage. Let the paint dry before removing tape. A positive cutout works as a mask too: paint around the turkey and lift it away to reveal the unpainted silhouette.
If you would like another cut-and-glue project, KidzArt offers a downloadable Thanksgiving turkey template PDF. Crayola’s build-your-own-turkey coloring page is another option for a guided color-and-assemble activity. For the four designs above, use the visible download links under each image to get the original print files.