Turkey Cardboard Cutouts for Thanksgiving Displays – Give you an easy starting point for a homemade holiday scene. Print a pattern, transfer its outline to a recycled box, and turn the sturdy shape into a table decoration, classroom bulletin board accent, or welcoming entryway display. These four black-and-white sheets serve different projects, from one large turkey to a flock of smaller standees.
Turkey Cardboard Cutouts for Thanksgiving Displays
Choose the right turkey pattern
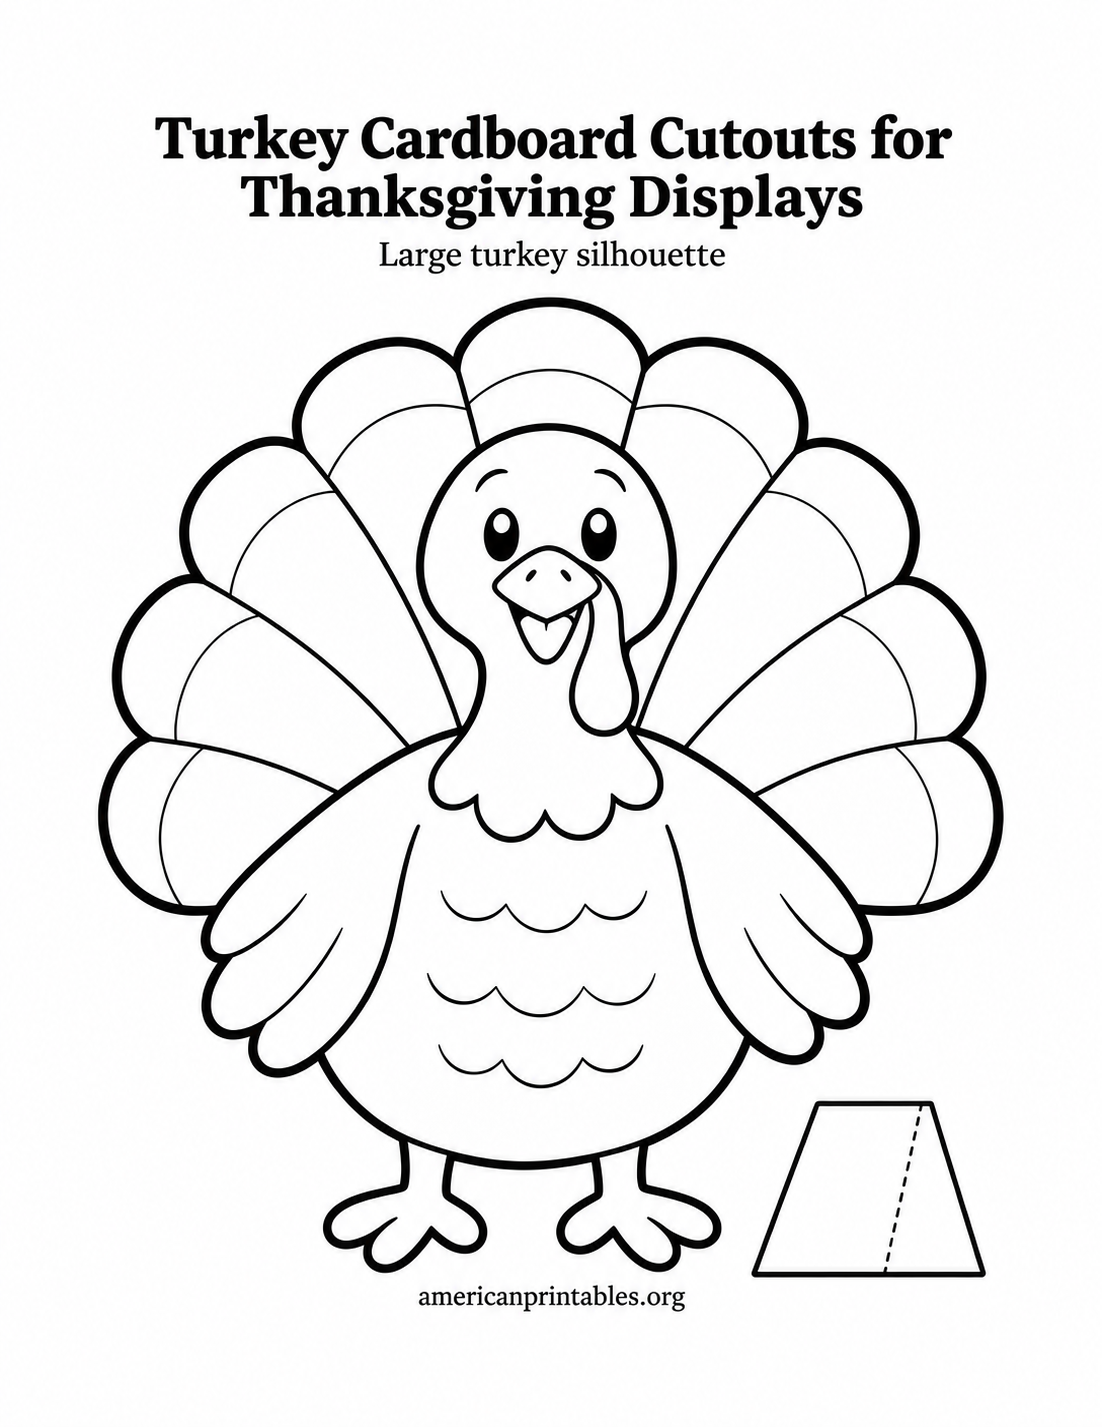
The large silhouette sheet features a front-facing turkey with a broad fan tail, a rounded body, wings, feet, and facial details. It also includes a separate trapezoid support piece with a dotted fold line. Use this design when you want a single focal point on a mantel, dessert table, or classroom shelf. You can color the printed bird first and mount it on cardboard, or trace just the outer shape and decorate the cardboard directly.
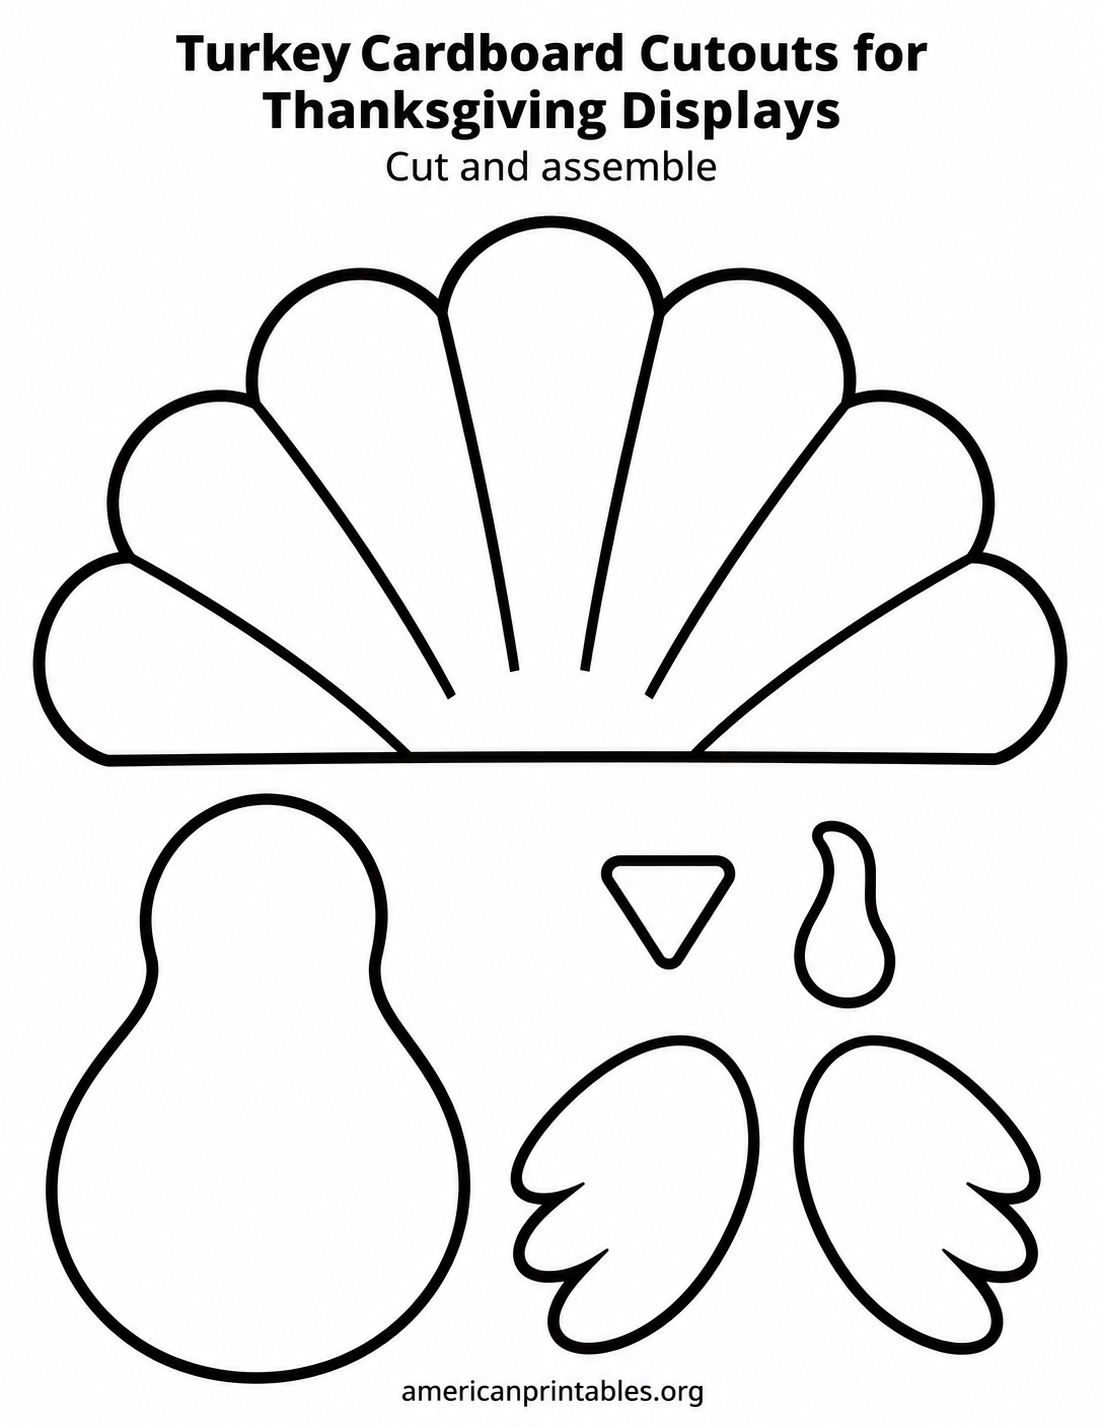
The cut-and-assemble sheet separates the fan tail, body, wings, beak, and wattle. It is useful when you want layered pieces or different colors of paper over a cardboard base. Trace each part independently, cut out the larger pieces, and place the body in front of the tail. The beak and wattle are small, so use colored paper for those details if thick cardboard feels awkward to cut.
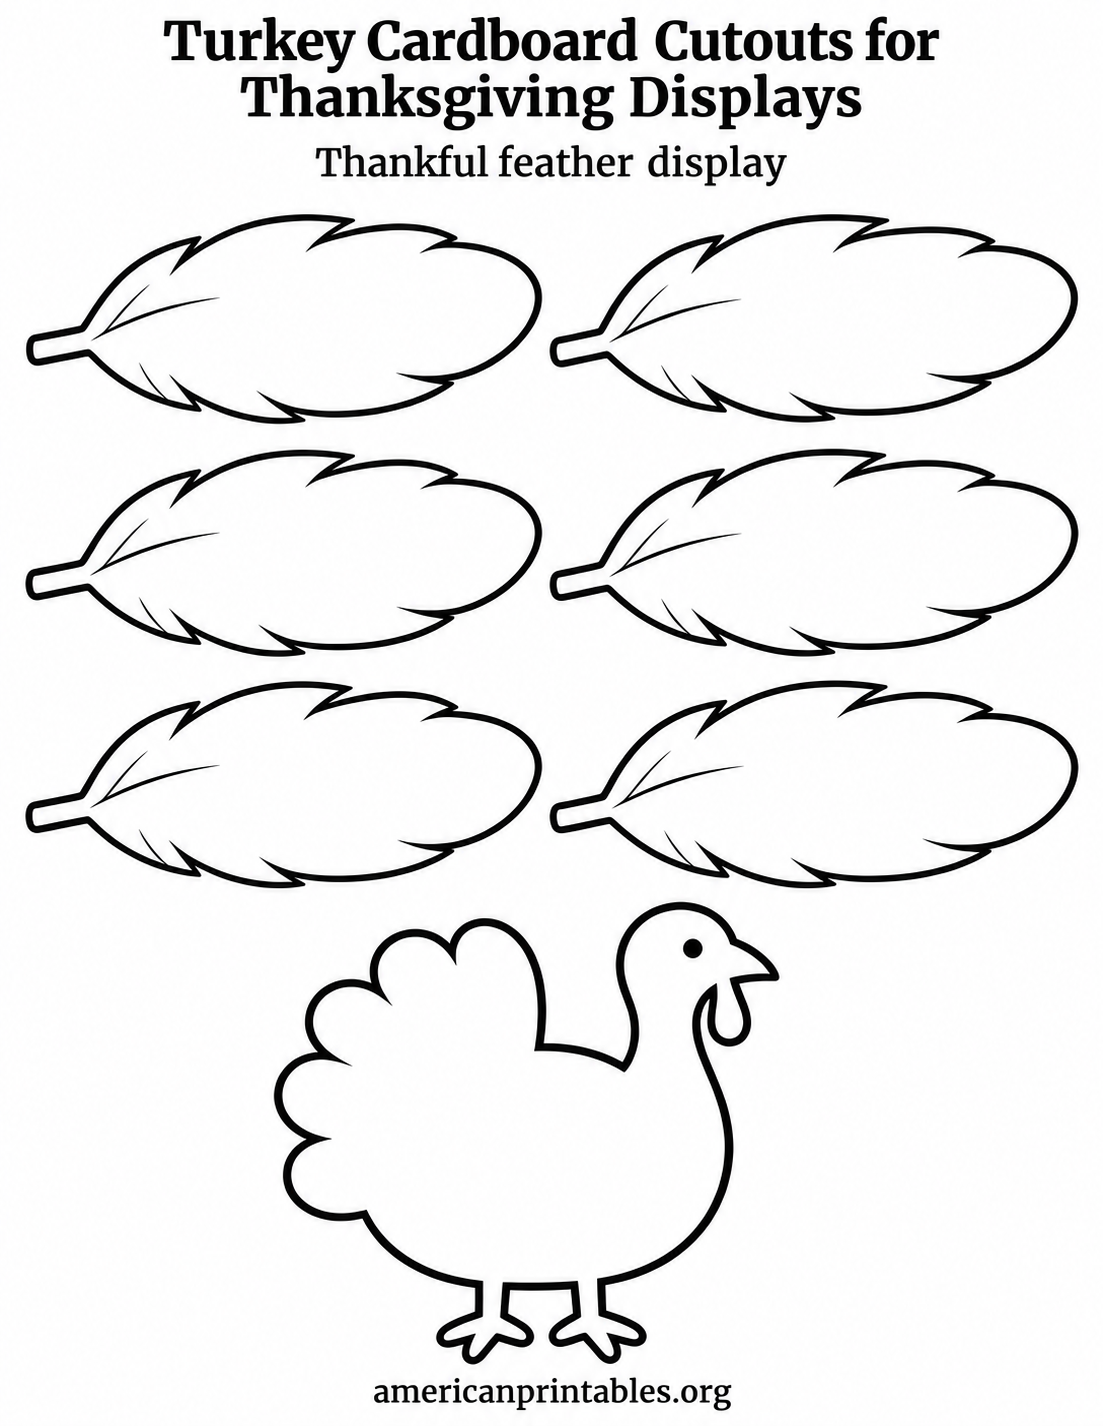
The thankful feather sheet has six roomy feather shapes and a smaller turkey outline. Invite guests or students to write a person, place, or memory on each feather. The sheet provides blank centers for their own words; no message is preprinted. Attach the completed feathers around the small turkey on a bulletin board, poster board, or large piece of recycled cardboard. Print another copy if your group needs more than six feathers.
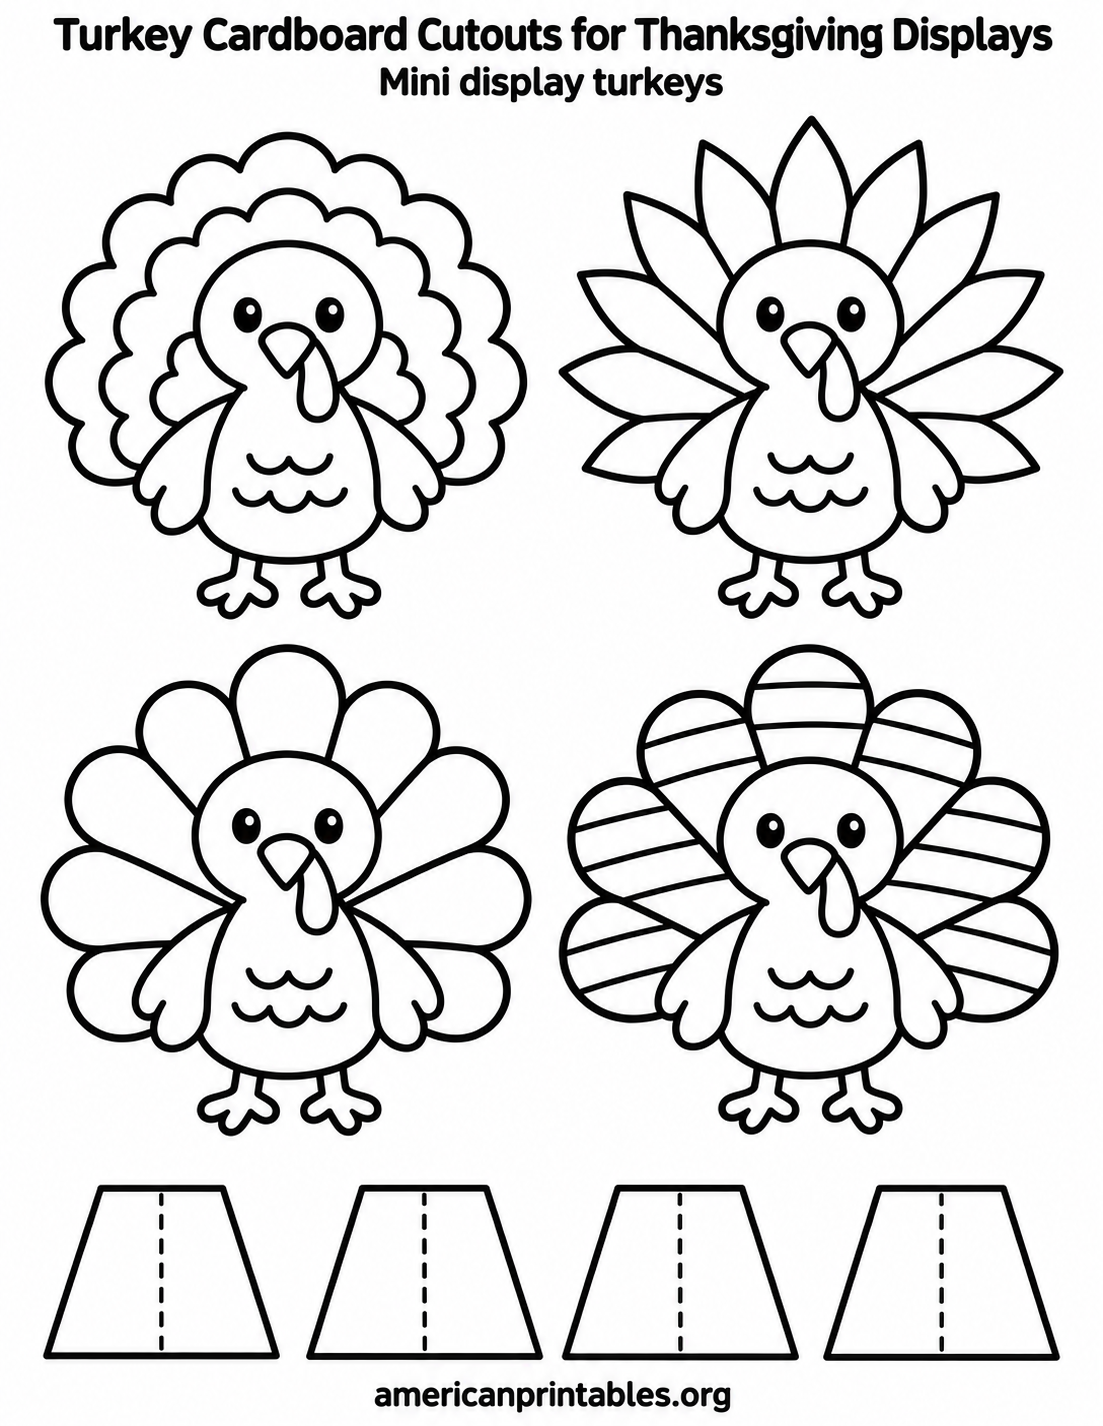
The mini display sheet includes four small turkeys with different feather treatments and four separate easel-back shapes. Cut them out for place settings, a shelf, or a row of Thanksgiving decorations. The styles include scalloped, pointed, rounded, and striped feathers, so children can color each bird differently. The easel pieces are optional if you plan to tape the turkeys to a wall or attach them to a garland.
How to print and transfer the patterns?
Download the original WebP for the design you want and print it on US Letter paper at actual size or 100 percent. Turn off any “fit to page” option if you want the shape to keep its intended proportions. If your printer clips an outer line, choose your printer’s printable-area setting or scale the sheet slightly smaller. The sheets are mostly white with black outlines, so a regular grayscale print works well.
For a sturdy cutout, flatten a clean cereal box or another lightweight cardboard package. Trim away folds and damaged areas before transferring the pattern. Color the paper version and glue it to the plain side of the box, smoothing from the center toward the edges. Let the glue dry fully, then cut around the outer outline. This method keeps all the facial and feather details without having to redraw them.
Alternatively, cut the paper pattern out first, lay it on the cardboard, and trace the edge with a pencil. Remove the paper and cut the cardboard shape. Add eyes, feathers, and other details with markers, crayons, construction paper, or paint. For a larger display, trace one feather or body piece several times on separate sheets of cardboard and assemble the parts on a poster backing.
How to Assemble Turkey Cardboard Cutouts for Thanksgiving Displays?
To make a tabletop decoration, trace one of the separate trapezoid supports onto cardstock or thin cardboard. Cut around its outside edge, fold on the dotted line, and attach one half to the back of a turkey with glue or tape. Leave the other half free to angle away as a prop. Test the balance on a level surface before setting it near dishes or candles. A narrow support may need a wider base for heavy corrugated cardboard.
For a flat wall or bulletin board display, leave the support off. Use removable mounting putty or tape suited to the surface. You can also punch a small hole near the top of a sturdy cutout and thread string through it for a hanging decoration. Keep the hole below the outer edge and reinforce it with a small scrap of tape if the cardboard is thin.
Arrange the large turkey in the center and place the gratitude feathers around it. Add the mini turkeys along the lower edge to give the scene a sense of scale. On a classroom board, let each child decorate one mini bird and add a name on a separate label. At home, the small birds can sit beside napkins as informal place markers.
Simple Thanksgiving display ideas
Choose a color plan before anyone starts cutting. Warm browns, rust, mustard, and deep red make a classic fall palette. For a brighter children’s display, give each turkey its own combination of colors. Because the designs are unfilled outlines, either approach works without covering up a printed background.
If several people are crafting together, assign one table to coloring, one to cutting paper, and one to mounting pieces on cardboard. An adult can handle a craft knife if thick cardboard is necessary; scissors are usually enough for cereal-box weight material. Keep small paper details in a bowl until it is time to assemble them so they do not get lost.
For another stand-up turkey example, Crayola’s printable turkey craft shows a recycled-box backing and a folded rear stand. If you want more table activities alongside the cutouts, the Illinois Extension Thanksgiving Kids Kit PDF includes gratitude writing and other holiday pages. Use those as extra activity ideas while keeping these four original cutout sheets as the patterns for your display.
Saving and reusing your cutouts
When Thanksgiving is over, remove any temporary wall adhesive, let painted pieces dry, and store flat cardboard turkeys between sheets of paper. Stand supports can be folded down or detached so they do not bend in storage. Keep one uncolored print as a master pattern if you expect to make the display again next year. A labeled envelope for small wings, beaks, and feather pieces makes the next setup much easier.