Turkey Body and Feathers Template (Free Printable) – Gives you four easy ways to make a Thanksgiving turkey at home, in a classroom, or around the kids’ table. Choose a cut-and-assemble body, a sheet of patterned feathers, a ready-to-color turkey, or a gratitude craft with blank feathers for writing. Each design is a separate US Letter page, so you can print only the activity you need. Download the original WebP from the caption under its image for the clearest printable copy.
Turkey Body and Feathers Template (Free Printable)
Choose the Right Turkey Sheet for Your Activity
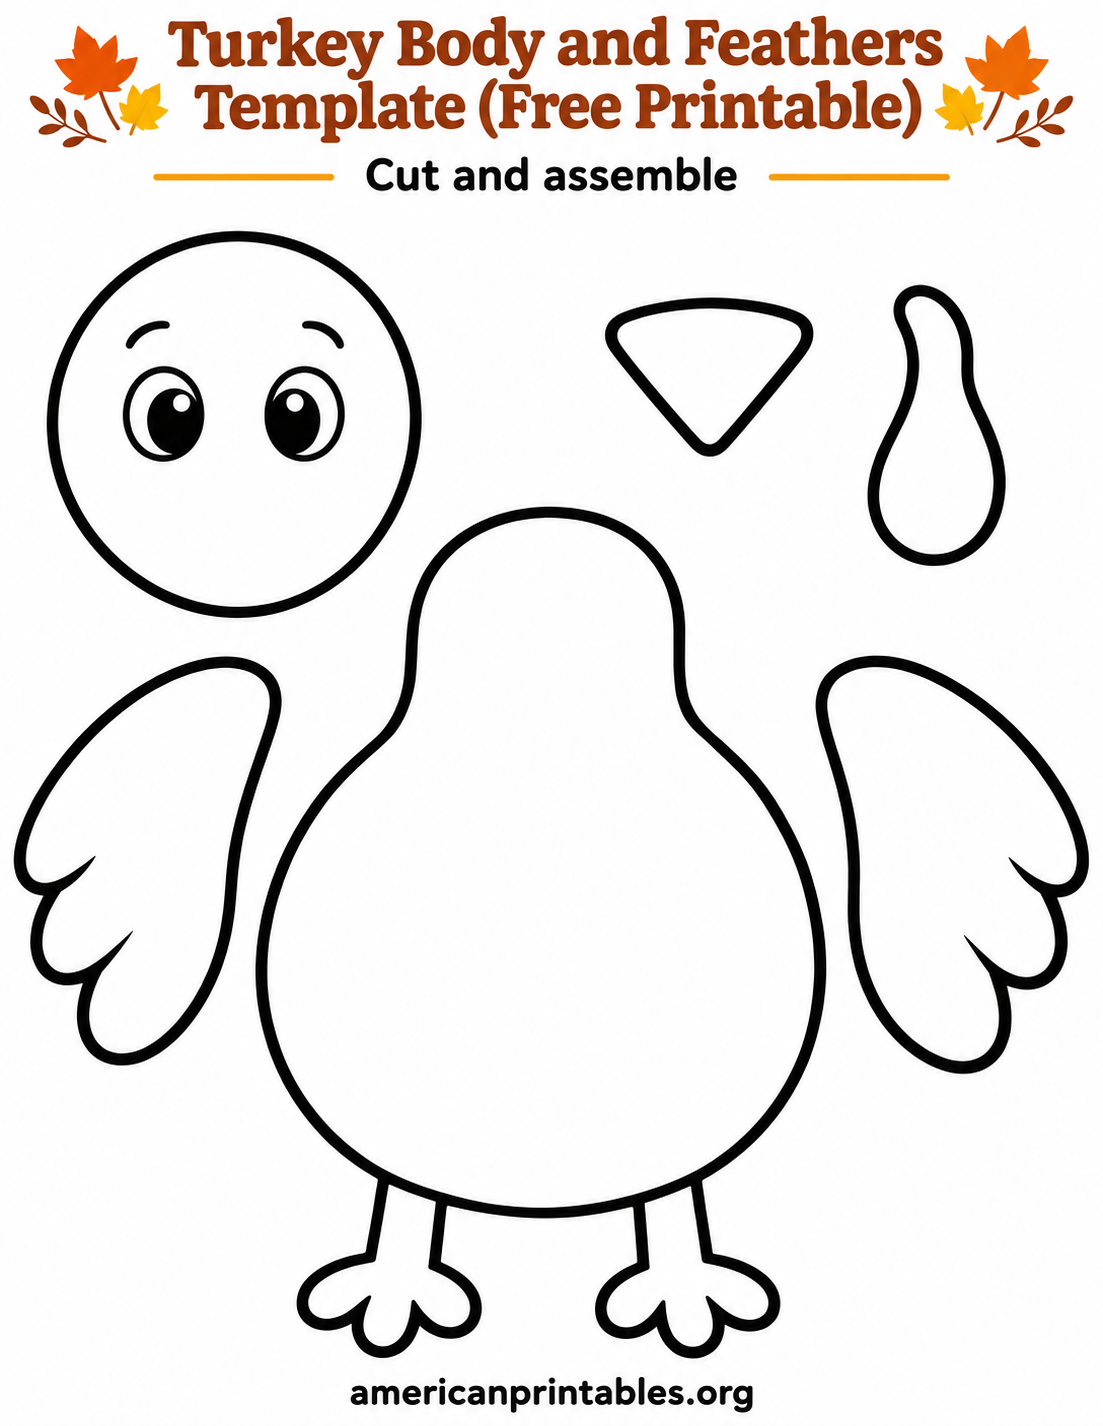
The first page is a simple assembly project. It has a large body with feet, a separate expressive head, two wings, a beak, and a wattle. Its roomy outlines work well for younger makers who are practicing scissor skills. The body sheet does not include a tail, so pair it with the patterned feather page or trace your own feathers onto colored construction paper.
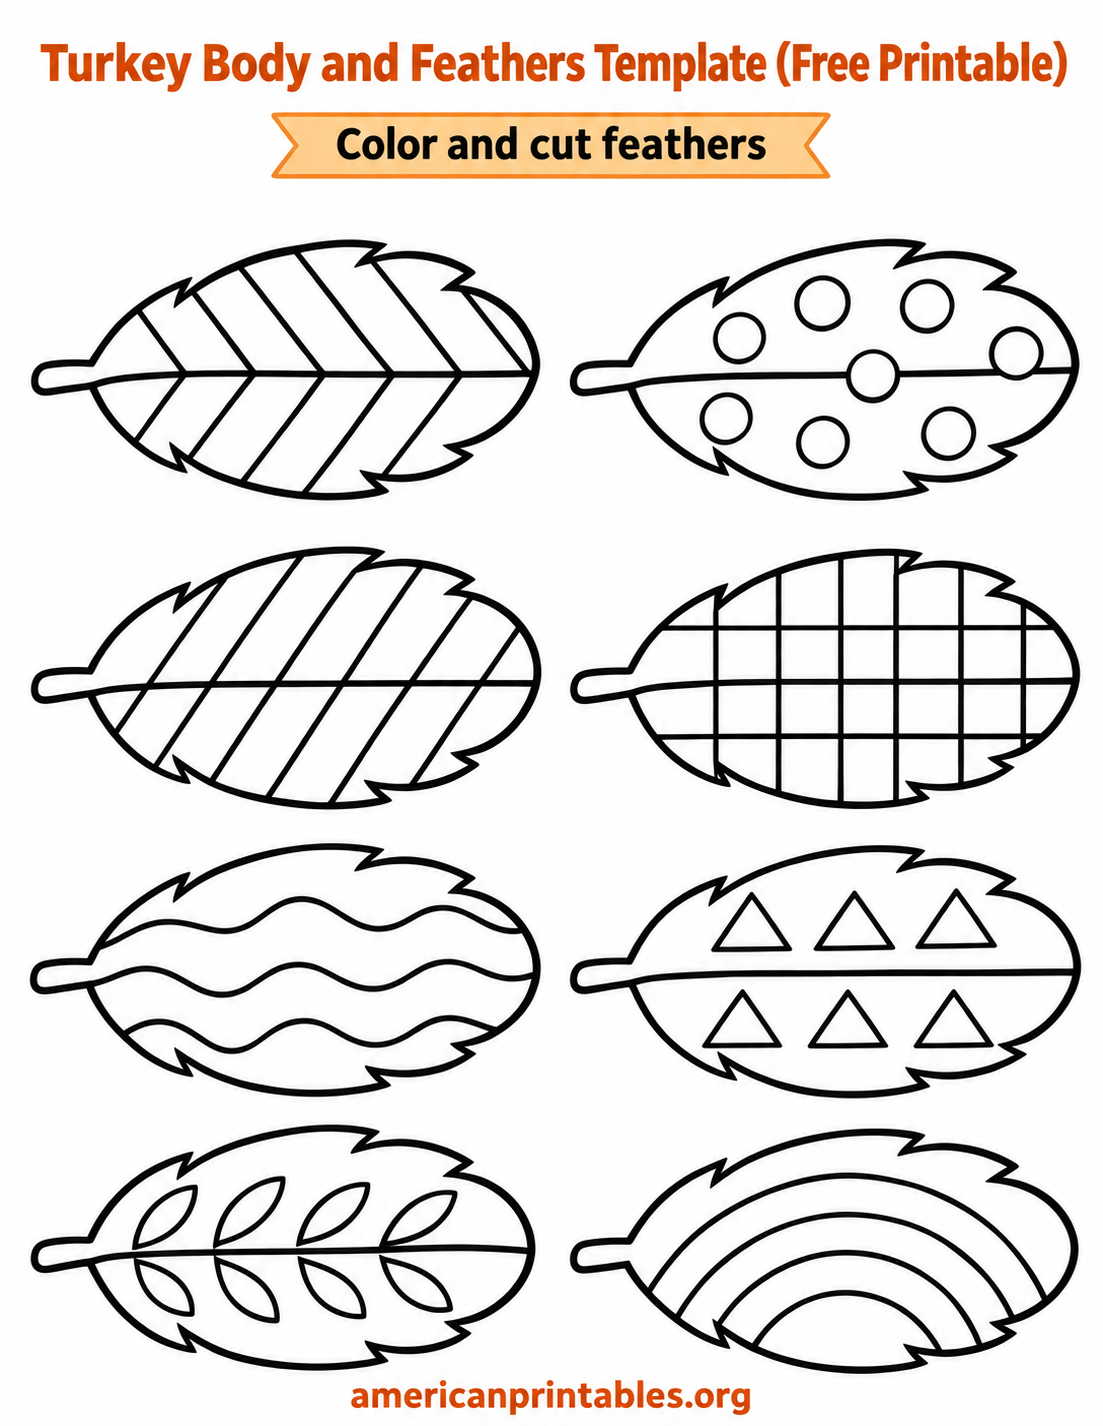
The second page contains eight separate feathers in two columns. Their stripes, dots, grid, waves, triangles, leaf-like shapes, and curved bands make each one different without filling in the coloring space. Color the shapes before cutting; a set of feathers can become a fan behind the body from page one, a classroom bulletin board border, or name tags for a Thanksgiving table.
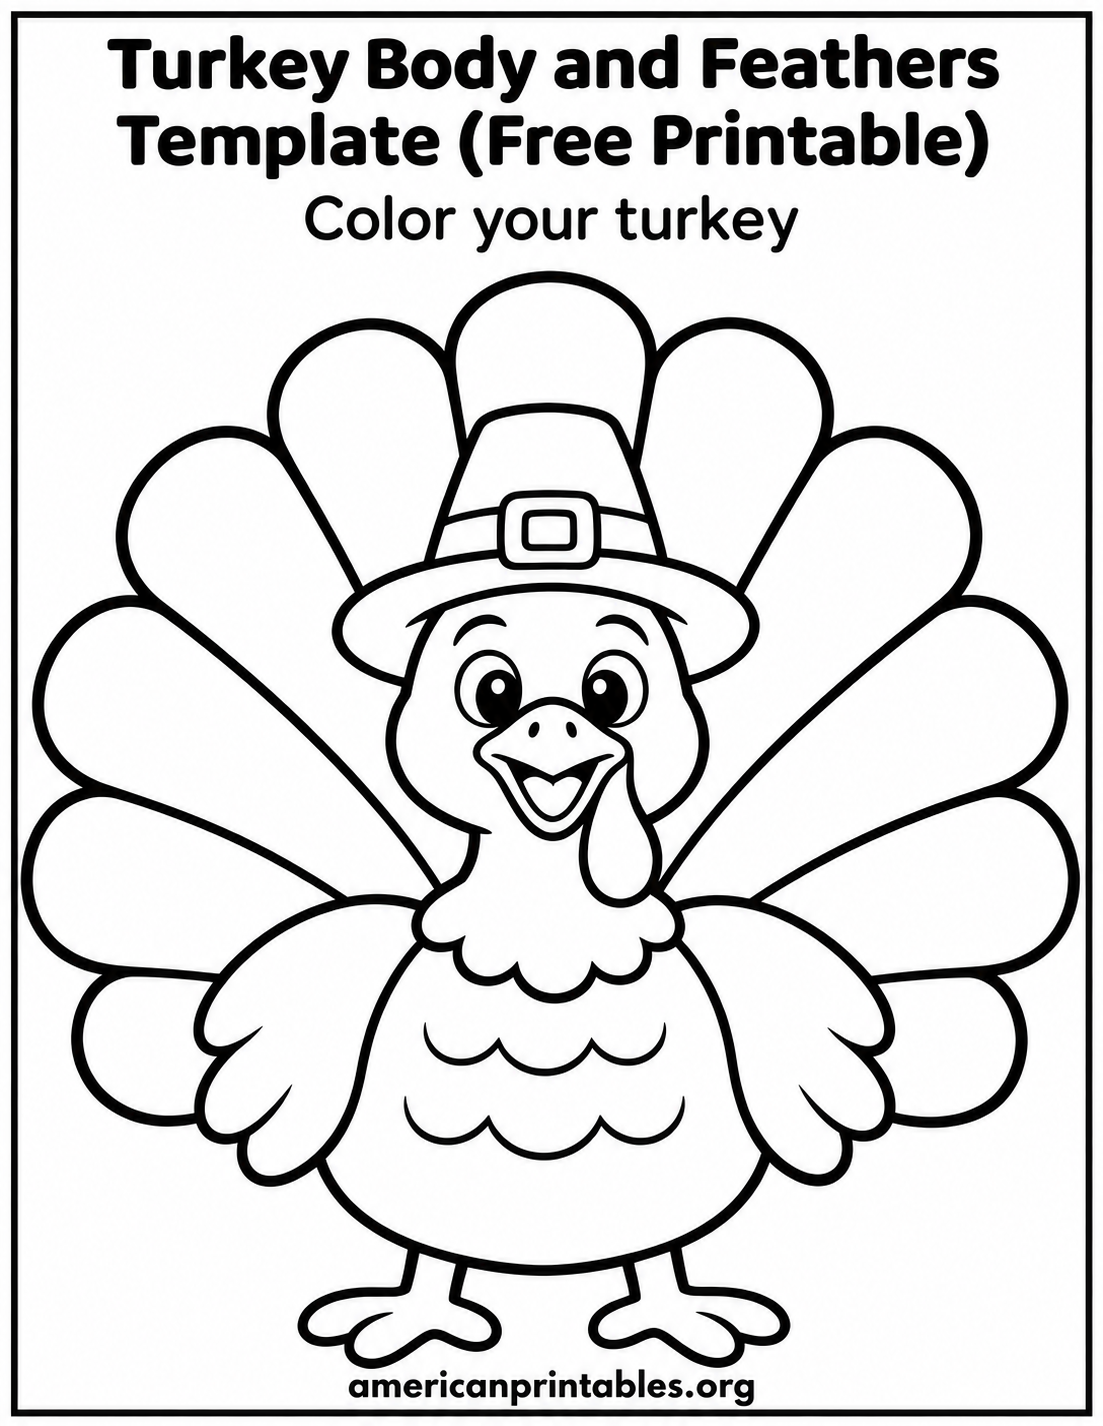
The third design is a complete turkey coloring page. The smiling bird, wide unfilled tail, wings, feet, and small pilgrim-style hat are already together, so no scissors or glue are needed. It is the easiest choice for a quiet coloring station, a quick classroom activity, or a child who wants to finish one whole picture.
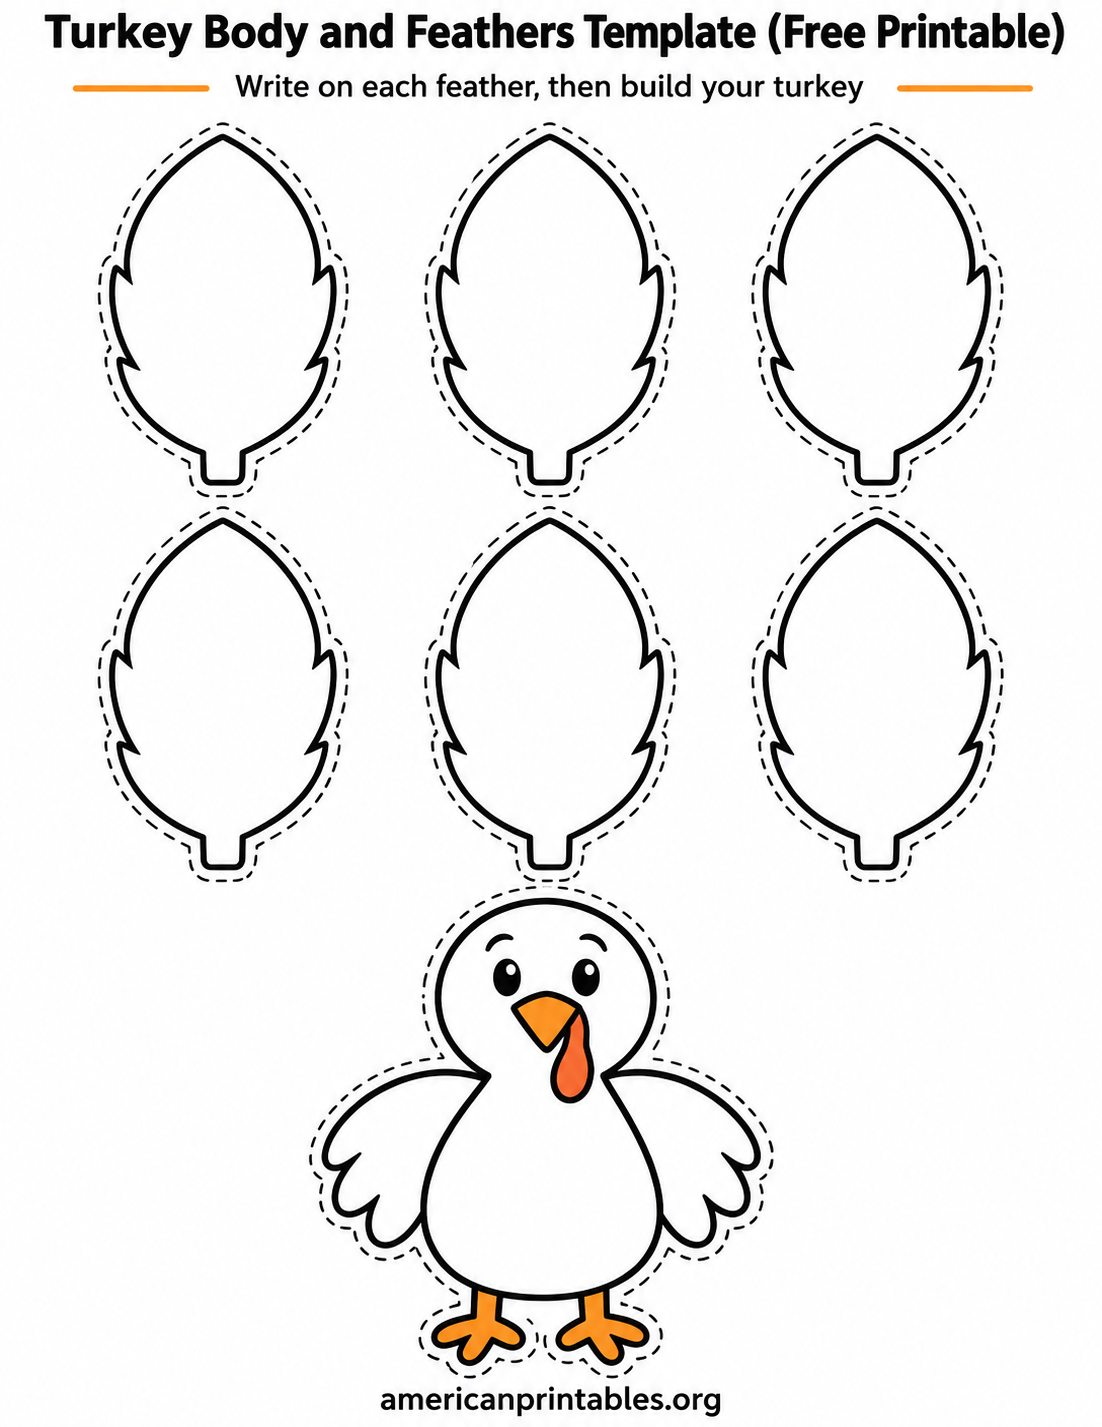
On the fourth page, six blank feathers sit above a smaller turkey body. Write one short thankful thought on each feather, then color, cut, and arrange the feathers behind the body. Children who are still learning to write can draw people, pets, foods, or places instead. The dotted paths around the pieces offer a little space outside the main outlines when cutting.
How to Print the Turkey Body and Feathers Template (Free Printable)?
Click the download link beneath the page you want. The link opens the original lossless WebP rather than a smaller article preview. Save the image, open it in your computer’s image viewer, and choose Print. Select US Letter paper in portrait orientation. In the print dialog, choose a fit-to-page or printable-area setting that keeps the entire title, outlines, and small website mark visible.
Print one test page before making a classroom set. Printer margins vary, and the assembled coloring sheet has a thin border near the page edge. If that border looks cropped in preview, reduce the scale slightly. Keep the image’s proportions locked; stretching it to fill every inch can distort the pieces. Regular copy paper is fine for coloring. Cardstock helps the separate feathers and body hold their shape for a display.
For a low-ink version, set the printer to grayscale or black and white. The outlines remain clear, and most of the pages are open white space. Let markers dry before handling the cutouts; crayons or colored pencils are especially convenient if children will cut the pieces right away. An adult should help with small pieces and any scissors work as appropriate for the child.
Cut, Color, and Build a Paper Turkey
For a classic craft, print pages one and two. Color the head, body, wings, and eight patterned feathers first. Cut along each outer outline, keeping the little feather stems intact. Lay the feathers in a fan with their stems meeting behind the upper half of the body. Try a color pattern before gluing; alternating warm and cool colors makes the individual feathers easy to see.
Attach the feather stems to the back of the body with a glue stick or small pieces of tape. Place the head near the top of the body, add the wings to the sides, and position the beak and wattle on the face. If you want a sturdier decoration, glue the finished turkey to a larger sheet of construction paper. Leave room at the bottom for a child’s name or a short Thanksgiving message.
For the gratitude version, write on the six blank feathers while the page is still flat. A few words are enough: “my family,” “our dog,” or “reading together” all fit. Cut out the feathers and turkey body, then fan the feathers behind the head and shoulders. Have each child explain one feather before hanging the craft on a refrigerator, bulletin board, or door.
More Ways to Use the Finished Printables
Set out copies of the coloring page with crayons while adults prepare a holiday meal. The whole-turkey design works as a placemat-sized activity on letter paper, though it is still a craft sheet rather than a food-safe placemat. You can also invite children to color the feathers in a repeating sequence and talk about which pattern comes next.
Use the cutout and feather sheets as a group project. Give one child the body and let others contribute individual feathers. Write each maker’s name on the back, then assemble one shared turkey for a classroom wall. If you need more than eight tail pieces, print the feather sheet again and trim away any extras after arranging the fan.
For another printable color-cut-assemble activity, see Crayola’s Build Your Own Turkey page. Education.com’s Thankful Turkey Craft worksheet page offers another writing-focused idea. These are separate resources; use the four original downloads above for the designs shown in this article.
Quick Printing and Craft Questions
Can I mix pieces from different pages?
Yes. The first sheet’s body and the second sheet’s feather patterns make a natural pair. The gratitude page’s blank feathers can also be arranged behind a body from the first sheet if you prefer a larger finished turkey. Because the pieces are different sizes, lay them out before attaching anything permanently.
Which page is best for a younger child?
Start with the assembled coloring page if you want no cutting. For a cut-and-paste activity, the large body and head on page one are easier to handle than the smaller details. An adult can pre-cut the beak and wattle while the child colors and places the larger pieces.
Do I need to download all four?
No. Every caption links to its own full-size file, so choose one page or make a coordinated set. A single coloring page is enough for a short activity; pages one and two together support an assembled turkey; and page four stands on its own as a gratitude craft.