How to Set Printable Area in Google Sheets – Want a easy How to Set Printable Area in Google Sheets? We’ve got a clear, printable file [%ready to download—completely free, no strings attached|prepared for download—totally free, no obligations|set for download—absolutely free, no catches|available for download—entirely free, no commitments|waiting for download—100% free, no requirements%].
Are you looking to make your Google Sheets documents more visually appealing and professional? One way to enhance the presentation of your data is by setting the printable area correctly. By adjusting the printable area, you can ensure that your spreadsheets print neatly and exactly as you intend. In this article, we will guide you through the process of setting the printable area in Google Sheets, so you can create polished and polished documents with ease.
Customizing Your Printable Area
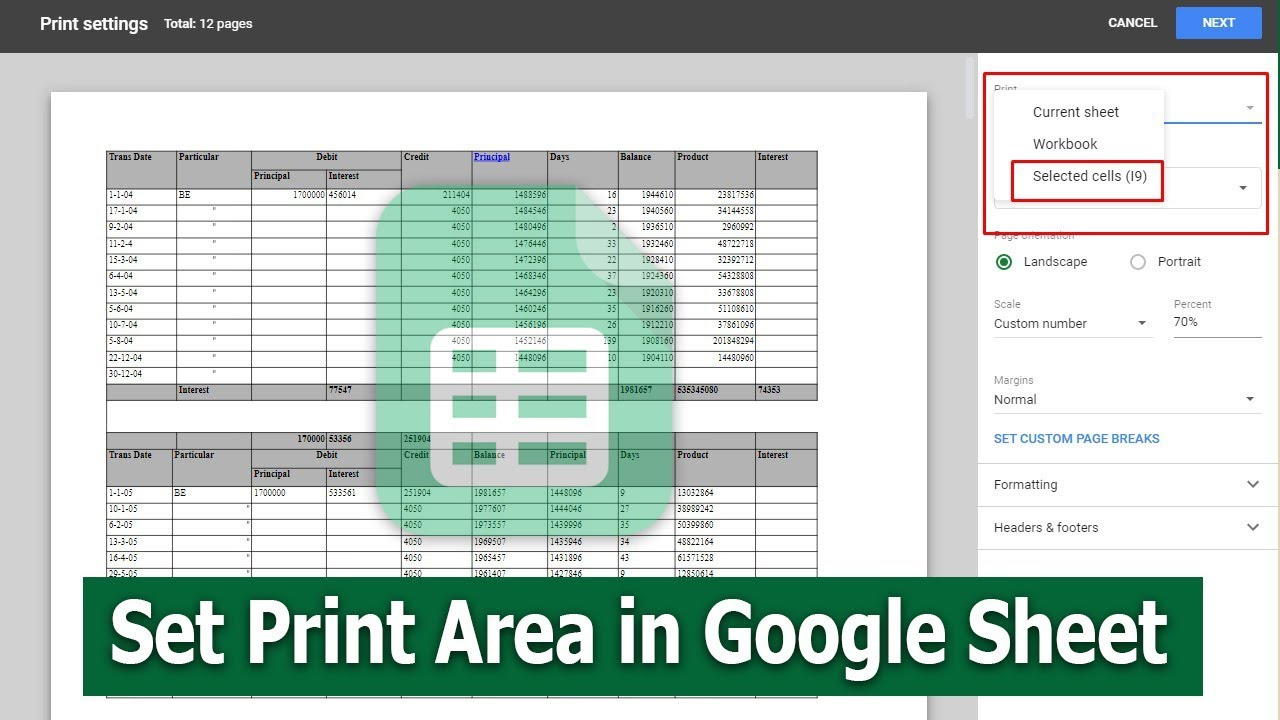
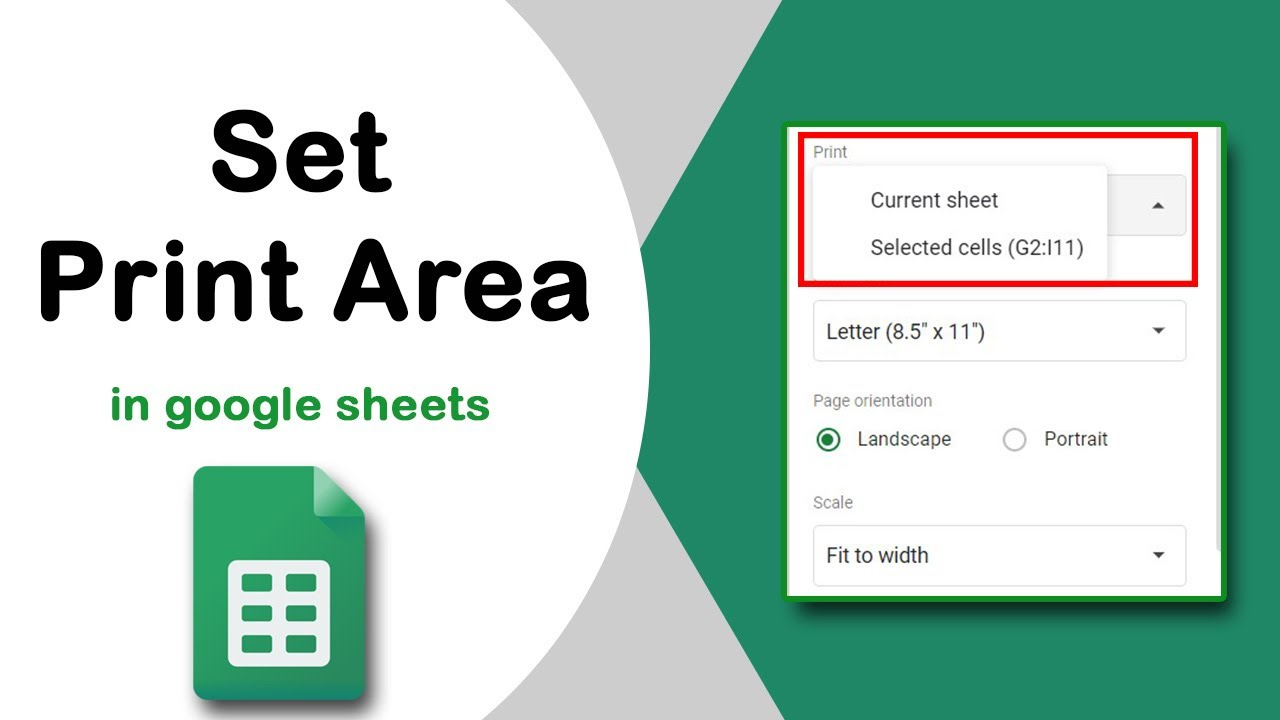
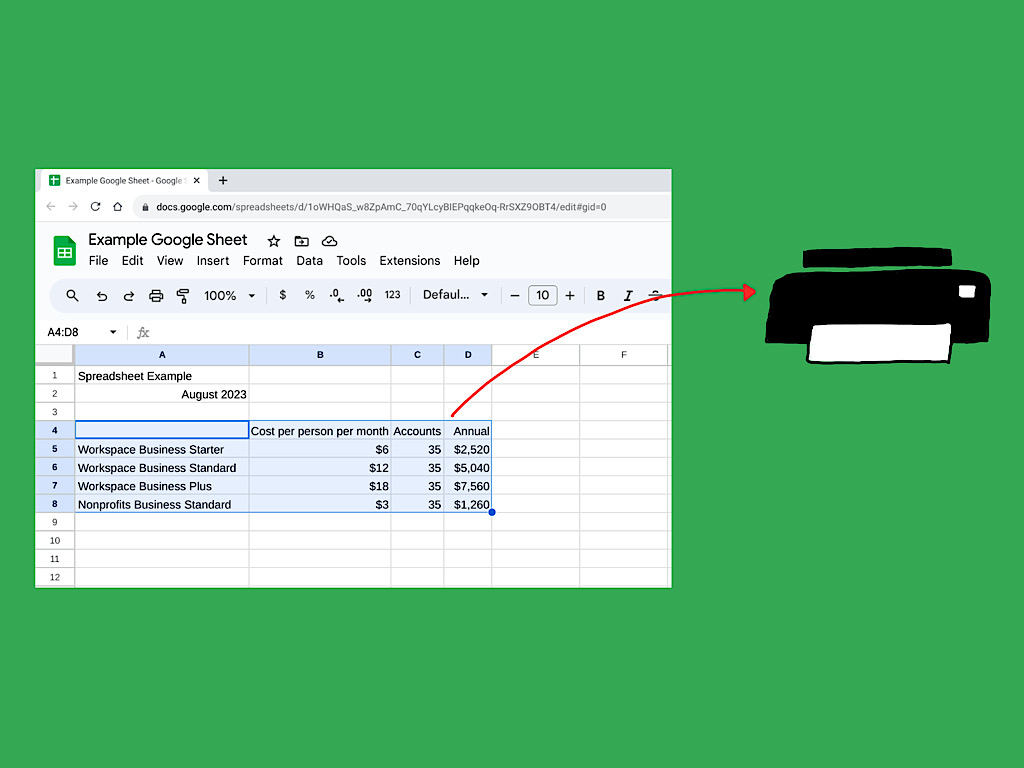
To begin customizing the printable area in Google Sheets, first, open the spreadsheet you want to work on. Click on File in the top menu bar, then select Print from the dropdown menu. A new window will appear with printing options. In this window, you can adjust settings such as orientation, paper size, and margins. To set a custom printable area, click on the Custom page breaks option. Here, you can drag the blue lines to define the boundaries of your printable area. This feature allows you to control which parts of your spreadsheet will be included when you print.
Once you have set the printable area to your liking, you can preview how the document will look when printed by clicking on the Next button. This preview will show you exactly which cells will be included in the printed version of your spreadsheet. If everything looks good, you can proceed to print your document. By customizing the printable area, you can ensure that only the most relevant and important parts of your spreadsheet are included in the printed version, saving ink and paper in the process.
Optimizing for Print Quality
In addition to setting the printable area, there are a few other tips you can follow to optimize the print quality of your Google Sheets documents. First, consider adjusting the scaling options in the print settings to ensure that your spreadsheet fits neatly on the page. You can also experiment with different font sizes and styles to make your data more readable when printed. Additionally, make sure to proofread your spreadsheet before printing to catch any errors or formatting issues that may affect the final output.
Another way to enhance the print quality of your Google Sheets documents is by using color sparingly. While color can make your data more visually engaging, it can be costly to print. Consider using shades of gray instead of color to differentiate between data points. Lastly, if you have a large spreadsheet that spans multiple pages, consider using the Repeat row headers feature to ensure that column headers are printed on each page. By following these tips and customizing the printable area, you can create professional-looking documents that are both visually appealing and easy to read.
How to Set Printable Area in Google Sheets
Related Printables..
Disclaimer: We do not claim copyright for any images featured here unless explicitly stated. All visual content is copyrighted to its respective owners. If you own the rights to an image and wish to have it taken down, please get in touch, and we will remove it immediately.