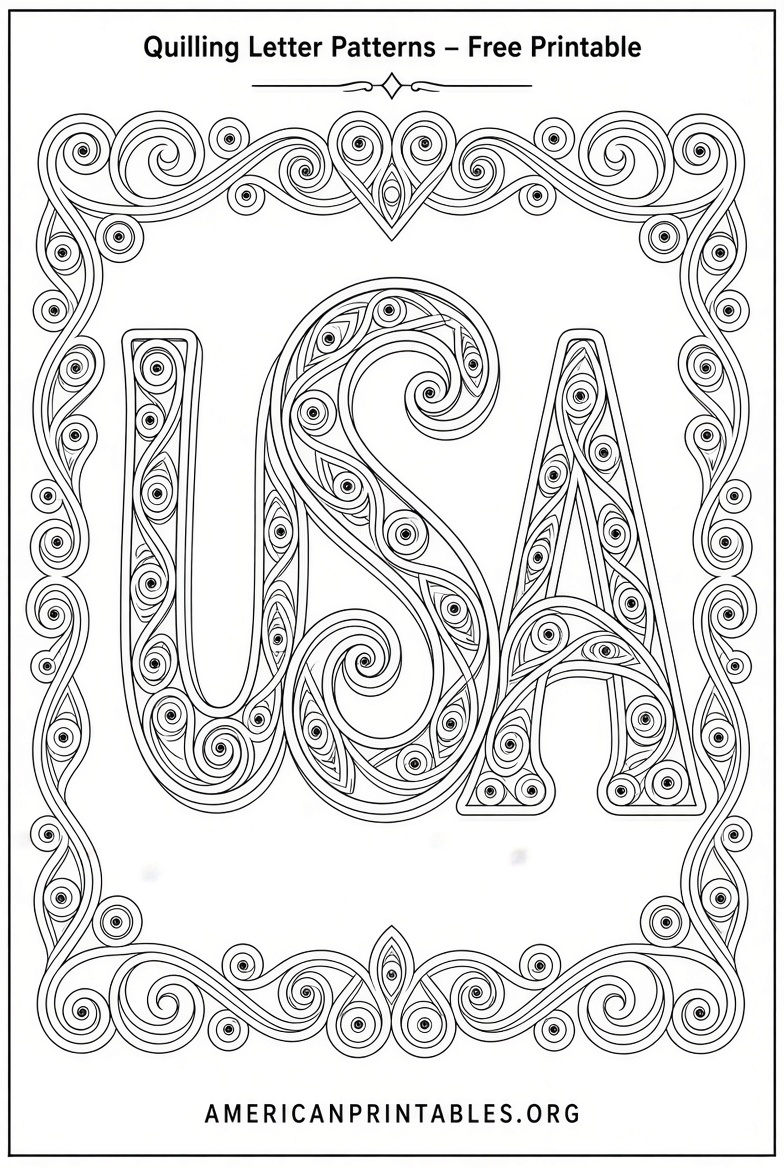
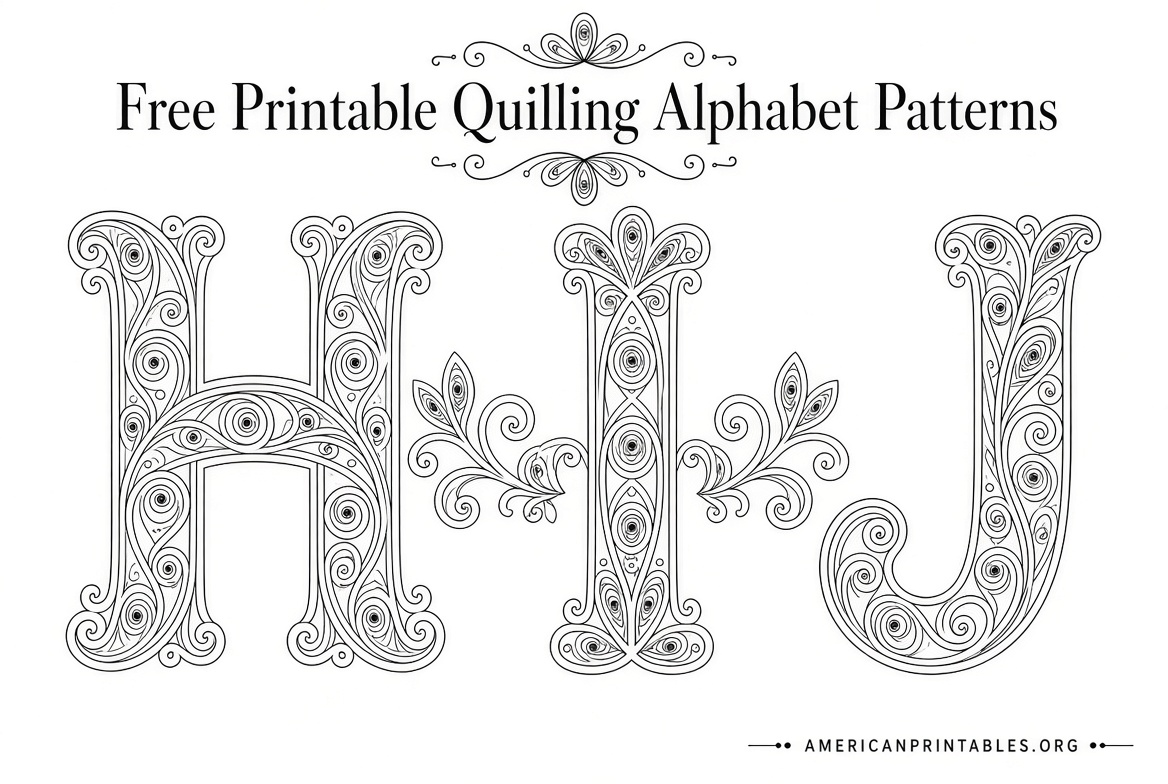
Free Printable Quilling Letter Patterns Guide – Looking for free printable quilling letter patterns? These resources help USA crafters create custom monograms, name cards, wall art, and gifts using paper strips rolled into coils and shapes. Quilling letters (also called paper quilling alphabet or on-edge lettering) starts with a clear outline template. You print it, trace or place your strips along the lines, score folds, glue the outline upright, then fill the interior with scrolls, teardrops, roses, or other basic shapes.
This guide explains the process, lists legitimate free options, and points you to trusted download pages. All linked resources were verified as free for personal use at the time of research. Always check the source site for current terms.
What Are Quilling Letter Patterns?
Quilling letter patterns are printable outlines or pre-measured guides for the alphabet. Most show uppercase or lowercase letters sized around 1–3 inches tall when printed on standard US letter paper (8.5 x 11 inches). Some include score marks so you simply lay a quilling strip on the template, score at the indicated points, snip, fold, and glue—no ruler measuring required.
Popular techniques include:
- Outlining the letter “on edge” (strips standing upright).
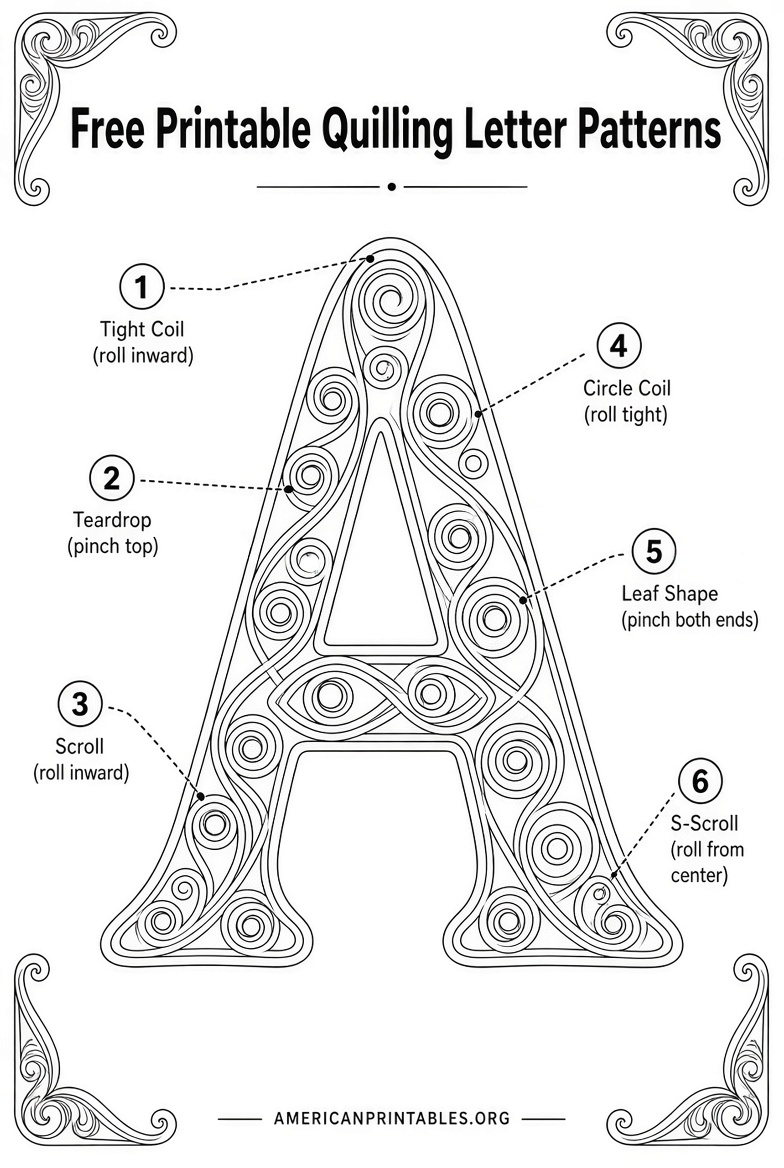
- Filling the inside with open or closed coils, S-scrolls, teardrops, or floral elements.
- Combining letters into words, monograms, or short phrases.
These patterns suit beginners and experienced quillers alike. They work especially well for personalized birthday cards, nursery décor, wedding favors, and framed initials popular across the United States.
How to Use Free Printable Quilling Letter Patterns?
- Download and print the PDF on regular printer paper or light cardstock.
- Place the printed template under a clear work surface or use a dried-up ballpoint pen to score guidelines onto your card base.
- Cut or buy ¼-inch (about 5–6 mm) wide quilling strips—heavier paper such as 160 gsm works well for sturdy upright letters.
- Follow the outline: glue the strip on edge, making sharp corners or smooth curves as shown.
- Fill the letter with your chosen shapes and add optional embellishments (leaves, flowers, or a background color).
- Let everything dry fully before handling or framing.
Basic tools needed: slotted quilling tool or needle tool, fine-tip glue bottle, tweezers, scissors, and a cutting mat. Many free tutorials walk through the exact steps with video.
Where to Find Legitimate Free Printable Quilling Letter Patterns?
Here are the most useful, authoritative free resources currently available:
- PaperZen (Cecelia Louie) offers free templates and extensive free video tutorials for both uppercase and lowercase letters. Start with the Letter A outline and filling guides, then explore the full series of free tutorials that demonstrate techniques for every letter. Visit the uppercase collection at paperzen.ca/pages/quilling-letters and the lowercase collection at paperzen.ca/pages/quilling-lowercase-letters. These pages clearly mark free templates and link to step-by-step videos.
- Tambella Arts provides a free Letter A printable template and tutorial (via email signup) as an introduction to their colorful on-edge style. Access it at this free Letter A download page. The file includes the outline, color key, and links to a matching video.
- For versatile free printable alphabet letter stencils (outline styles in multiple sizes and fonts that work well as quilling bases), use the collection from The Pink Craft Box: thepinkcraftbox.com/free-printable-alphabet-letter-stencils-numbers. These PDFs include uppercase, lowercase, numbers, and signs in sizes from 1 to 7 inches and are free for personal use.
These sources prioritize clear instructions and actual free downloads rather than paywalls or misleading “free” claims. Full alphabet sets and advanced phrase books from the same creators are available as paid digital downloads if you later want the complete pre-measured collection.
Free Printable Quilling Letter Patterns Guide
Tips for Best Results with Quilling Letters
- Print at 100% scale and test one letter first.
- Use consistent strip width (¼ inch is ideal for most letter patterns).
- Work on a non-stick surface or parchment paper so glue does not stick permanently.
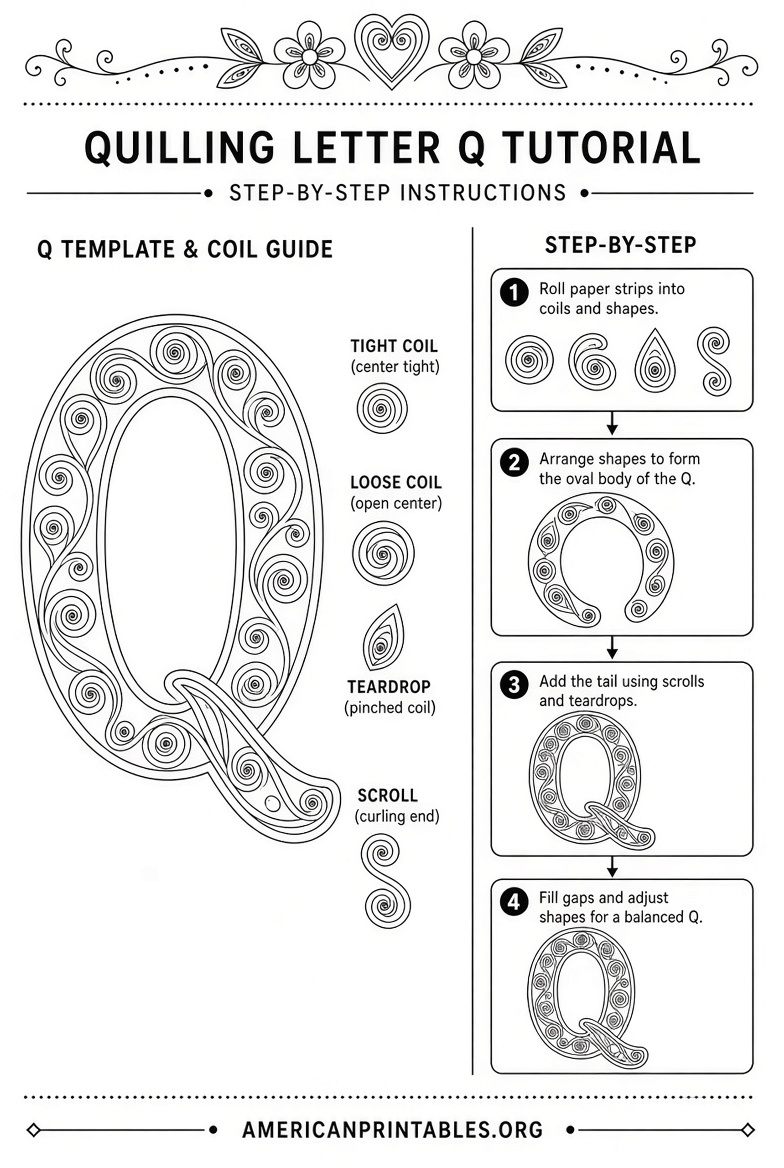
- Practice basic shapes (closed coils, teardrops, scrolls) before outlining full letters.
- For words or names, arrange printed letters on paper first to check spacing, then transfer.
- Seal finished pieces with a light coat of clear acrylic spray if they will be handled often or displayed in humid areas.
Many USA crafters start with a single monogram initial for a card and quickly move on to full names once the outlining technique feels comfortable.
Brief FAQ
Are these patterns really free?
Yes. The linked PaperZen, Tambella Arts, and Pink Craft Box resources offer genuine free templates and tutorials for personal use. Always respect the creator’s terms (usually no resale of the digital files themselves).
What paper works best?
Standard quilling strips or heavier art paper (around 160 gsm) cut into ¼-inch strips hold upright edges better than thin printer paper.
Can I enlarge or reduce the patterns?
Most PDFs can be scaled in your printer settings or PDF reader. PaperZen tutorials specifically show how to enlarge or reduce letters while keeping proportions.
Do I need special skills?
No. If you can make basic quilling shapes, you can outline and fill letters by following a free template and video.
Free printable quilling letter patterns open the door to highly personal paper art without a large investment. Start with the Letter A resources linked above, watch the accompanying free tutorials, and create your first monogram or name piece. Happy quilling!