Mini Turkey Templates for Small Thanksgiving Crafts – Make it easy to fill a fall afternoon with coloring, cutting, tracing, and table decorating. These four free, black-and-white sheets are sized for US Letter paper and give you several little turkeys per page. Pick the design that fits your project, download the original WebP below, and print as many copies as your family, classroom, or Thanksgiving gathering needs.
Mini Turkey Templates for Small Thanksgiving Crafts

Choose the Right Sheet for Your Thanksgiving Project
The twelve-cutout page is the quickest choice when everyone needs the same shape. Its three columns and four rows give each child a small front-facing turkey with a fan tail, a face, and tiny feet. Color the birds before cutting them out, then glue them to folded notes, treat bags, or the front of a homemade Thanksgiving card. You can also write a short message on the back of each finished cutout.
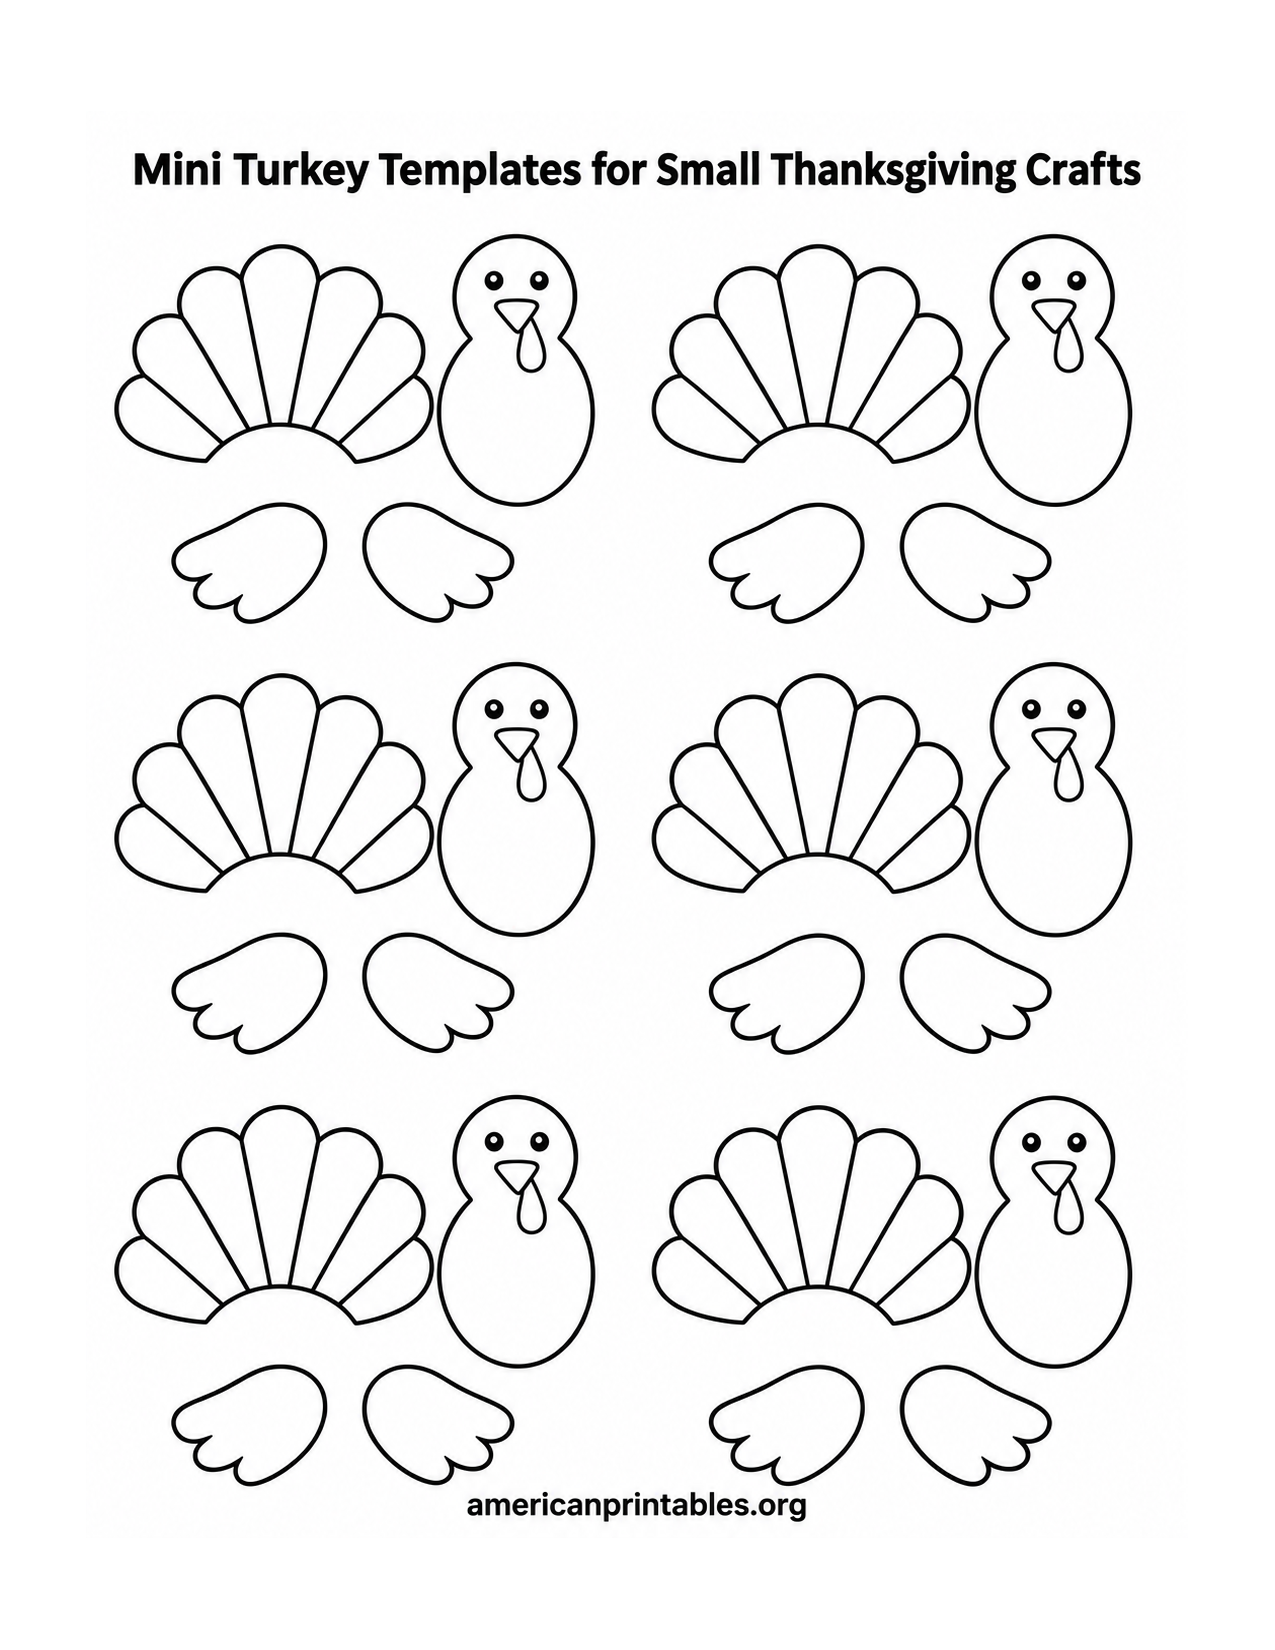
The assembly page separates each turkey into a tail fan, a head-and-body piece, and two wings. It holds six complete sets, arranged in two columns. Color the feathers in warm fall shades, cut around the outer edges, and glue the body over the center of the fan. Add the wings to the sides. For a slightly raised effect, attach the body with a small foam adhesive square instead of flat glue.
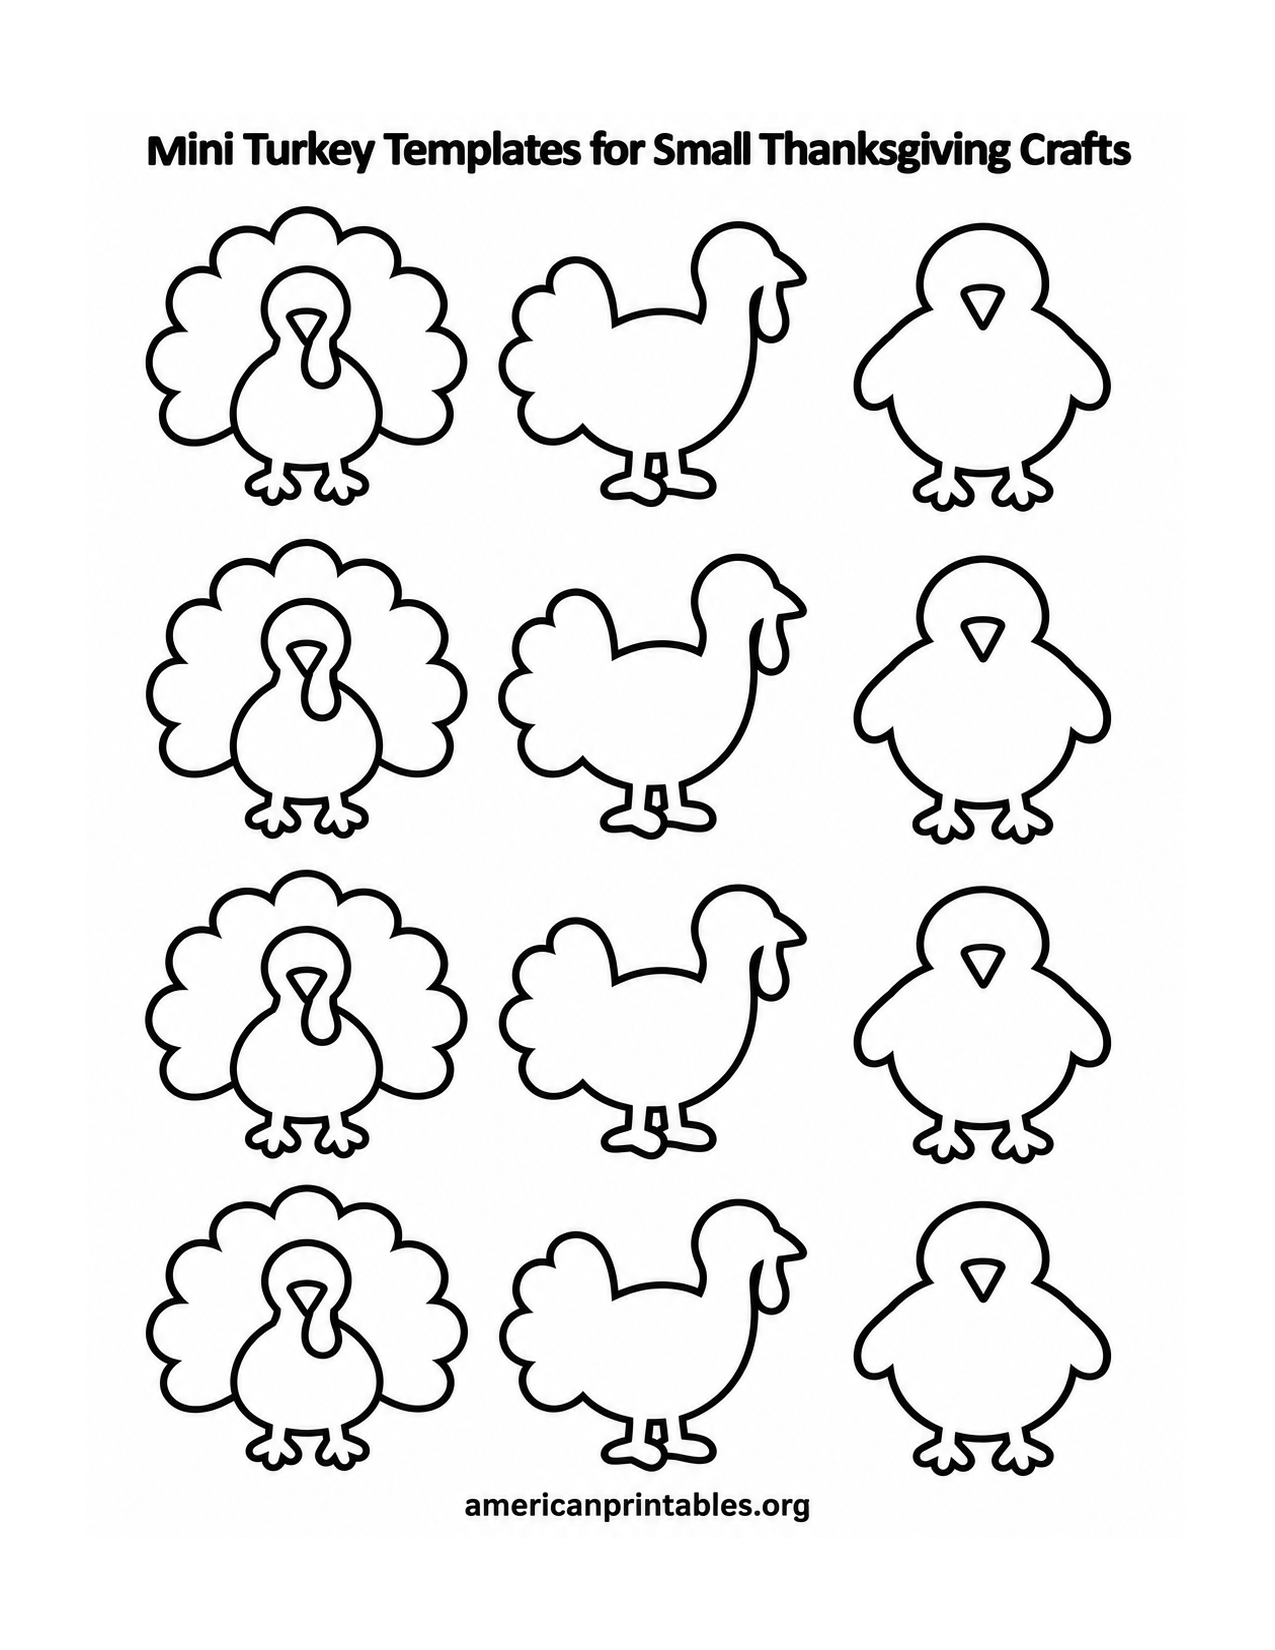
The tracing page has four repeated rows of three different shapes: a fan-tail bird, a side-profile bird, and a simple round bird. Their thicker outer lines are especially handy for transferring shapes to construction paper or felt. Cut one paper master of each style, trace around it with a pencil or washable fabric marker, and save the masters in an envelope for another craft day. The simple shapes also work as patterns for a paper garland.
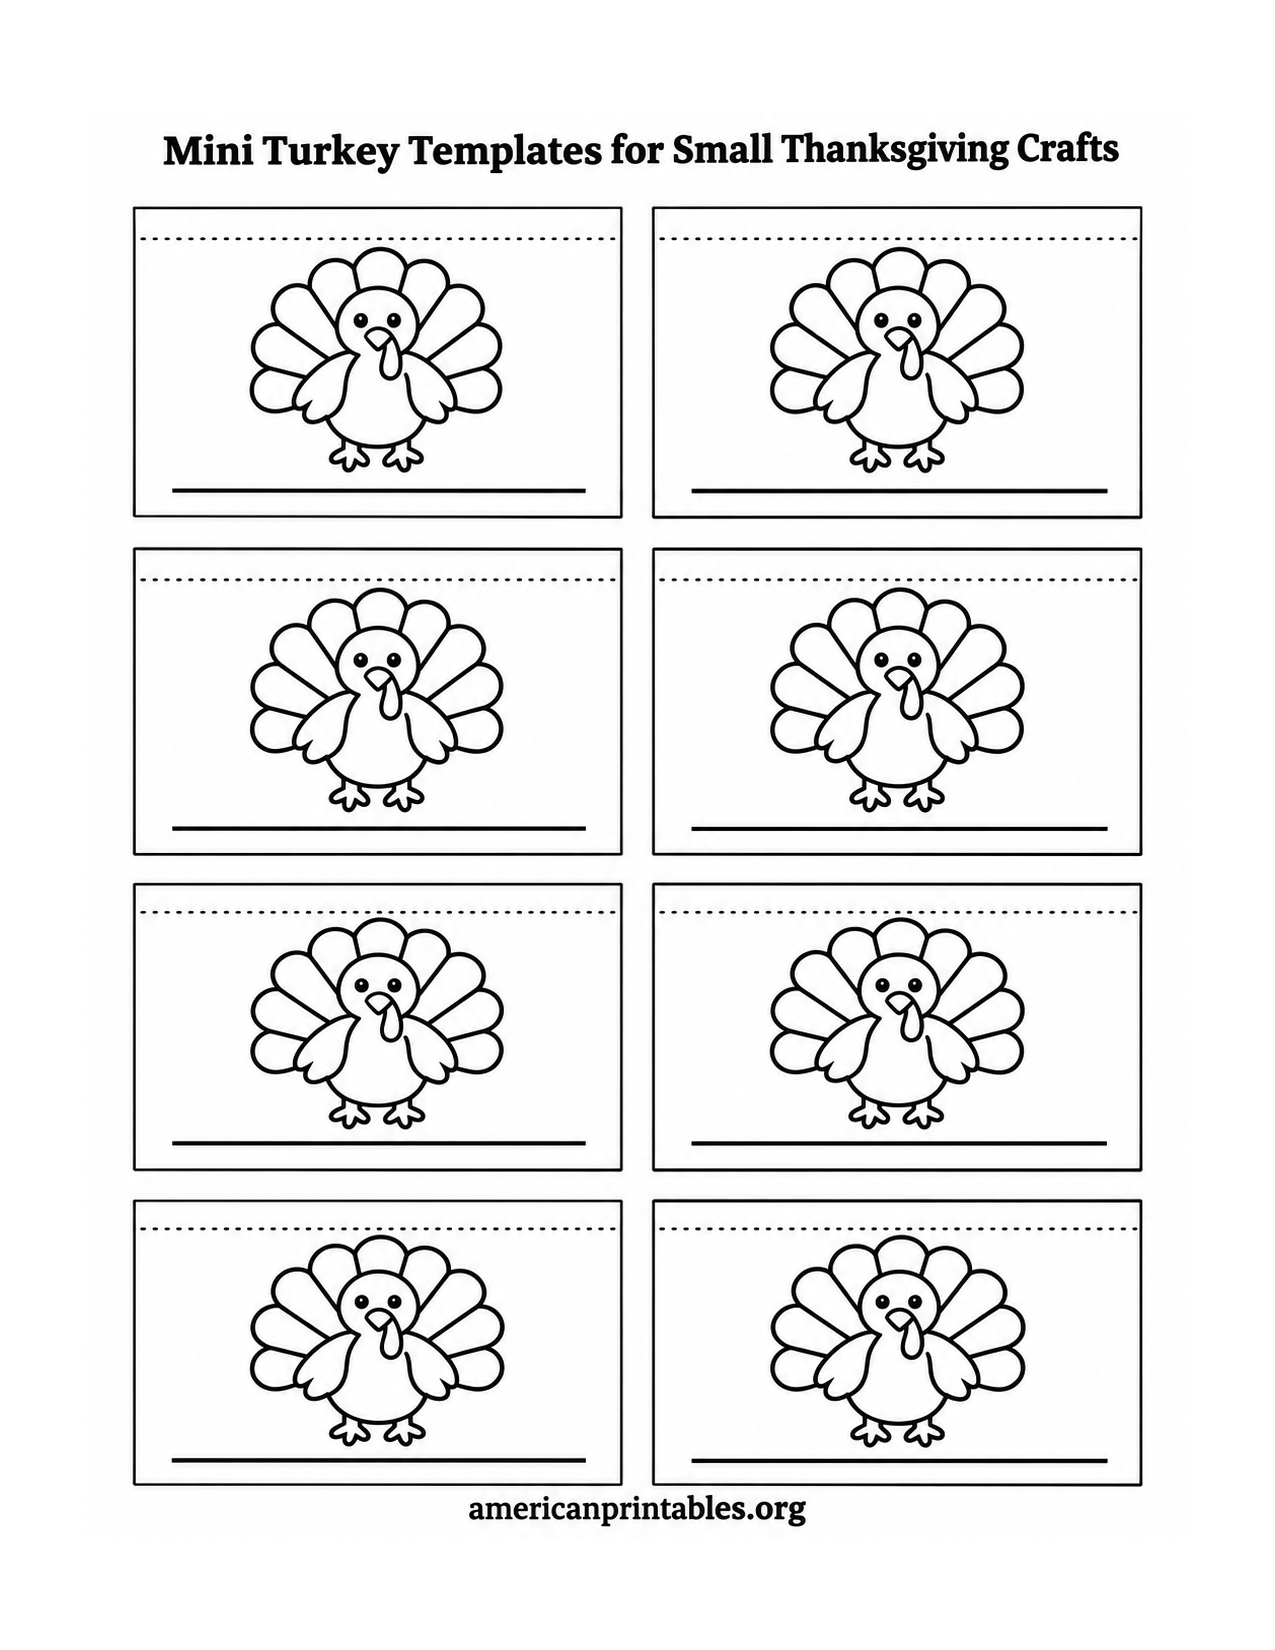
The last page has eight rectangular panels, each with a turkey picture, a dotted guide near the top, and a blank line near the bottom. Write each guest’s name on a line and use the panel as a flat place label. For a folded card, score gently along the dotted guide and test one card first to see how it stands; the printed guide sits close to the upper edge. These panels also make cheerful gift labels when you leave the fold unused and punch a hole in a corner.
How to Print and Cut the Mini Turkey Templates?
Download a sheet with the link directly below its preview. Open the original WebP file and select US Letter (8.5 by 11 inches) in your print dialog. Choose portrait orientation and print at 100% or “actual size” if your printer allows it. The artwork has white space around its edges, but printers vary, so check the preview before printing a whole stack. If the header or footer falls outside your printer’s printable area, choose “fit to page” for that printer.
Regular copy paper is fine for coloring and for templates that will be glued onto another surface. Use lightweight cardstock when you want the cutouts or place labels to hold their shape. A black-and-white or grayscale setting keeps the outlines crisp and lets children supply their own colors. Colored pencils give the smallest feathers good control; markers look bright but may bleed through thin paper.
For the cleanest cuts, color first, trim each item into a rough rectangle, and then follow the outside contour. A small pair of scissors helps around the feet and wing tips. Adults can cut the tiny details ahead of time for younger crafters. If you are making a garland, leave a narrow white border around each bird so delicate parts remain sturdy; tape the finished shapes onto string from the back.
Mini Turkey Templates for Small Thanksgiving Crafts at Home or School
Set up a simple craft station with a stack of printed sheets, crayons or pencils, safety scissors, glue sticks, and scraps of orange, brown, and red paper. Let each person choose a different design. A child who enjoys coloring may prefer the cutout or place-card page, while someone who wants a little building project can assemble the separate pieces. The tracing sheet gives older children a way to make many copies without printing another page.
For a gratitude activity, ask each person to finish one turkey and write something they appreciate on the back. Display the birds along a mantel or classroom bulletin board. Another option is to put a mini turkey on each place setting and invite guests to write a kind note beside the name line. These small projects take little space, which makes them useful when the table is already busy with Thanksgiving preparations.
Keep the original file on your device if you expect to print again. You can print only the page you need, and you can experiment with your printer’s scaling for a smaller or larger craft. Print one test page after changing the scale: shrinking the design also shrinks the name line and the tiny cutting details. For felt, trace a shape slightly larger than the printed outline if you plan to stitch around its edge.
Want another turkey project after these little pieces are finished? Crayola’s build-your-own turkey activity offers a separate color-and-assemble idea. The University of Illinois Extension also provides a downloadable Thanksgiving Kids Kit PDF with a handprint turkey and other holiday activities. Use those resources for extra inspiration while keeping the four original sheets above ready for your small craft projects.