Turkey Cut Out Printables for Thanksgiving Crafts – Give you an easy way to turn a few sheets of paper into a cheerful holiday activity. These four original black-and-white pages cover coloring, cutting, assembling, gratitude writing, and small decorations. Pick the page that fits your group, download the full-size WebP, and print it on US Letter paper for an afternoon craft or a Thanksgiving table project.
Turkey Cut Out Printables for Thanksgiving Crafts
Choose the Right Turkey Craft
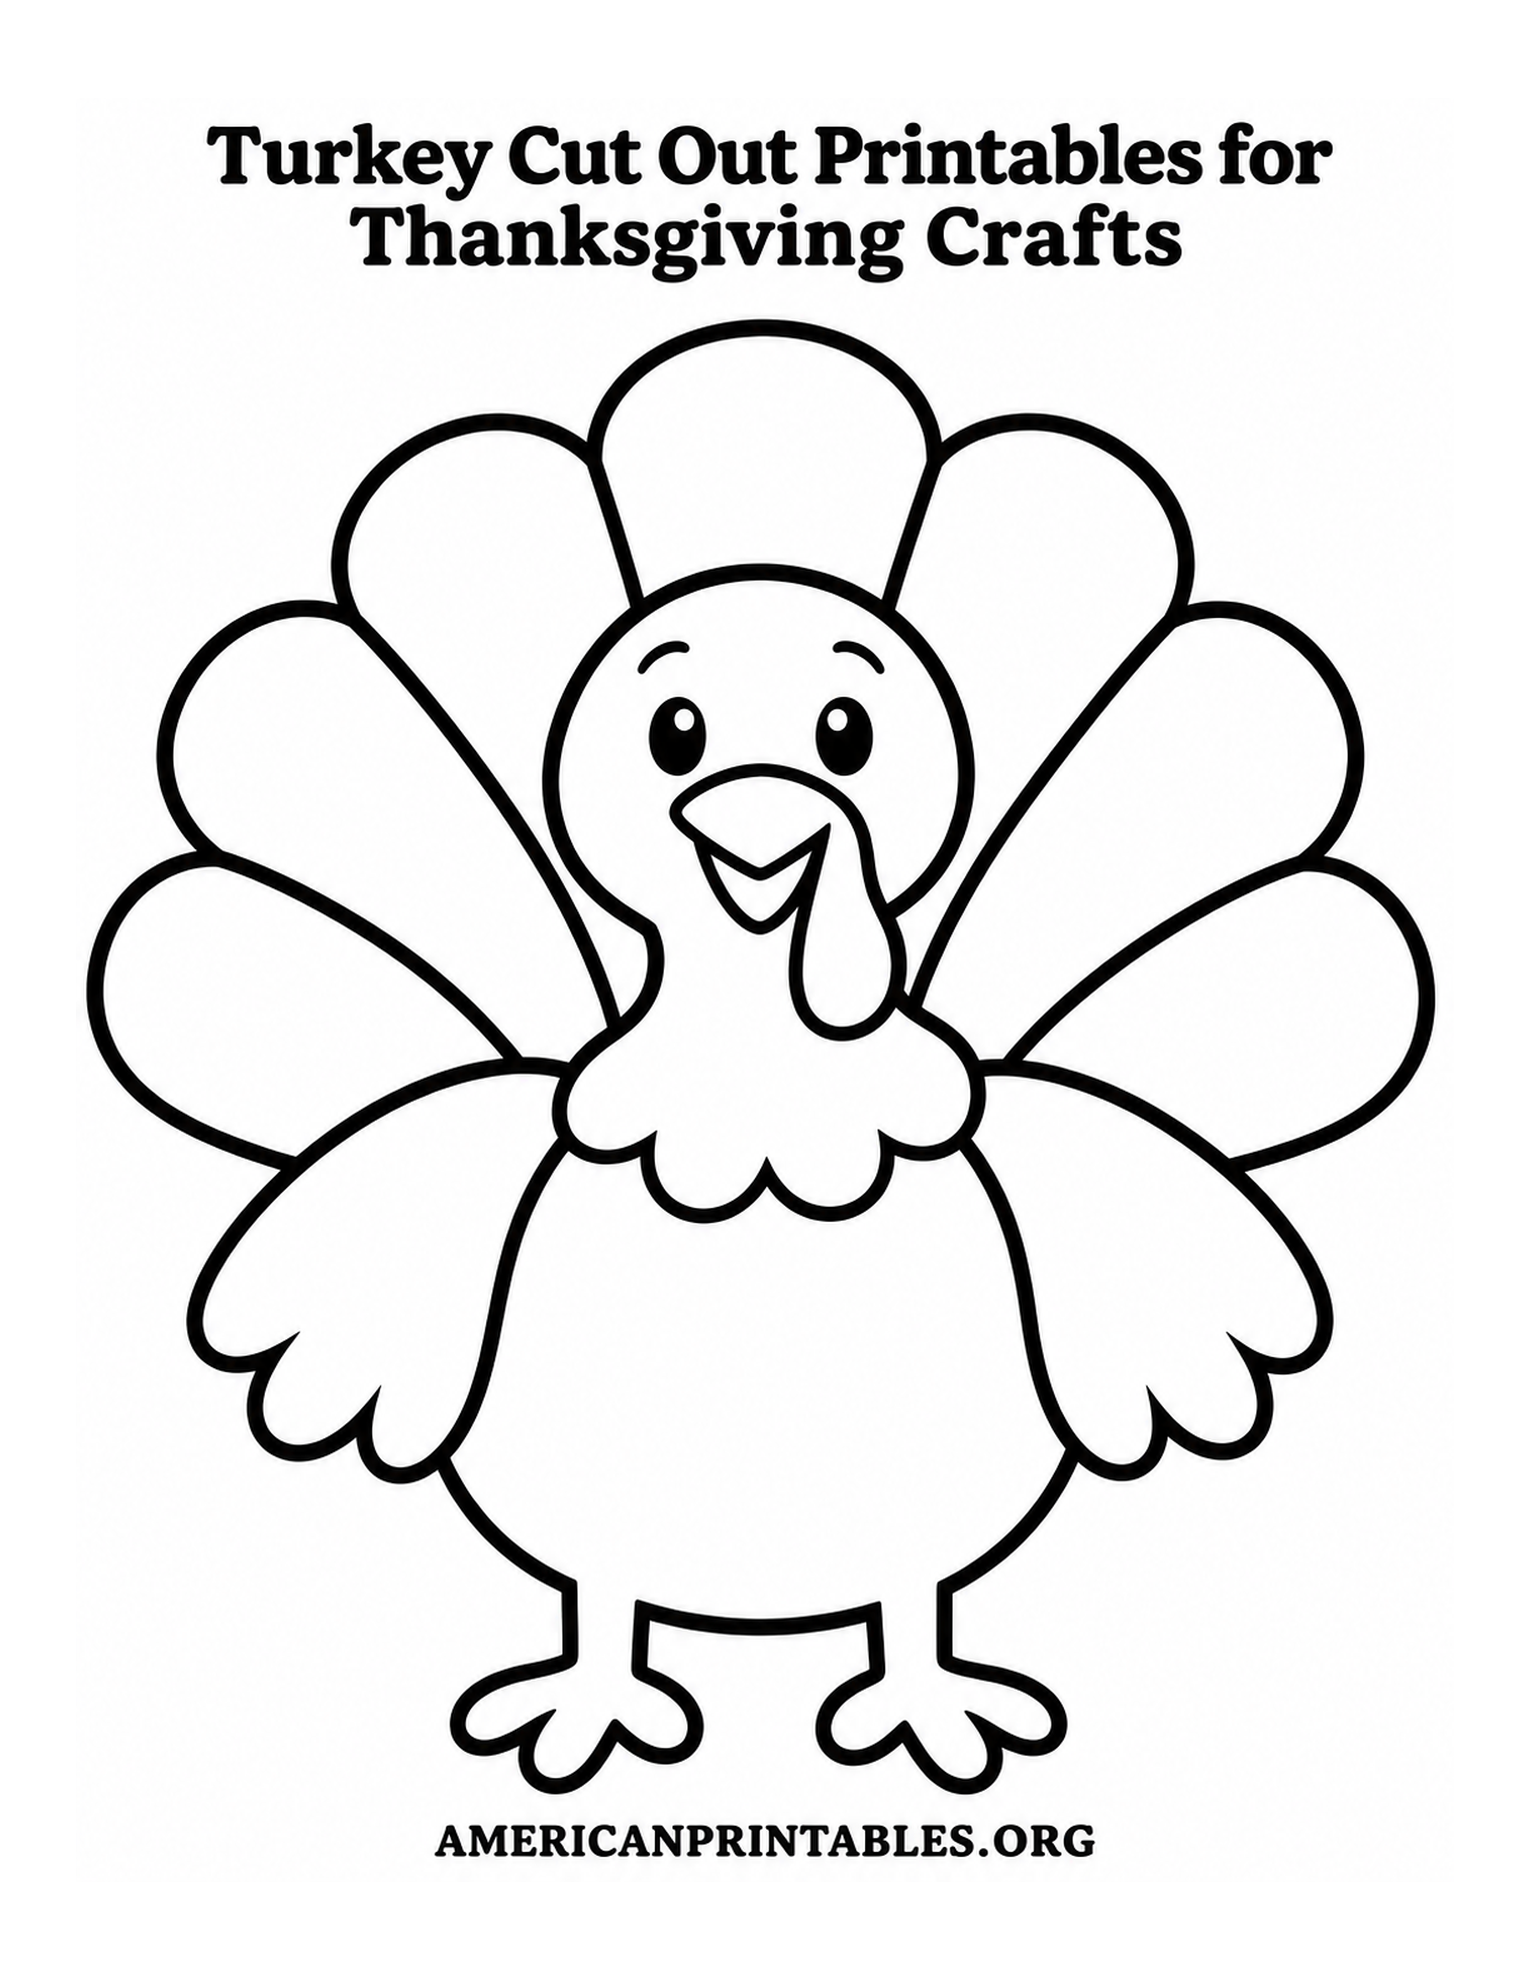
The large turkey is the simplest one-piece option. Its broad tail feathers and open body have room for crayons, markers, or colored pencils. Color the bird first, then cut around the outside edge. Hang it on a refrigerator, tape it to a window, or glue it to a sheet of construction paper for a Thanksgiving display. The wide spaces also make it a comfortable starting point for younger crafters who are practicing coloring inside lines.
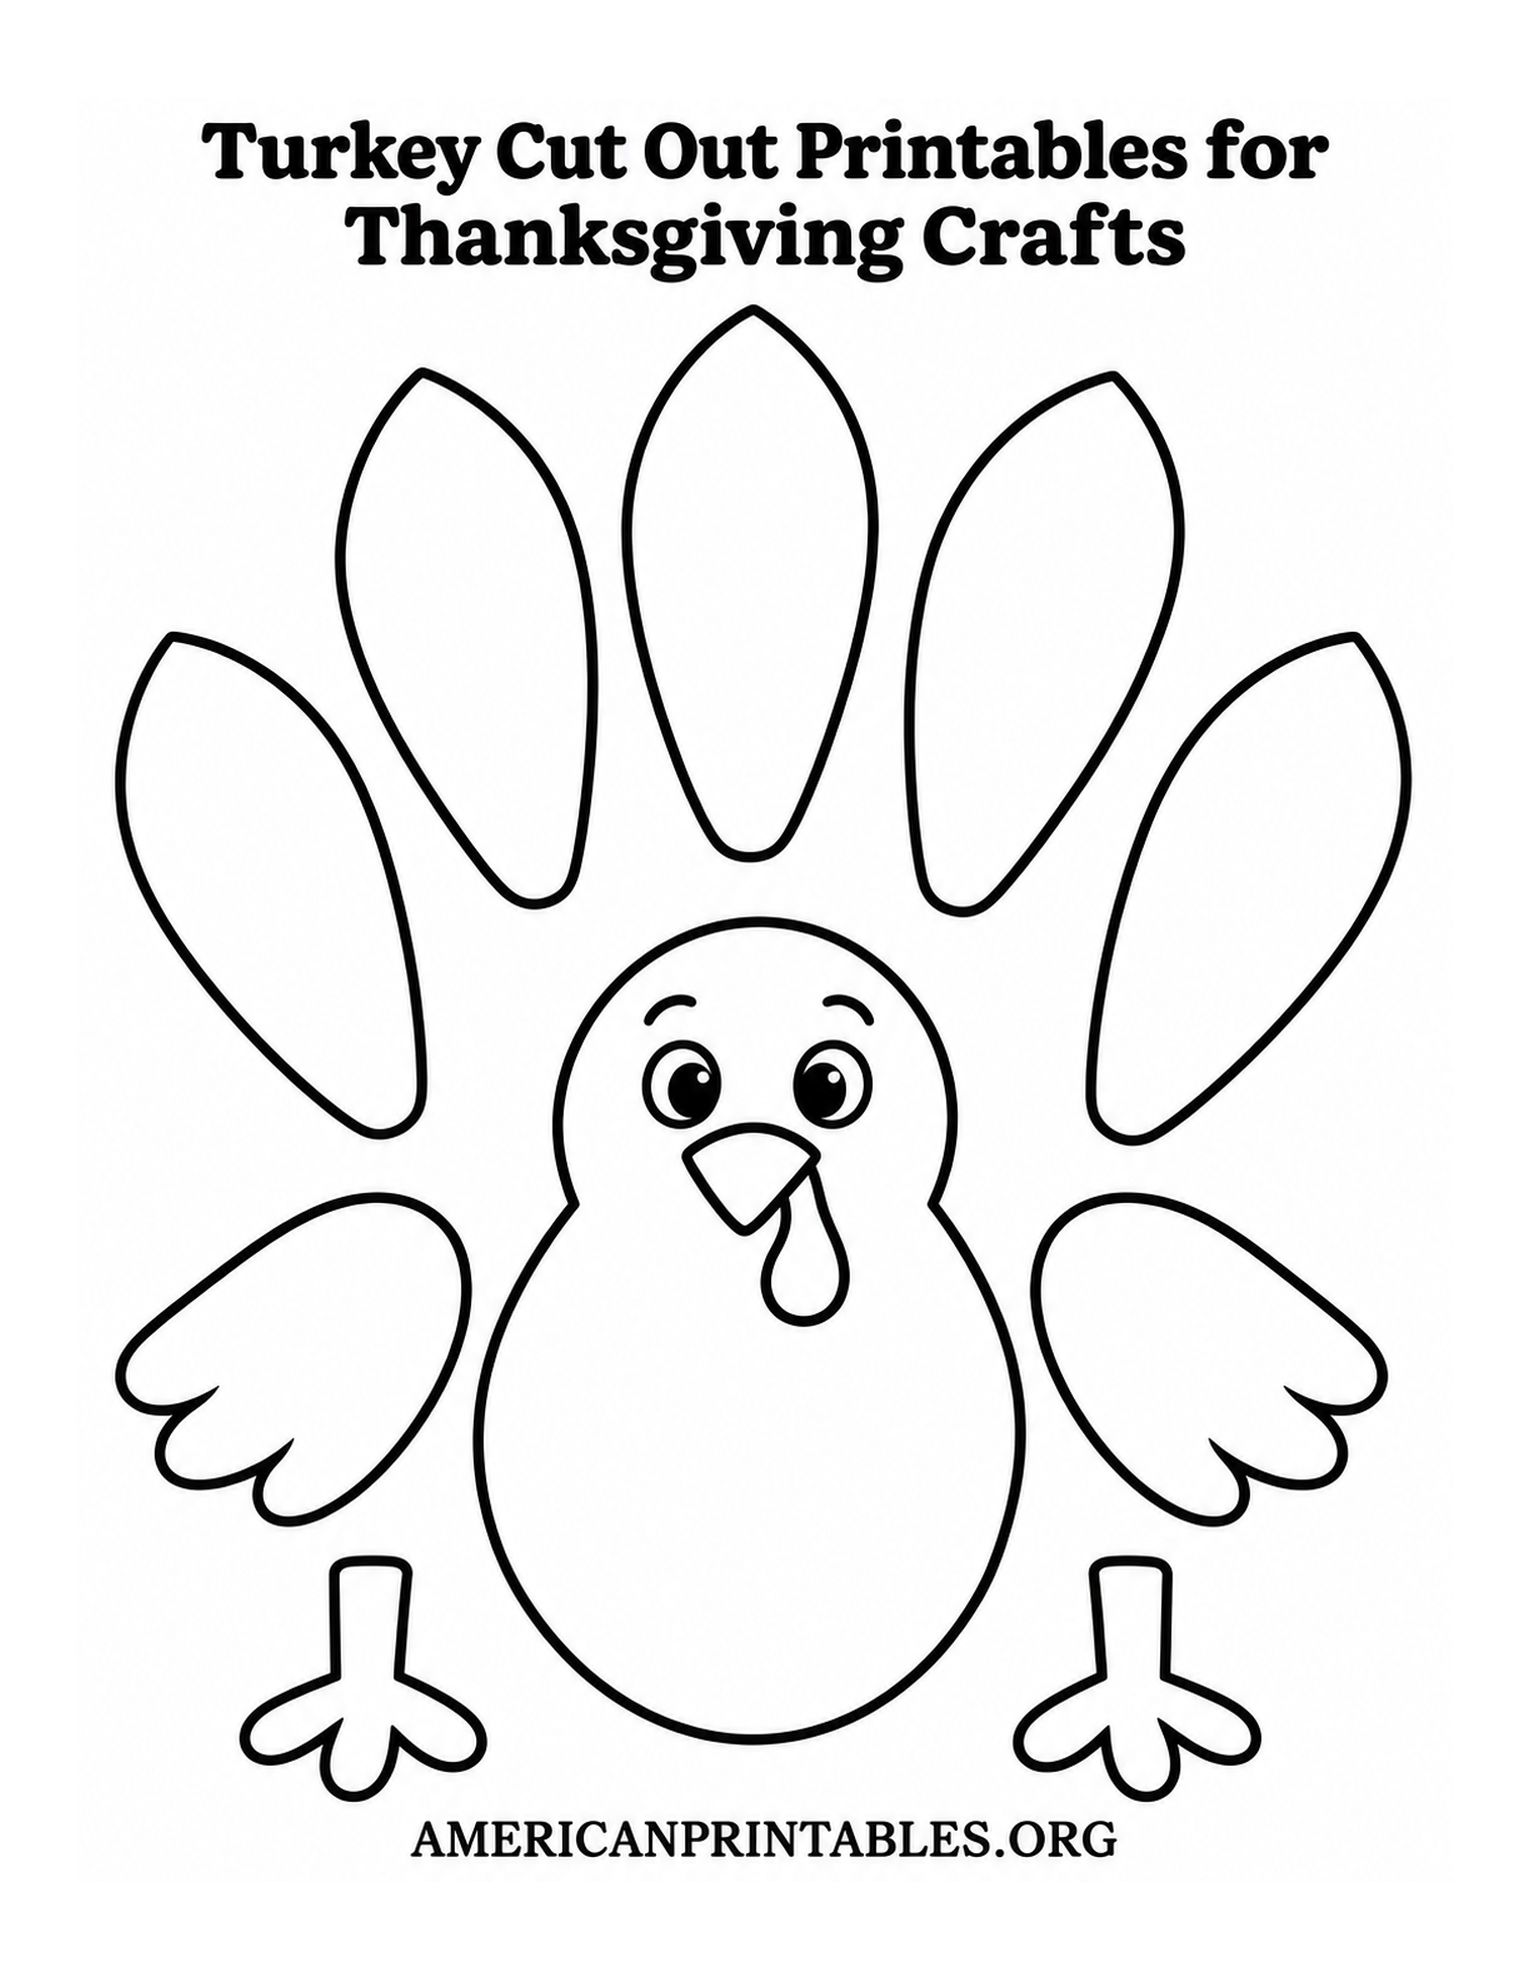
The assembly sheet turns the activity into a little building project. It shows one body, five separate tail feathers, two wings, and two feet. Color each piece before cutting it out. Lay the feathers behind the body in a fan, glue them down, and add the wings and feet. A sheet of colored cardstock works well as a backing if you want the finished bird to stand out on a classroom bulletin board. Try different feather colors or let children make patterned feathers with stripes and dots.
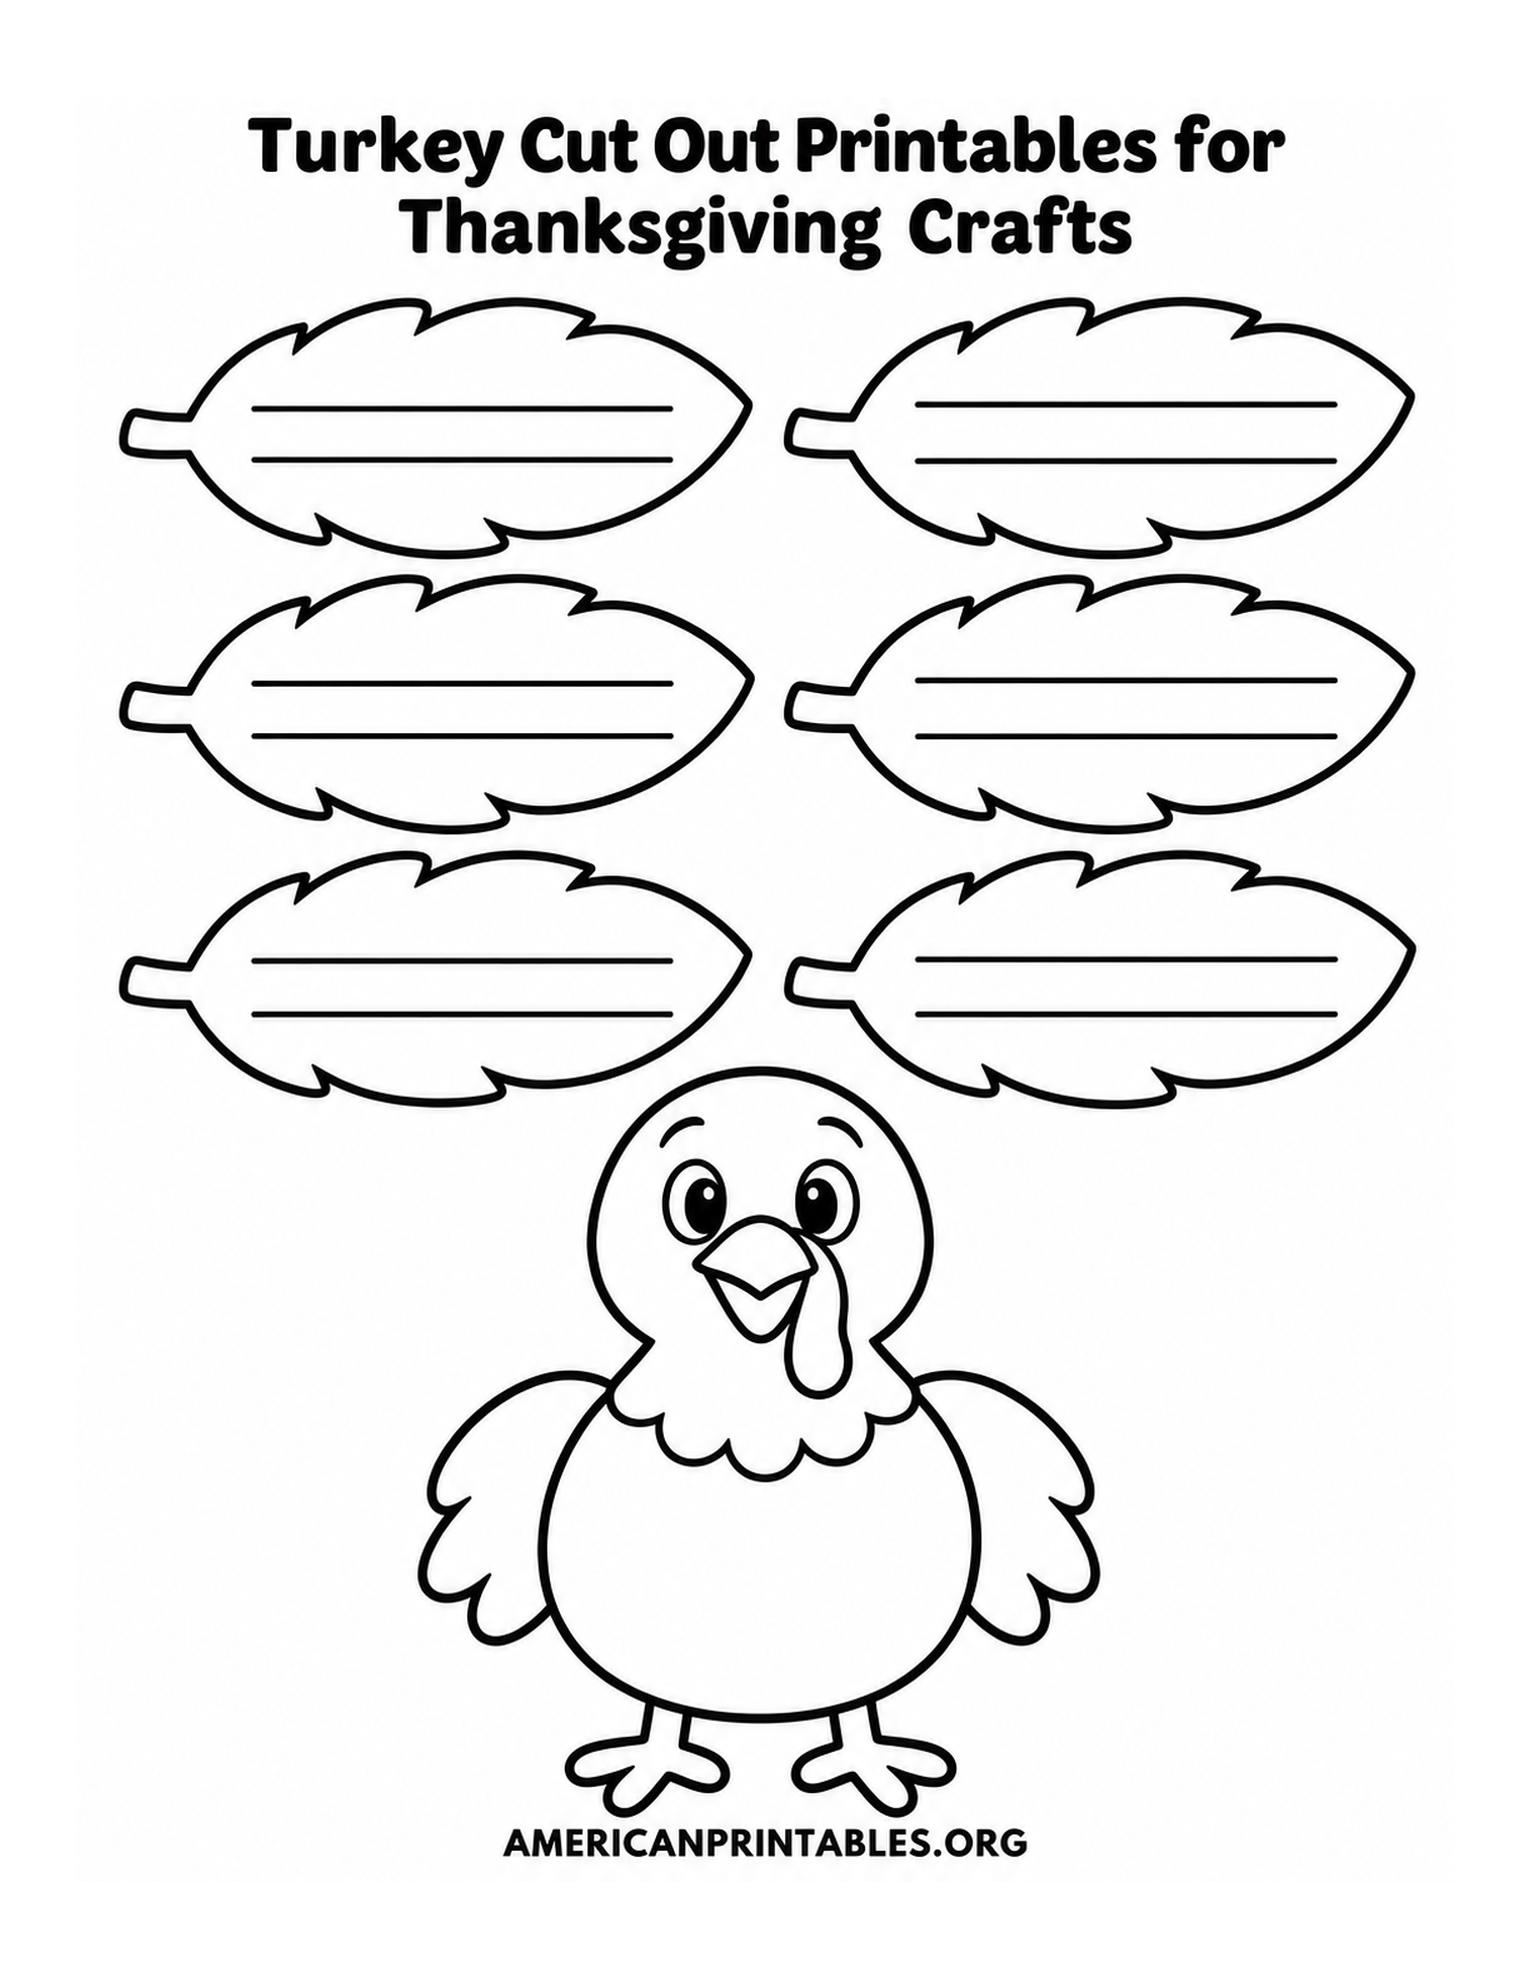
The gratitude sheet offers a writing activity alongside the craft. Six individual feathers have two blank lines each, with a turkey body beneath them. Invite each person to write one thing they appreciate on every feather, then color and cut the pieces. Glue the feathers behind the turkey so the words remain visible around the body. If someone needs more than six prompts, print another copy of the page and use its extra feathers. A family can also make one shared turkey and let everyone contribute an idea.
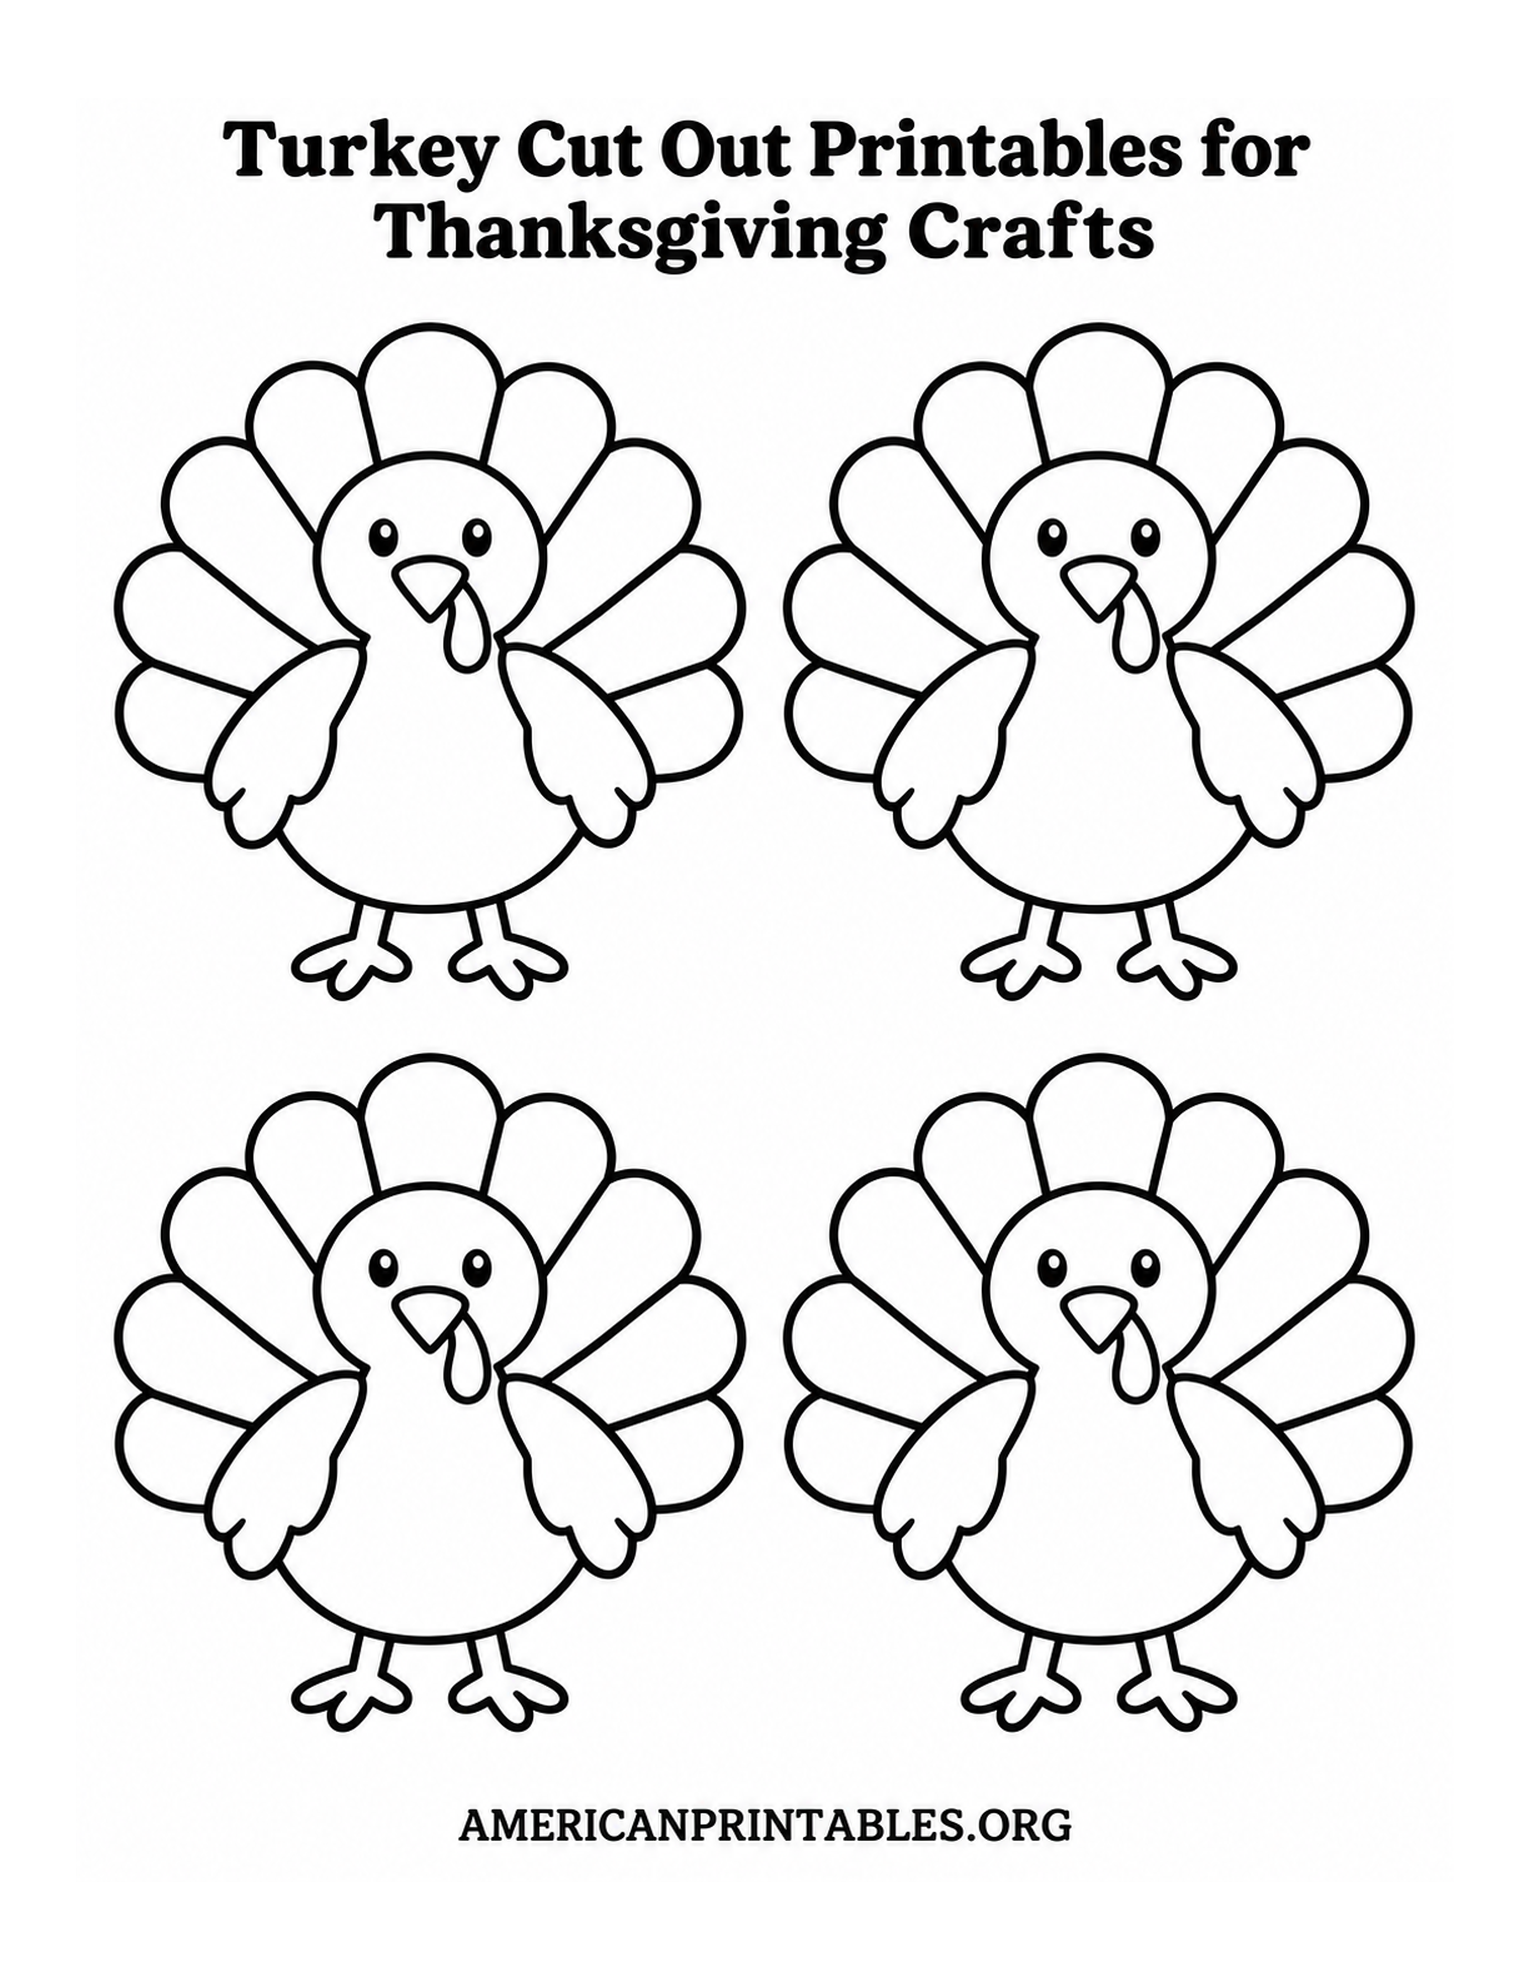
The fourth page fits four matching small turkeys onto one sheet in a two-by-two arrangement. Cut them apart after coloring and use them as garland pieces, table decorations, gift tags, or little notes for guests. For a garland, attach the backs to a length of string with tape, leaving space between birds. For place settings, glue each turkey to a folded cardstock tent and write a guest’s name on the tent rather than over the artwork.
How to Print Turkey Cut Out Printables for Thanksgiving Crafts?
Use the download link under the design you want. Each link opens the original lossless WebP rather than a smaller gallery preview. Save the image, then print it in portrait orientation on standard 8.5-by-11-inch US Letter paper. Select “fit to printable area” if your printer tends to clip the edges. The pages have white space around the title, artwork, and small website watermark, so ordinary home-printer margins should work without borderless printing.
For a quick coloring session, regular copy paper is fine. If the turkey will be handled, hung, or used as a table decoration, a heavier sheet such as light cardstock gives the cutout more structure. Print in black and white or grayscale to save color ink; all four designs are line art with open areas meant for your own colors. The heading is part of the printable, so you can trim away the top and bottom of the page after coloring if you want only the finished turkey pieces.
Before printing a whole class set, make one test copy at 100% or your printer’s fit setting and check that the lines are clear. Avoid “fill page” options that crop the outside edges. The article images are shown at no more than 740 pixels wide on screen, but the downloaded originals are 1530 by 1980 pixels. The sharper source file is the one to print.
Simple Ways to Use the Finished Cutouts
Set out crayons, pencils, child-safe scissors, glue sticks, and a few sheets of colored paper. Have children color first, because small loose pieces can be harder to hold while decorating. Then cut on the outer edge of each shape. An adult can help with tight curves around the feet and wings. For the assembly craft, dry-fit everything before gluing: spread the five feathers, center the body over their bases, and place the feet at the bottom. Let the glue dry flat before hanging the bird.
For a group activity, give each person one of the four mini turkeys to decorate. A colorful set can become a short garland across a shelf or a set of place markers at Thanksgiving dinner. Guests can take their turkey home as a keepsake. The large outline is also useful as a pattern: cut it out once, trace it onto construction paper, and make several birds without reprinting the whole sheet.
For the gratitude page, consider talking through ideas before writing. Children might name a person, a place, a memory, or something small that made the week better. Short phrases fit on the two lines. The feather shapes can be assembled into a turkey immediately or added over several days leading up to Thanksgiving. The PBS KIDS thankful turkey activity offers another family-friendly way to keep adding gratitude feathers over time.
If you want a different hands-on project, PBS KIDS also provides a direct turkey finger puppet template PDF. It is a separate craft that can complement these paper cutouts at a holiday activity table.
Store any unused printouts flat in a folder for the next gathering. Once your birds are colored and cut, display them where everyone can see the different patterns and messages. A simple outline can become a quiet coloring page, a collaborative thankful turkey, or a small decoration made by hand.