Turkey Template With Tail Feathers (Free Printable) – Gives you four easy ways to turn a simple turkey outline into a Thanksgiving activity. Pick a full-page coloring turkey, build one from separate feathers, write on a thankful turkey, or make two small turkeys for the dinner table. Each black-and-white page is designed for US Letter paper, so you can download the original image and print only the version you need.
Turkey Template With Tail Feathers (Free Printable)
Choose the right turkey page
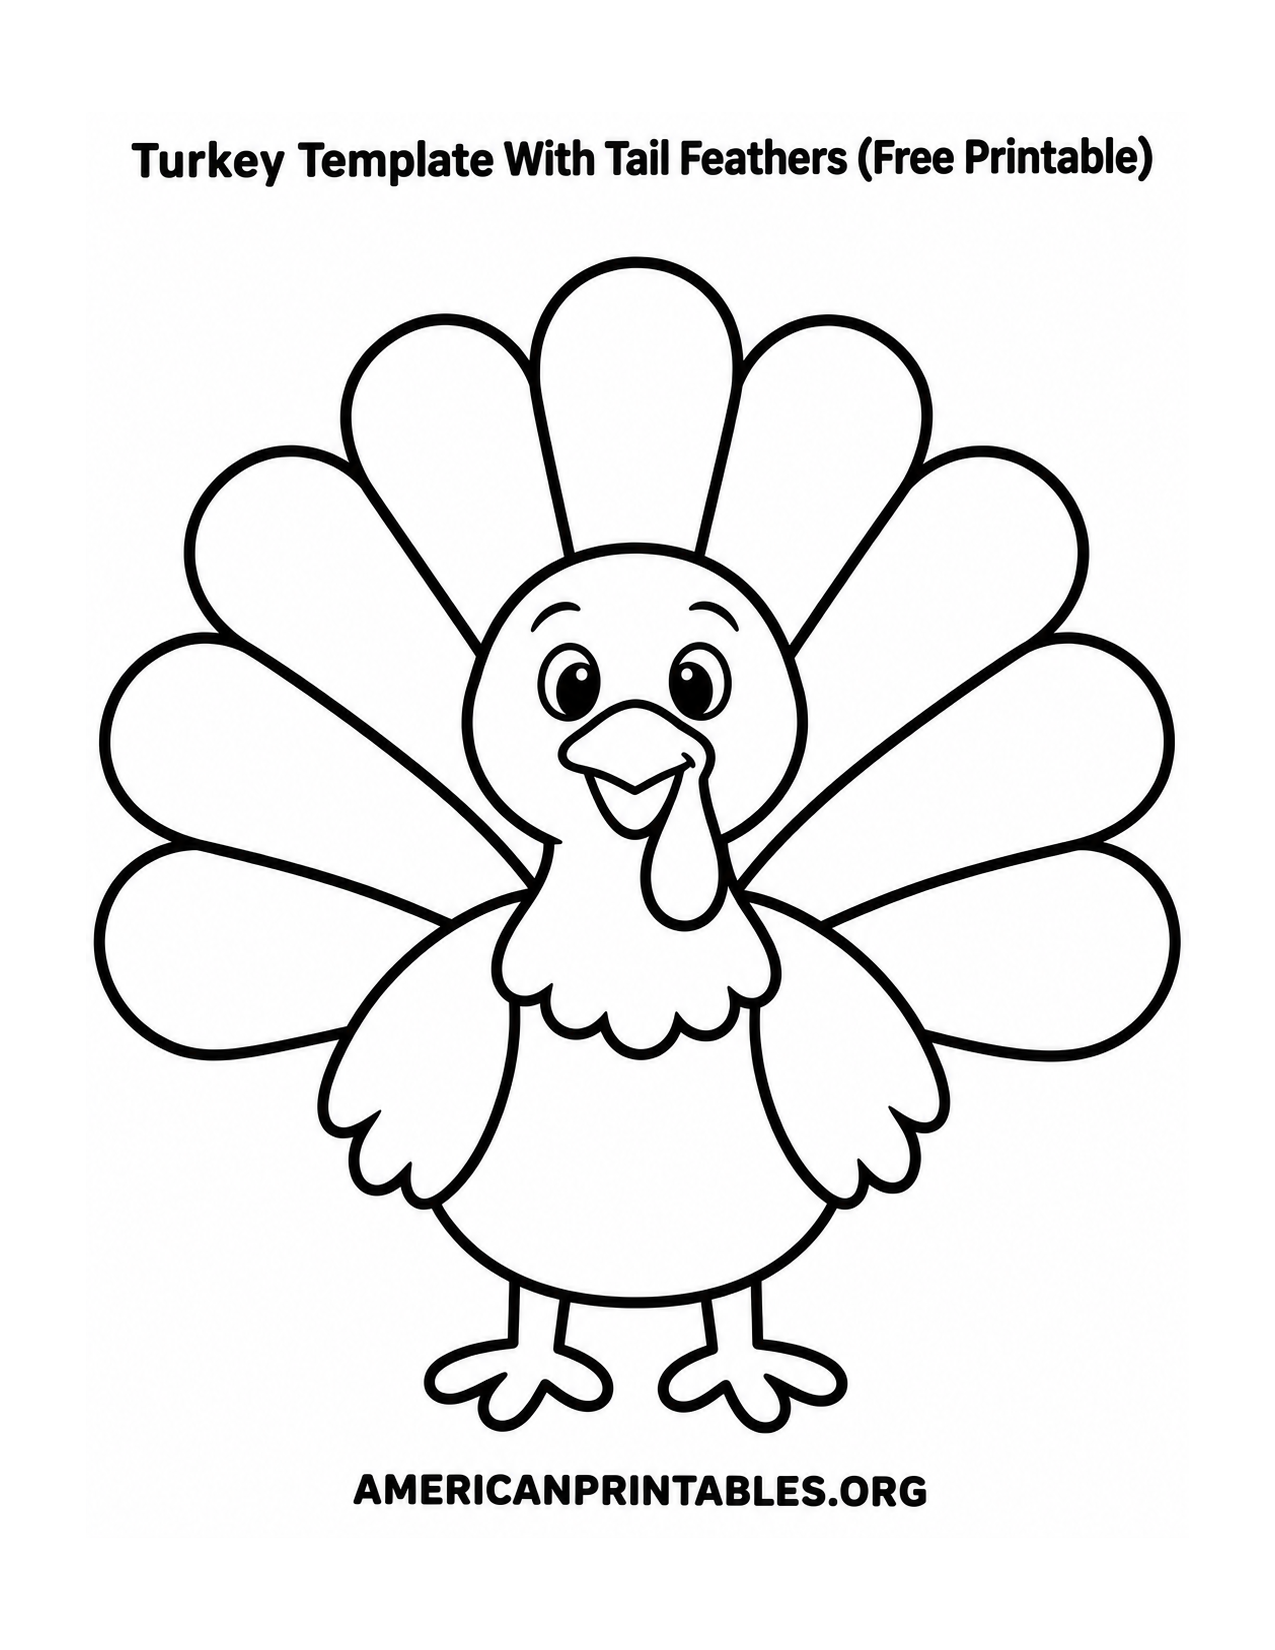
The first printable is a large, friendly turkey with a full fan of broad, empty feathers. Its uncluttered outlines leave plenty of space for crayons, colored pencils, or markers. Let younger children color the whole page, or cut around the finished turkey to put it on a classroom bulletin board. For a simple fall display, give each feather a different warm color, such as orange, red, yellow, and brown.
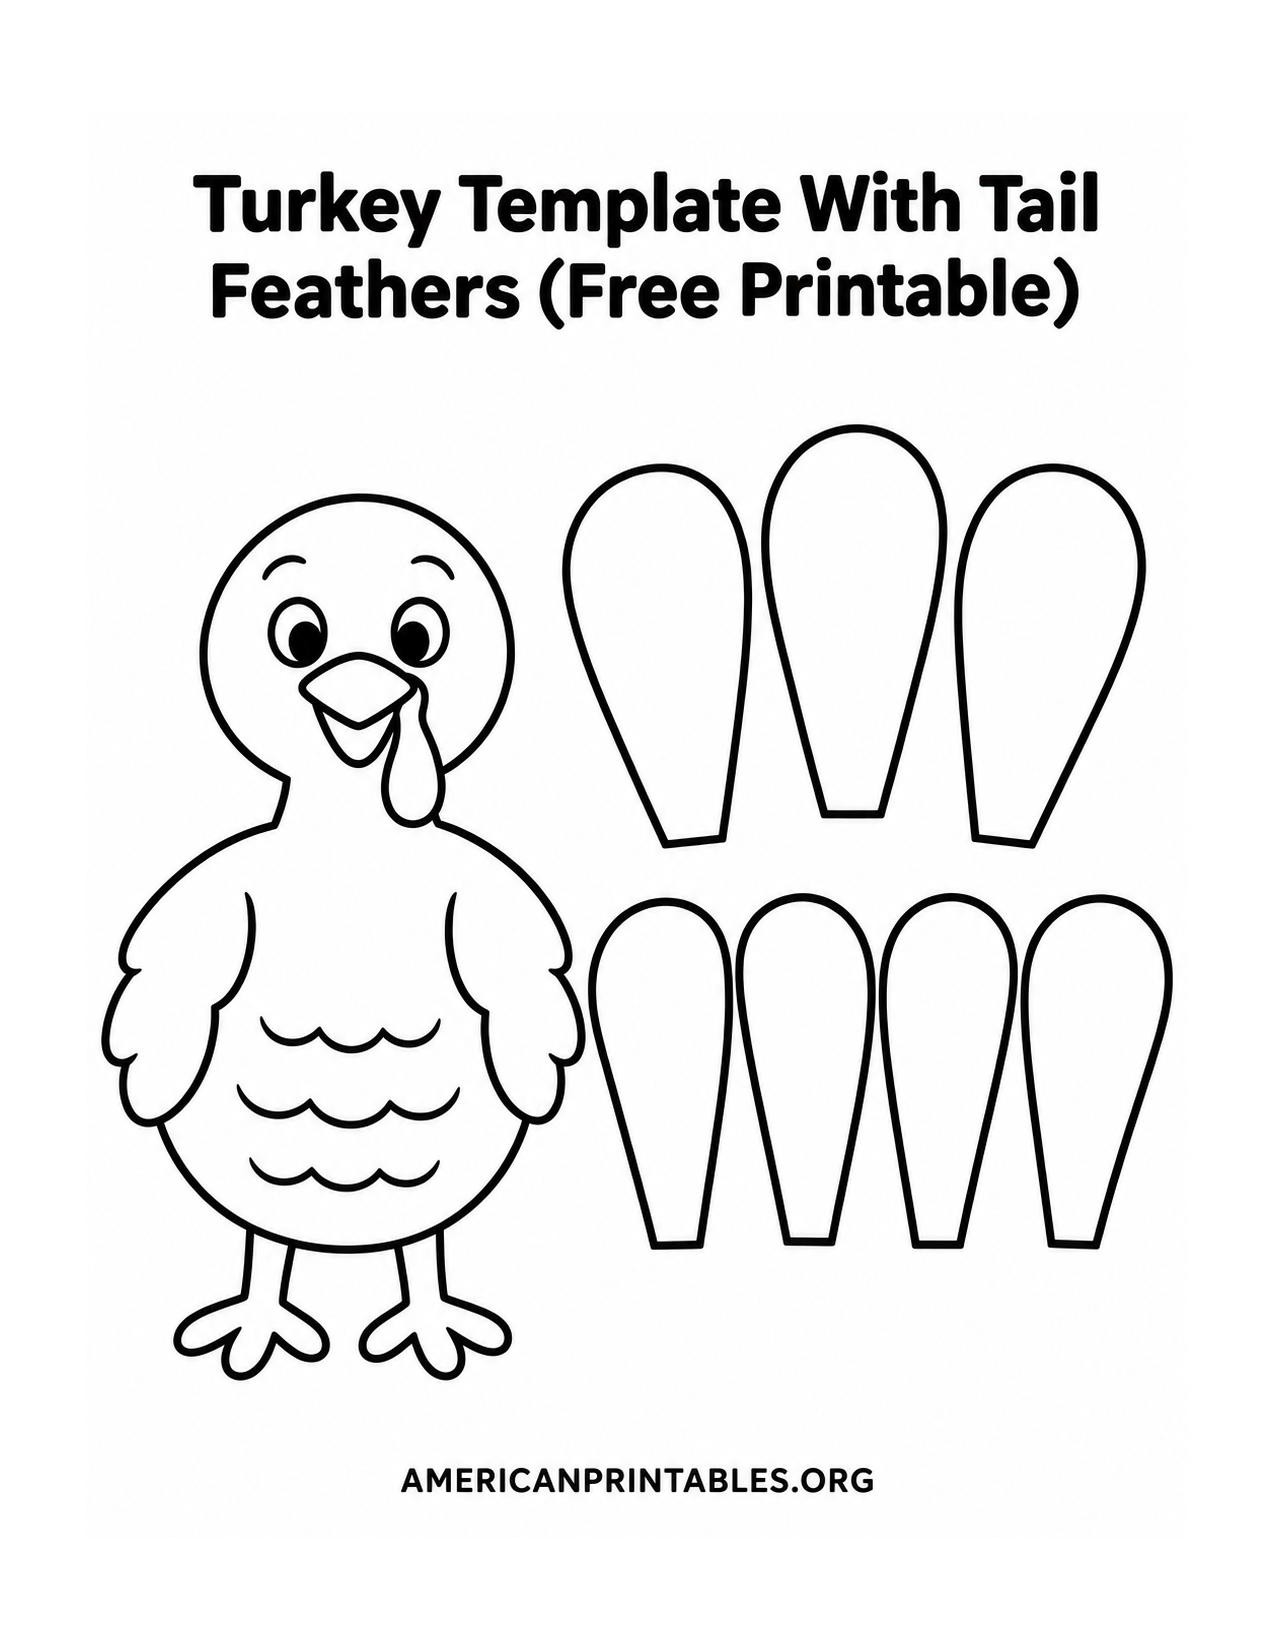
The second page separates the turkey body from seven individual feather cutouts. It is the best choice when you want a hands-on craft instead of a coloring page. Color the pieces before cutting, arrange the feathers in a fan behind the body, and glue or tape them in place. The pieces can overlap at the narrow ends; keep the rounded tips visible. You can also trace a feather onto construction paper to make a more colorful tail without using much printer ink.
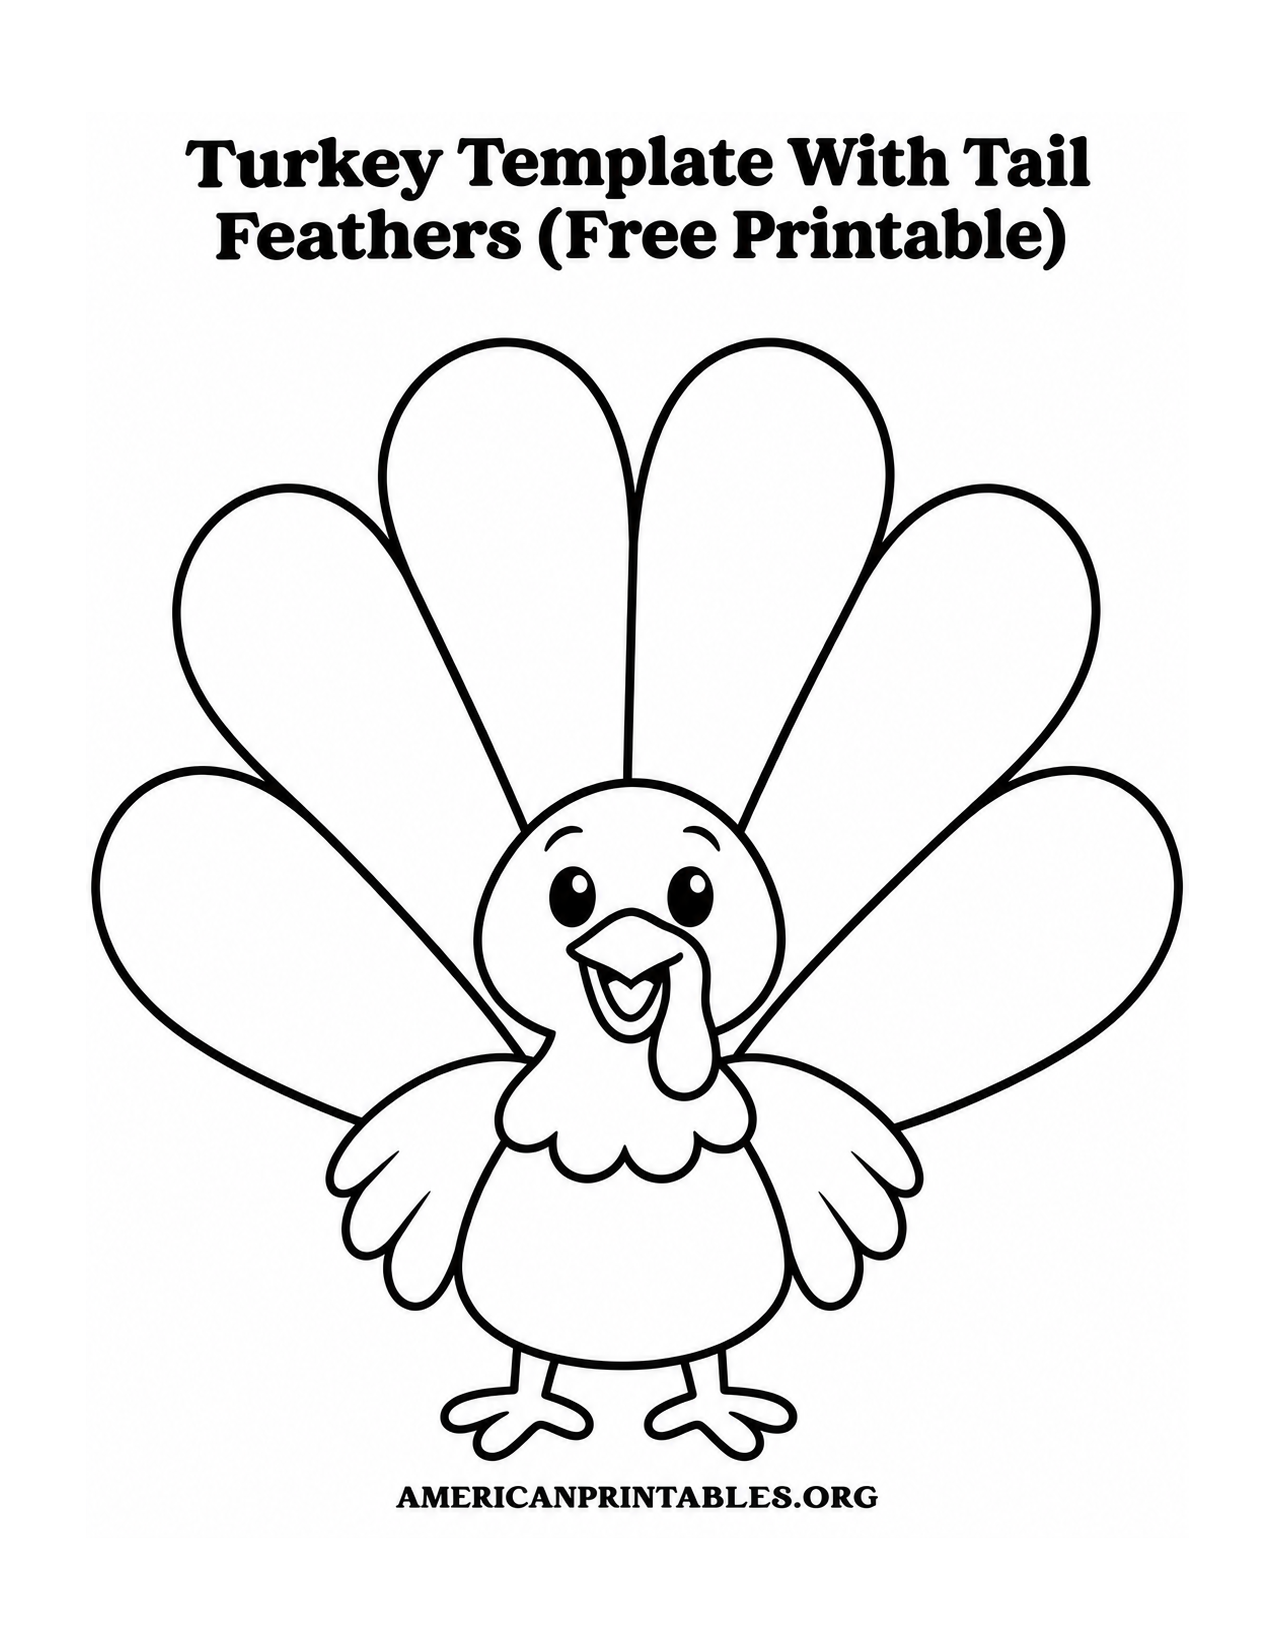
The third design keeps six generous tail feathers attached to one turkey. The blank space inside each feather works well for a short note of thanks. Children can write one person, place, memory, or favorite thing in each section, then color around their words. If a younger child is still learning to write, an adult can record the child’s answers, or the child can draw a small picture inside each feather. This page makes a thoughtful fridge display after the meal.
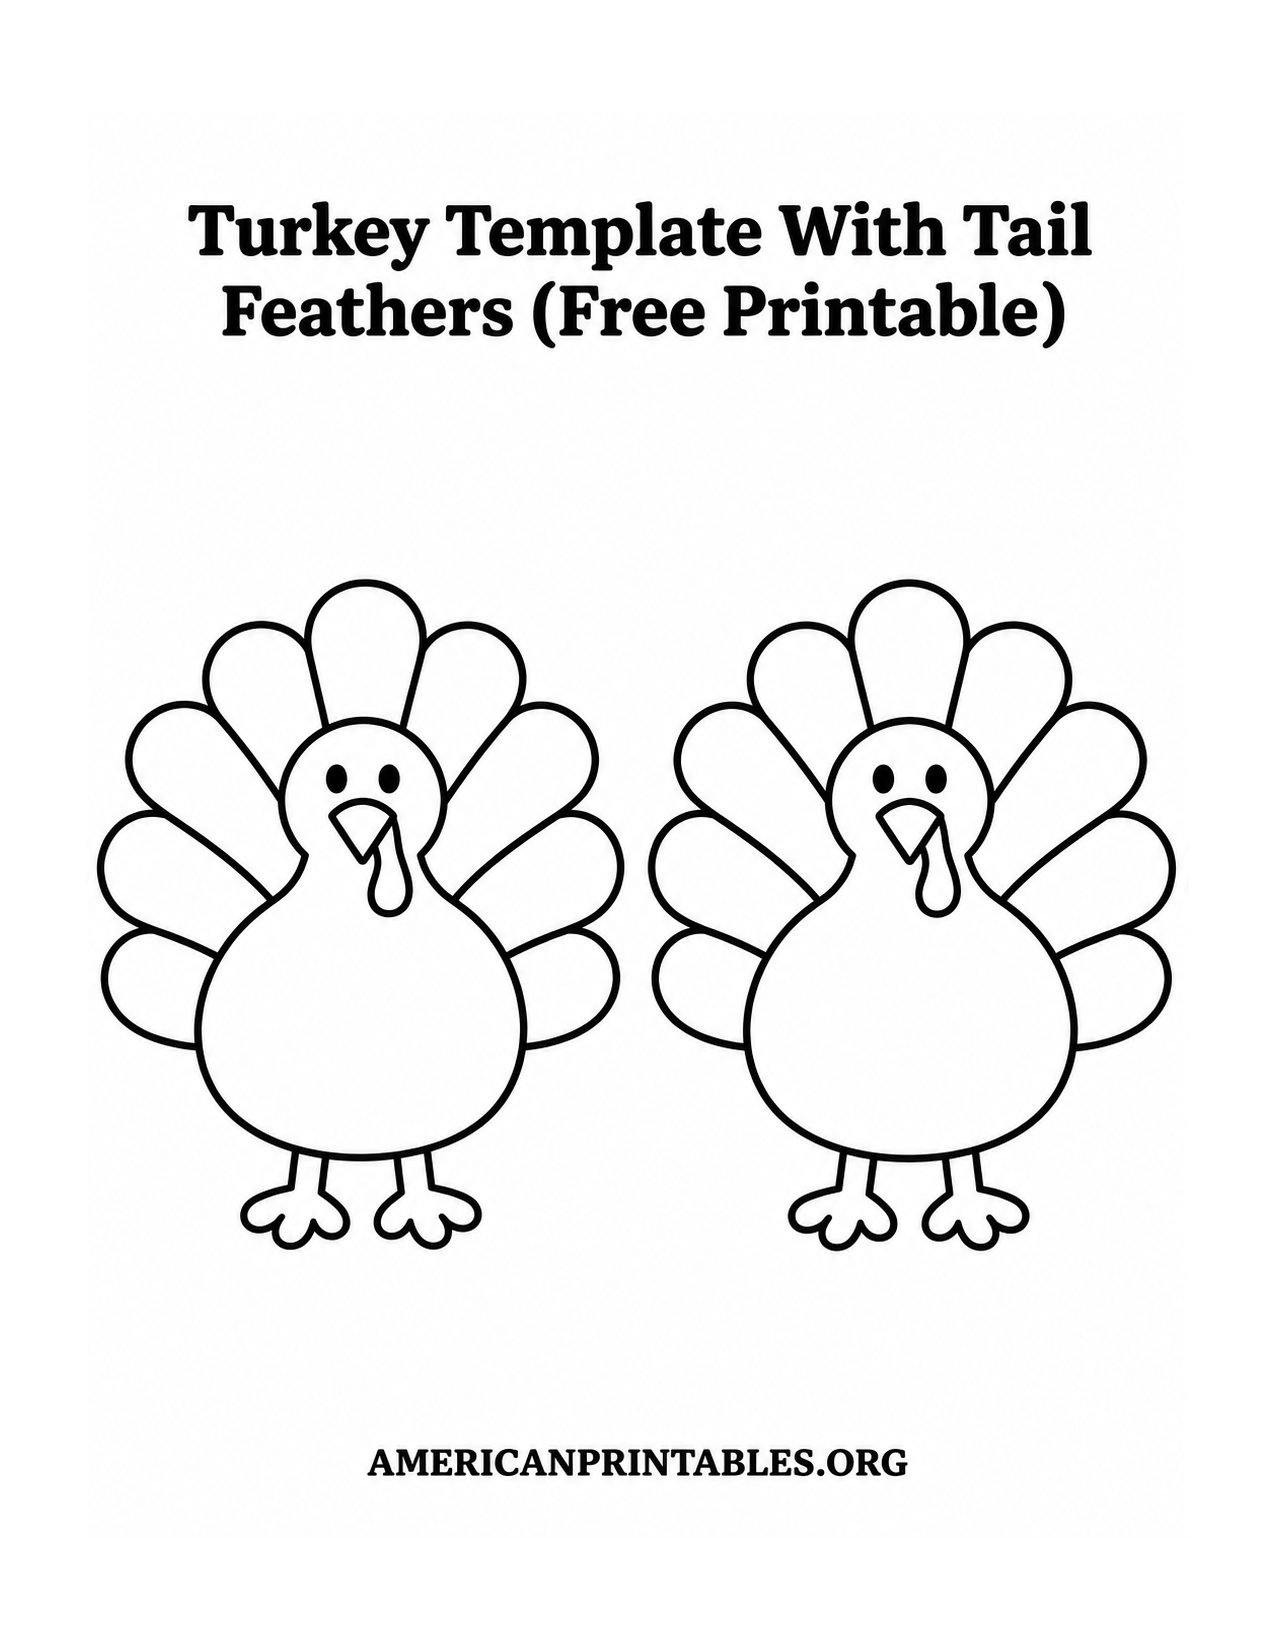
The fourth page places two smaller turkeys side by side. Each has a fan-shaped tail and a blank belly that can hold a guest’s first name. Color the pair, cut each turkey out, and attach it to a folded strip of cardstock for a simple place setting. The page also works for a matching craft with siblings or partners: give each person one turkey and let them decorate their feathers in their own style.
How to print and assemble the templates
Click the download link beneath the design you want. Save the original WebP file, then open it in your browser, photo app, or another program that can print an image. Choose US Letter paper in portrait orientation. Use “fit to printable area” if your printer clips edges, or print at actual size if its margins allow the full page. A quick preview before printing will show whether the title and footer sit safely inside the printer’s usable area.
Ordinary white copy paper is fine for coloring and writing. For cutouts that need to stand up or withstand repeated handling, print on light cardstock, or glue the finished paper pieces to a cereal-box panel before trimming. Black-and-white or grayscale printing is enough because the designs leave the decorative color to you. Let marker ink dry before stacking pages or adding glue.
For the cut-and-glue page, cut the turkey body and seven feathers along their outer outlines. Arrange the feathers face down in a loose fan. Add a small piece of tape or a thin line of glue near each narrow feather base, then place the turkey body over those ends. Turn the craft over to check the spacing before the glue sets. If children are using scissors, an adult can help with the curves and small spaces near the feet.
For a place setting, write each name on a small turkey’s belly before cutting. Fold a narrow cardstock strip into a triangle and tape its ends to the back of the turkey, or simply lean the cutout against a napkin. Keep the turkey away from candles, hot serving dishes, and food. These are paper decorations, so a dry spot on the table will help them last through dinner.
Ideas for your Turkey Template With Tail Feathers (Free Printable)
Make a family gratitude board by printing several copies of the writing page. Invite everyone to fill a few feathers, then tape the completed turkeys to a door or bulletin board. There is no need to finish every feather at once. Leaving a few blank makes it easy to add a new thought during Thanksgiving week.
For a classroom activity, set out the large coloring version at a quiet table and reserve the separate-piece version for a supervised craft station. Put crayons, child-safe scissors, glue sticks, and a scrap-paper bin within reach. Students can compare the different ways they arranged the same seven loose feathers, or trade coloring ideas before taking their turkeys home.
The pair of smaller turkeys can become gift tags as well as table cards. Write “To” and “From” on the blank bodies by hand, punch a small hole near the top after cutting, and tie them to a wrapped homemade treat. You can also tape each turkey to a folded note card and add a short message inside.
One more Thanksgiving activity
If you would like a longer activity packet alongside these four templates, the University of Illinois Extension Thanksgiving Kids Kit PDF includes a turkey-themed gratitude writing sheet and other printable activities. Use the four original WebP downloads above for the specific templates shown in this gallery.
Save the page you like best for another year, or print a different version for each part of the holiday. The large outline offers relaxed coloring, the loose feathers invite assembly, the writing page starts a conversation about gratitude, and the two small turkeys make the table feel personal. A few sheets of paper and basic supplies are enough to put all four designs to work.